Drawing a fur seal is fun and easier than it looks! In this tutorial, we’ll build the seal step by step, starting with simple shapes and slowly adding details. Follow along carefully, and by the end, you’ll have a beautiful fur seal drawing.
Step 1: Draw the Basic Shapes
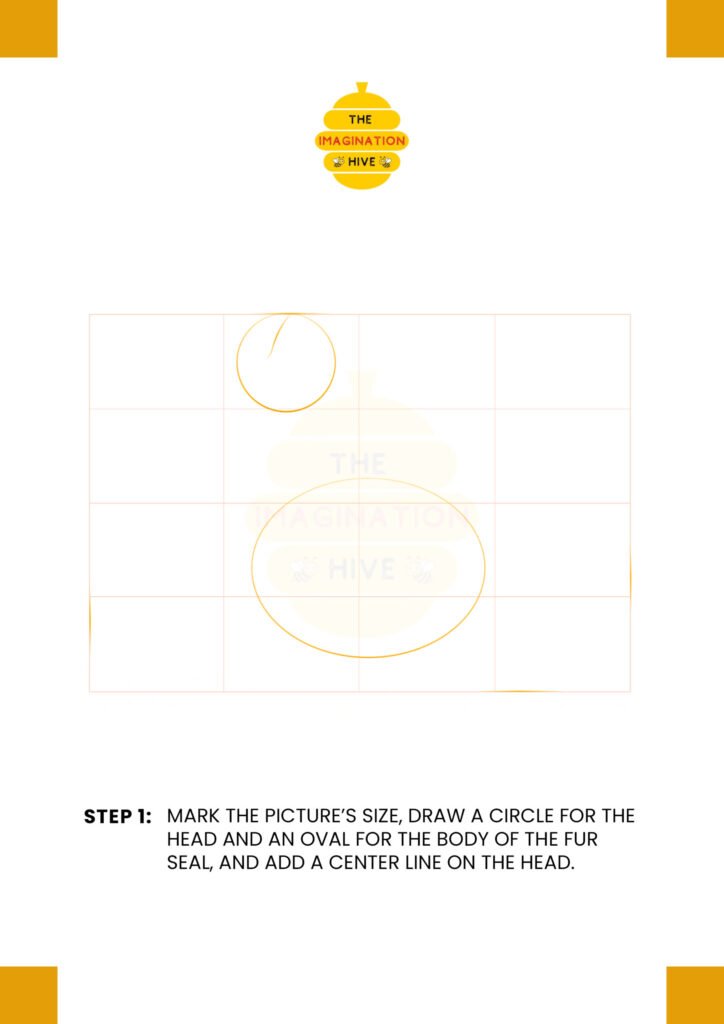
Start by marking the picture size. Draw a circle for the seal’s head and an oval for the body. Add a light center line on the head to help place the facial features correctly.
Keep your lines soft and light since these are only guidelines.
Short Tip: Draw lightly so you can erase guidelines later.
These simple shapes will help you keep the proportions balanced.
Step 2: Sketch the Muzzle and Neck
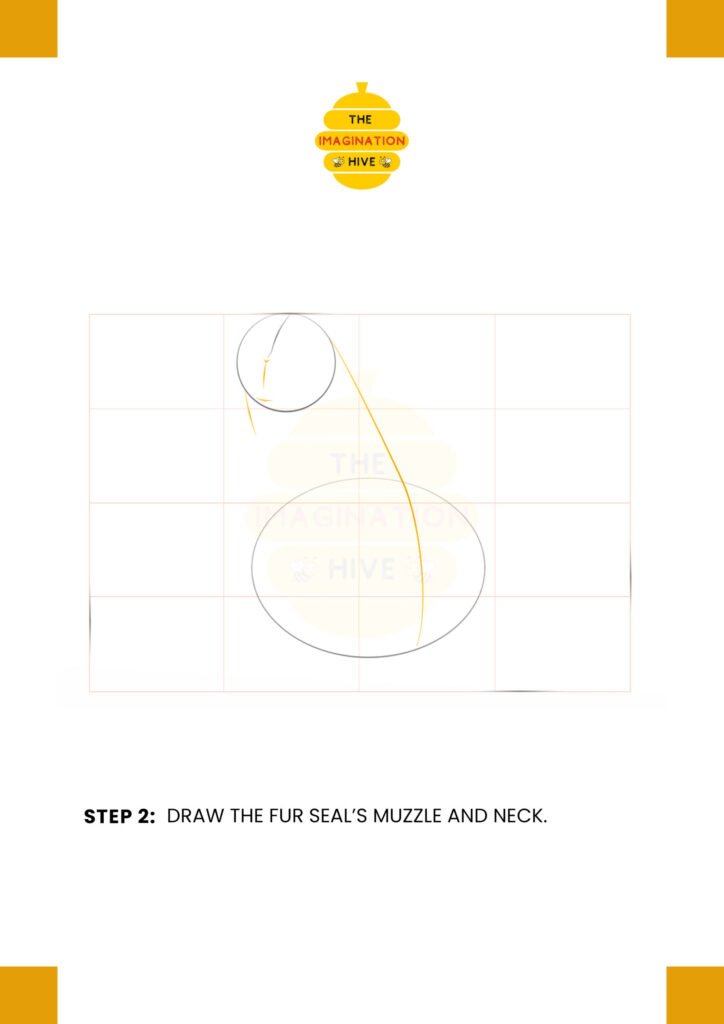
Now draw the fur seal’s muzzle and extend lines down to form the neck. Connect the head smoothly to the body oval.
Make the neck slightly curved to give a natural sitting posture.
Short Tip: Use smooth, curved lines instead of sharp edges.
This helps your seal look soft and realistic.
Step 3: Add Flipper Guidelines
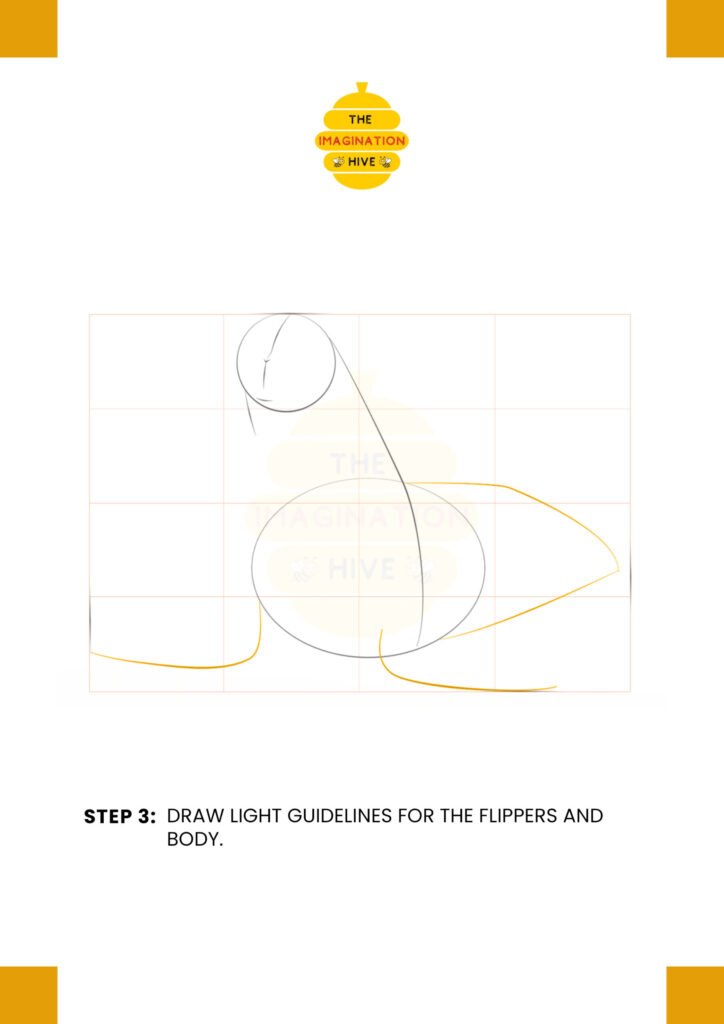
Draw light guideline shapes for the front and back flippers. Keep them simple and flowing.
Also refine the body outline slightly to show how the seal is resting on the ground.
Short Tip: Think of flippers as soft triangles with rounded edges.
Don’t worry about details yet — just focus on placement.
Step 4: Outline the Face and Neck
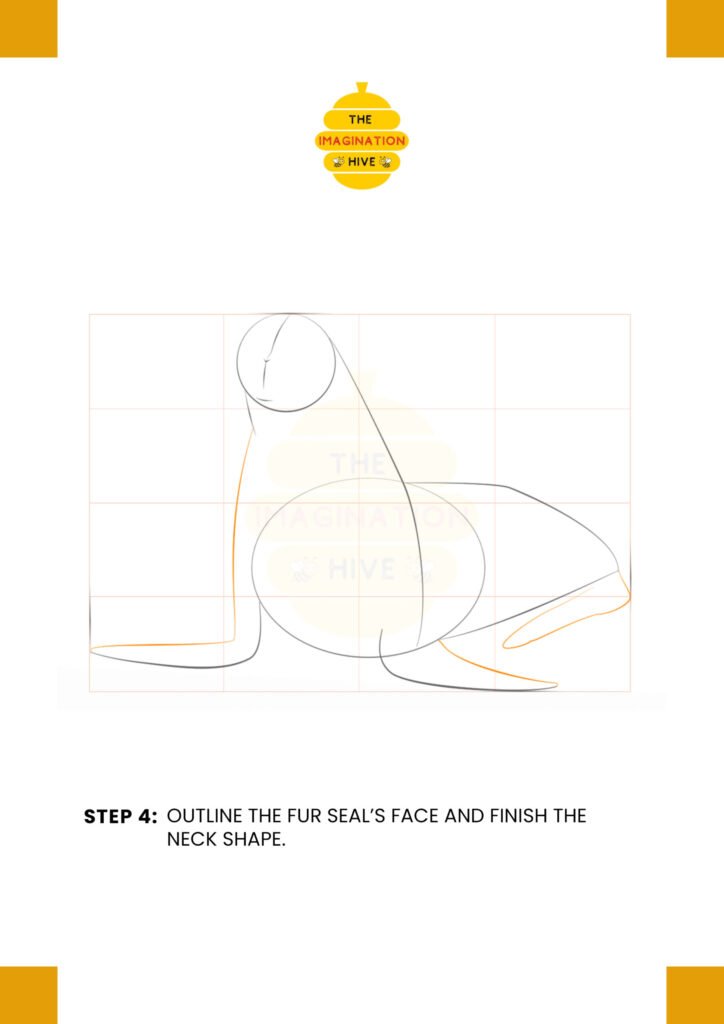
Now outline the fur seal’s face more clearly. Shape the neck properly and define the body outline.
Refine the back flipper and front flipper shapes so they look more natural.
Short Tip: Follow your guidelines but smooth out the lines.
This is where your drawing starts to come alive.
Step 5: Add Facial Features
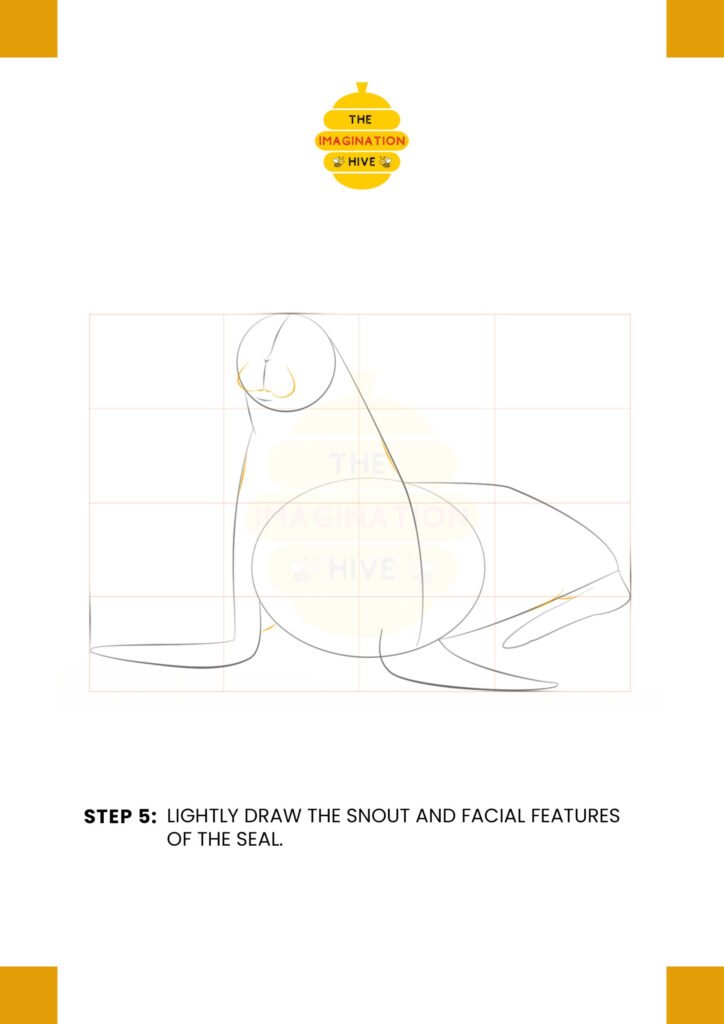
Lightly draw the snout, nose, and facial details. Add small curves around the muzzle area.
Make sure the features align with the center guideline on the head.
Short Tip: Keep the nose small and rounded for a realistic look.
Take your time with the face — it’s the most expressive part!
Step 6: Draw the Eyes and Flipper Details
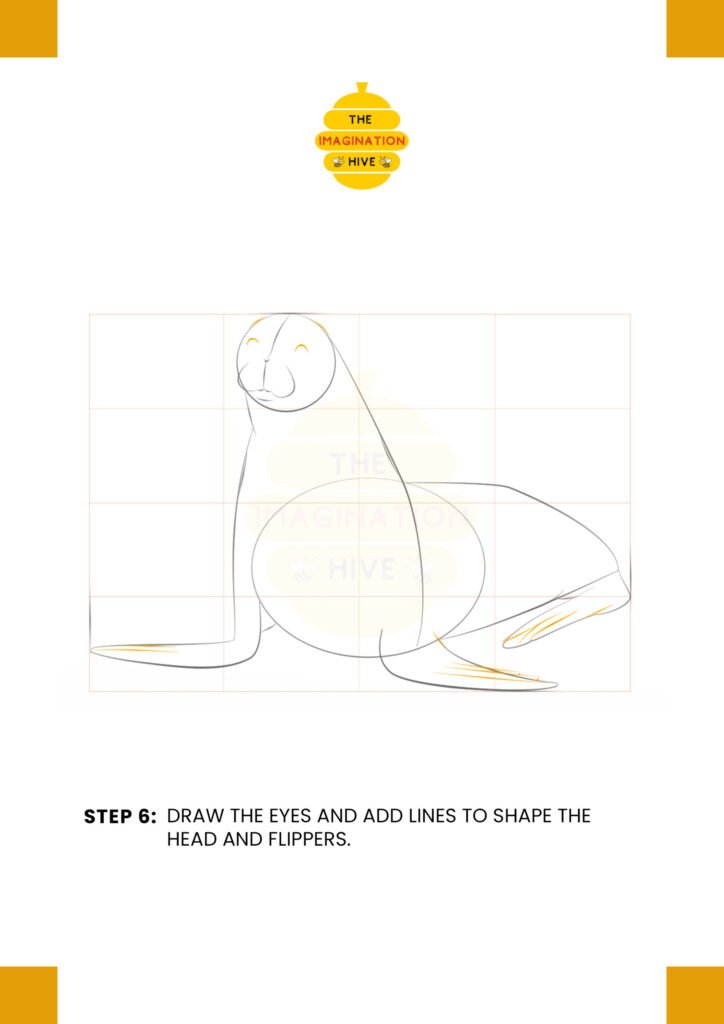
Add the eyes and refine the head shape. Draw small lines on the flippers to show structure.
You can also adjust the body curves if needed.
Short Tip: Place the eyes slightly above the center of the head.
This helps give your seal a natural expression.
Step 7: Refine the Eyes and Nose
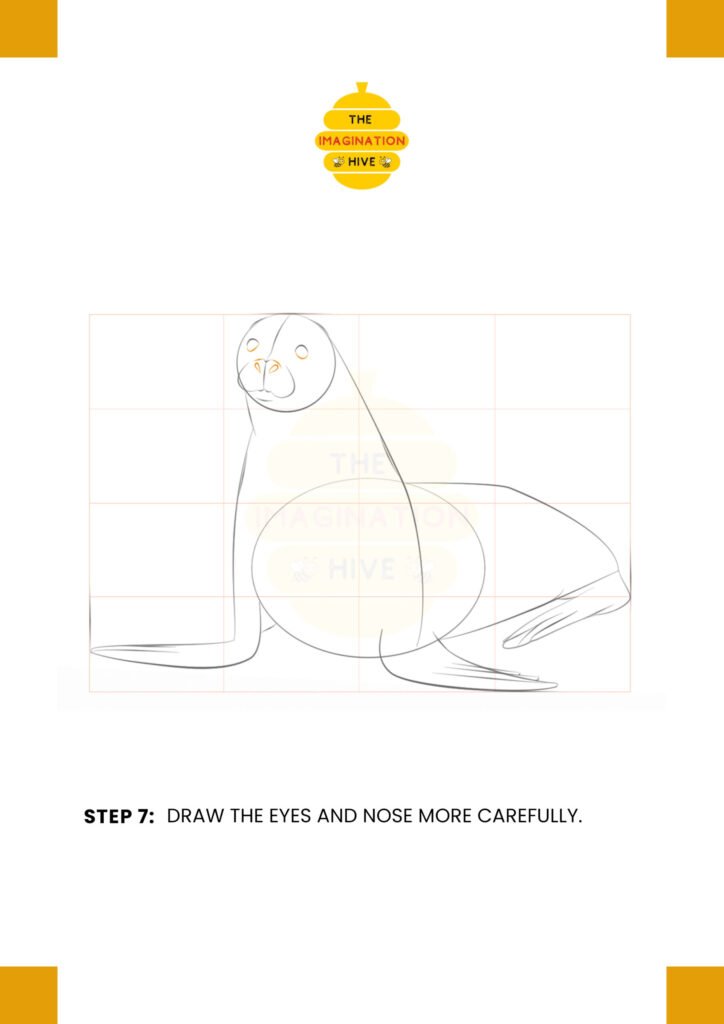
Carefully darken the eyes and nose. Add small details around the muzzle area.
Make sure everything looks balanced and symmetrical.
Short Tip: Darken only the final lines, not the guidelines.
Now your seal is starting to look complete!
Step 8: Final Details and Cleanup
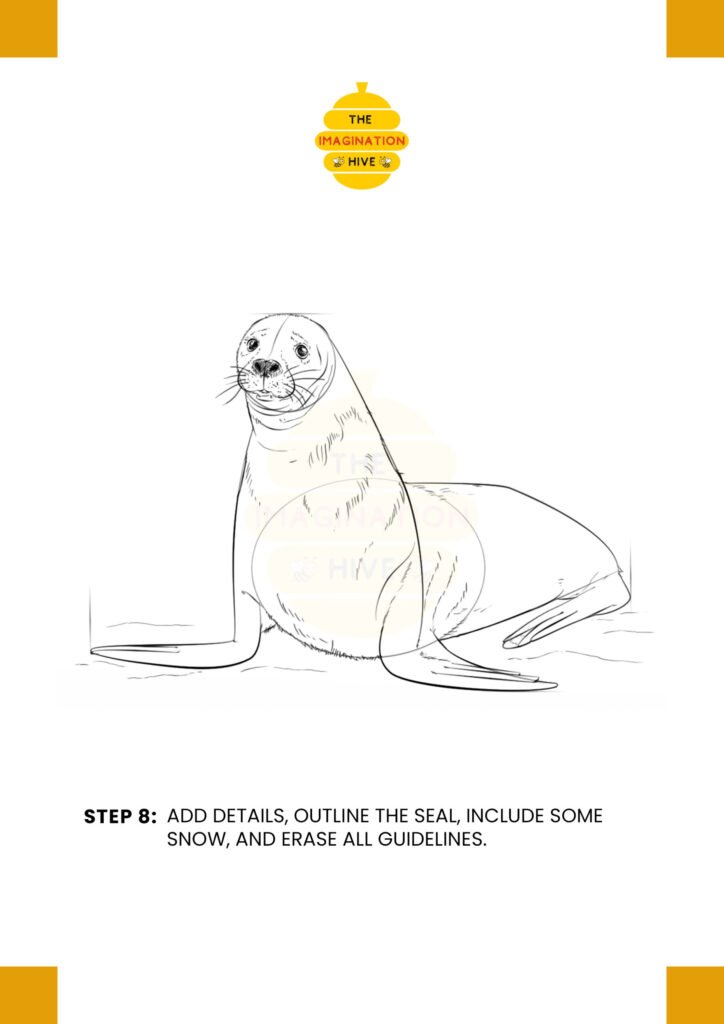
Add final details like whiskers, soft fur texture lines, and a little ground beneath the seal.
Outline the drawing, making some lines darker and others lighter for depth. Finally, erase all the guidelines.
Short Tip: Vary line thickness to make your drawing more dynamic.
And that’s it! You now have a beautifully drawn fur seal 🦭