In this tutorial, you’ll learn how to draw an opossum resting on a tree branch by breaking the process into simple, easy-to-follow steps. Each stage builds on the last, helping you create a clean and realistic drawing.
Step 1: Sketch the Basic Head and Body Shapes
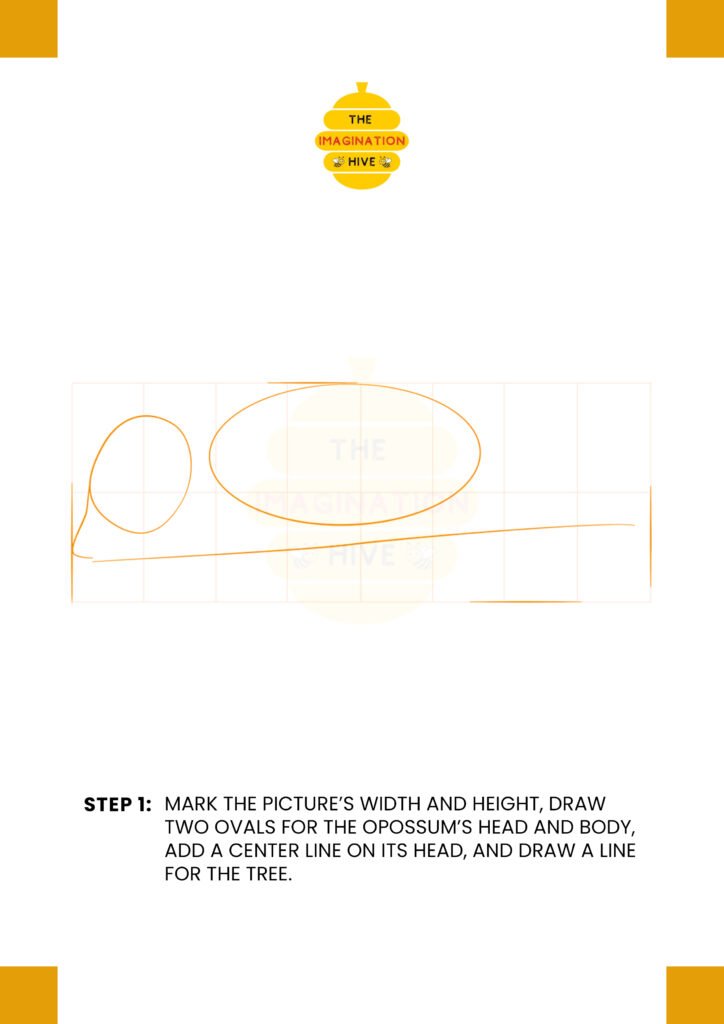
Mark the picture’s width and height first. Draw two ovals—one small oval for the opossum’s head and a larger oval for its body. Add a center line on the head and draw a long straight line to represent the tree branch.
Short tip: Keep your lines light so they’re easy to erase later.
This step helps set the correct proportions before adding any details.
Step 2: Draw the Body and Tail Guidelines

Connect the head and body ovals with smooth lines to form the neck and back. Then add a long, flowing guideline for the tail resting along the branch.
Short tip: Let the tail line curve naturally instead of keeping it stiff.
A smooth guideline makes the final tail look more realistic.
Step 3: Add Leg and Mouth Guidelines
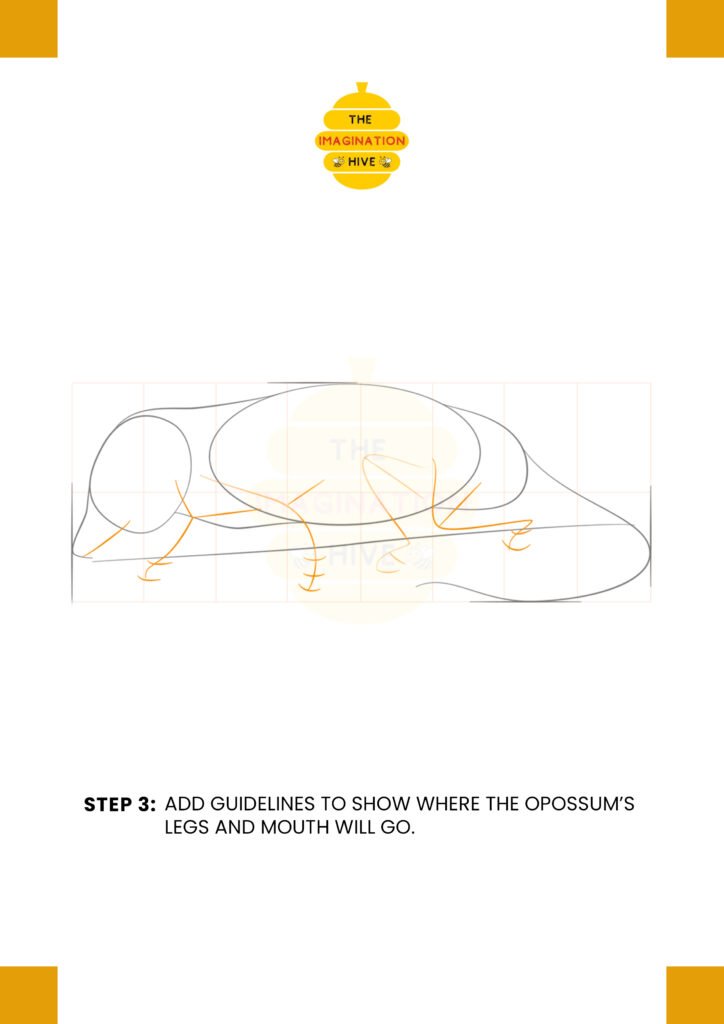
Sketch simple guide lines to show where the legs, feet, and mouth will be placed. These lines help you plan the pose and balance of the opossum.
Short tip: Use simple curves and angles, not detailed shapes yet.
Guidelines should stay rough at this stage.
Step 4: Sketch the Legs, Feet, and Face
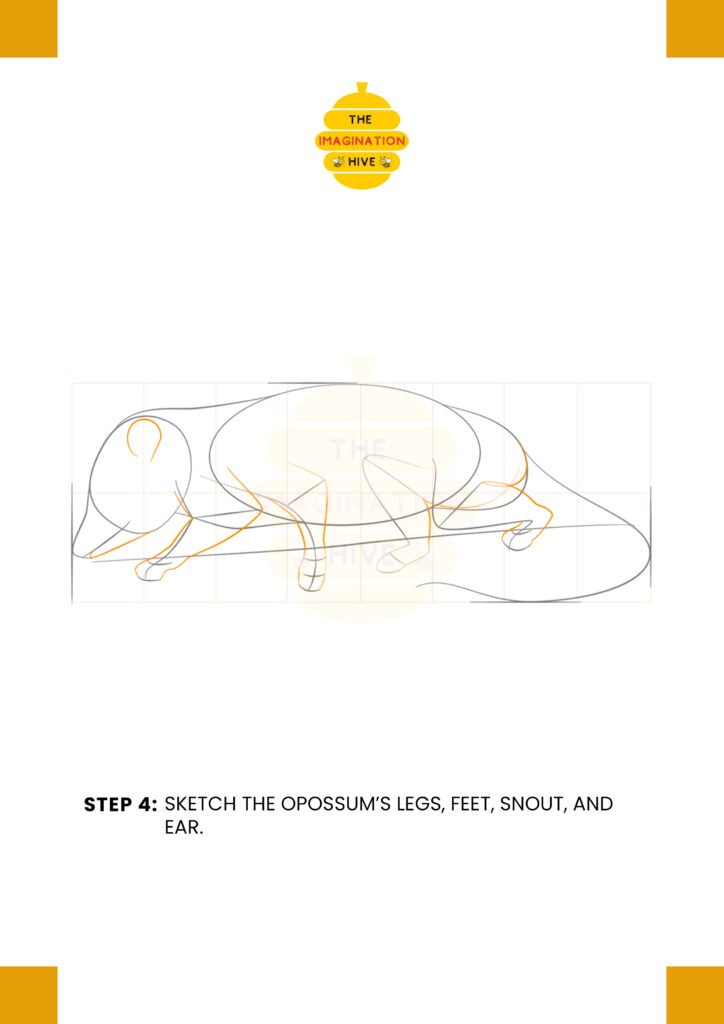
Start shaping the legs and feet using the guides. Draw the snout and add the ear, keeping the forms simple and rounded.
Short tip: Focus on shape, not details.
Clear shapes make refining easier later.
Step 5: Add Facial Features and Tail Details
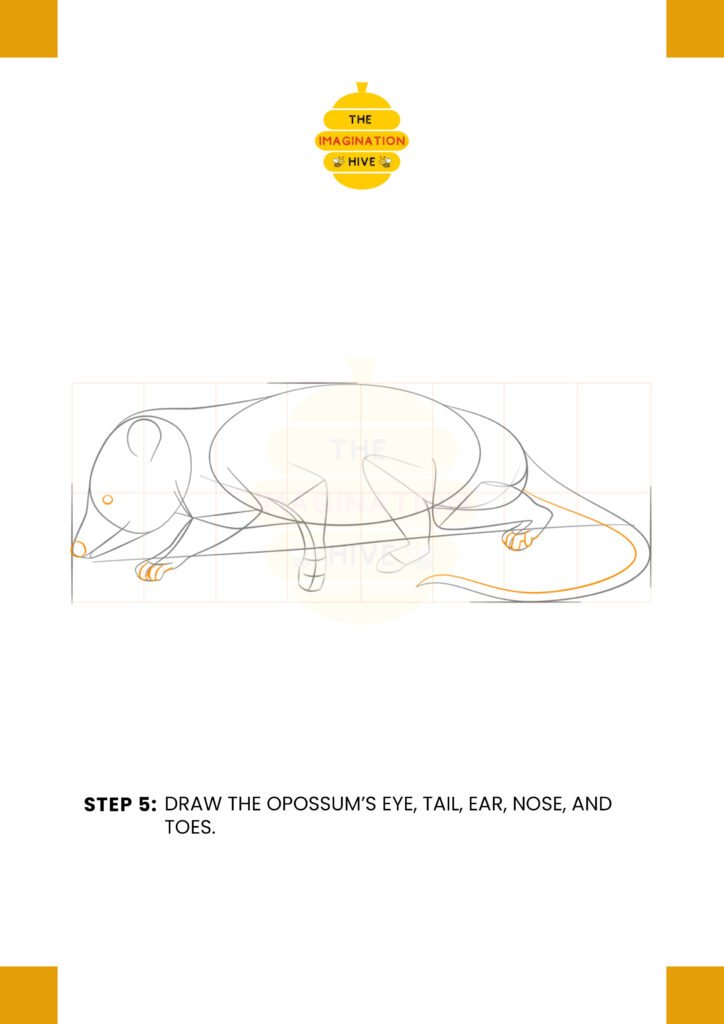
Draw the eye, nose, toes, and refine the tail shape. Adjust the legs and feet so they sit naturally on the branch.
Short tip: Compare both sides of the body as you draw.
Balanced details improve realism.
Step 6: Refine the Full Opossum Drawing
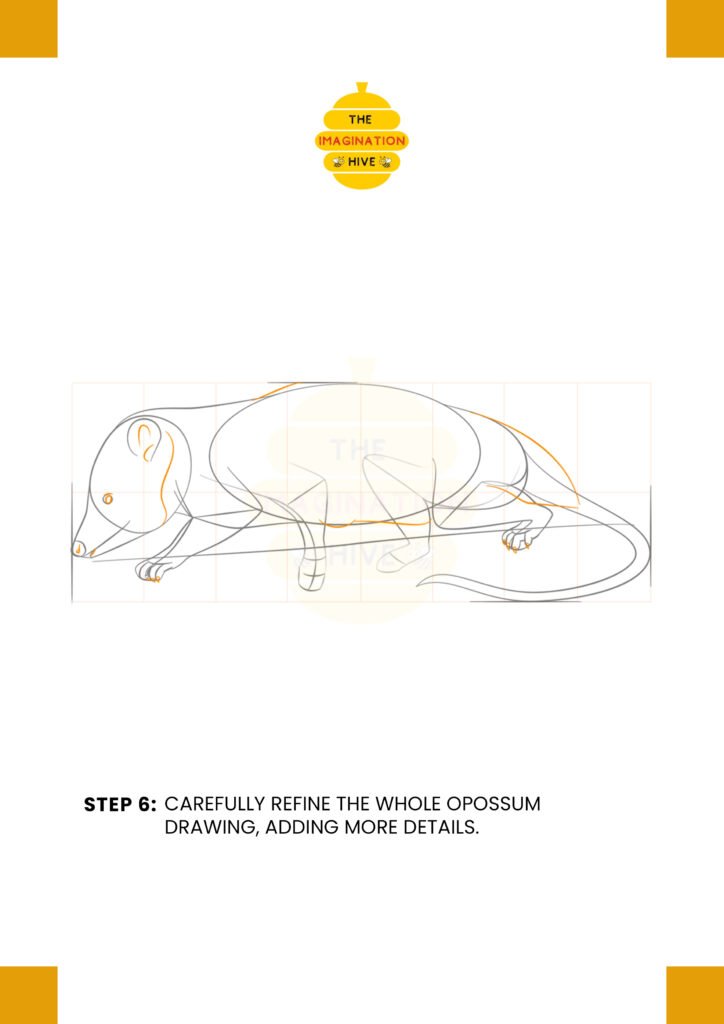
Carefully clean up the lines and add more definition to the body, fur direction, and limbs. Smooth out any rough edges.
Short tip: Work slowly and adjust one section at a time.
Small corrections make a big difference.
Step 7: Finish and Outline the Drawing
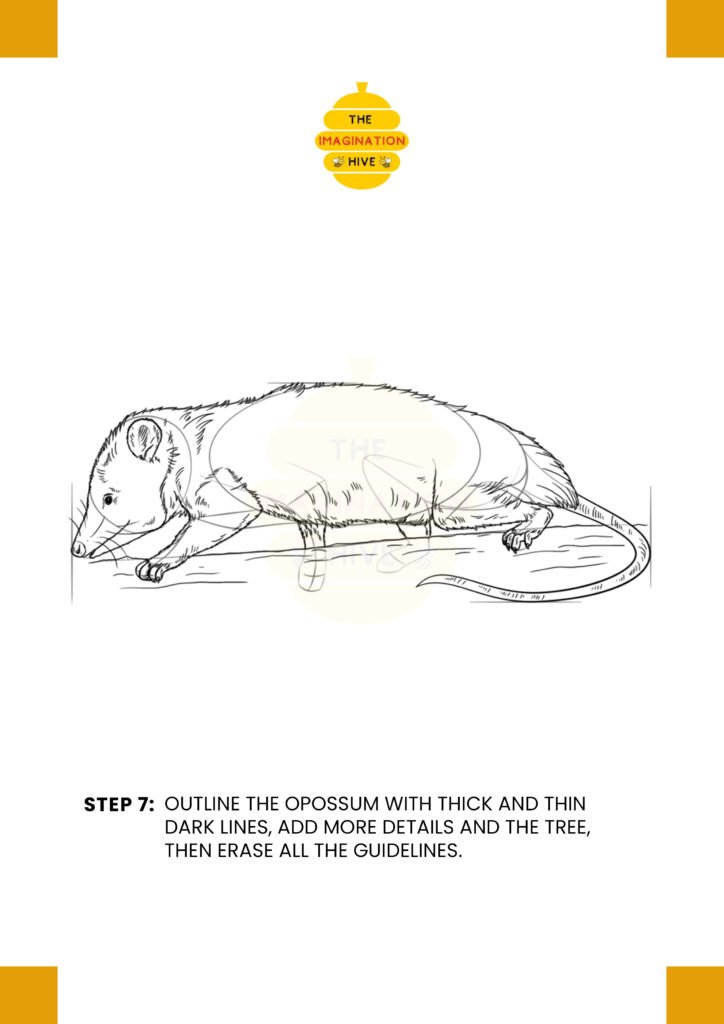
Outline the opossum using a mix of thick and thin lines. Add texture, fur details, and the tree branch, then erase all remaining guidelines.
Short tip: Thicker lines work best on the outer edges.
Line variation gives your drawing depth and life.