Learn how to draw a hammerhead shark by breaking its unique shape into smooth guidelines and simple forms.
Step 1:

Mark the picture’s width and height, draw the hammerhead shark’s head, and add a smooth guideline for its body.
Short tip: Keep the body guideline long and flowing to capture the shark’s swimming motion.
Step 2:
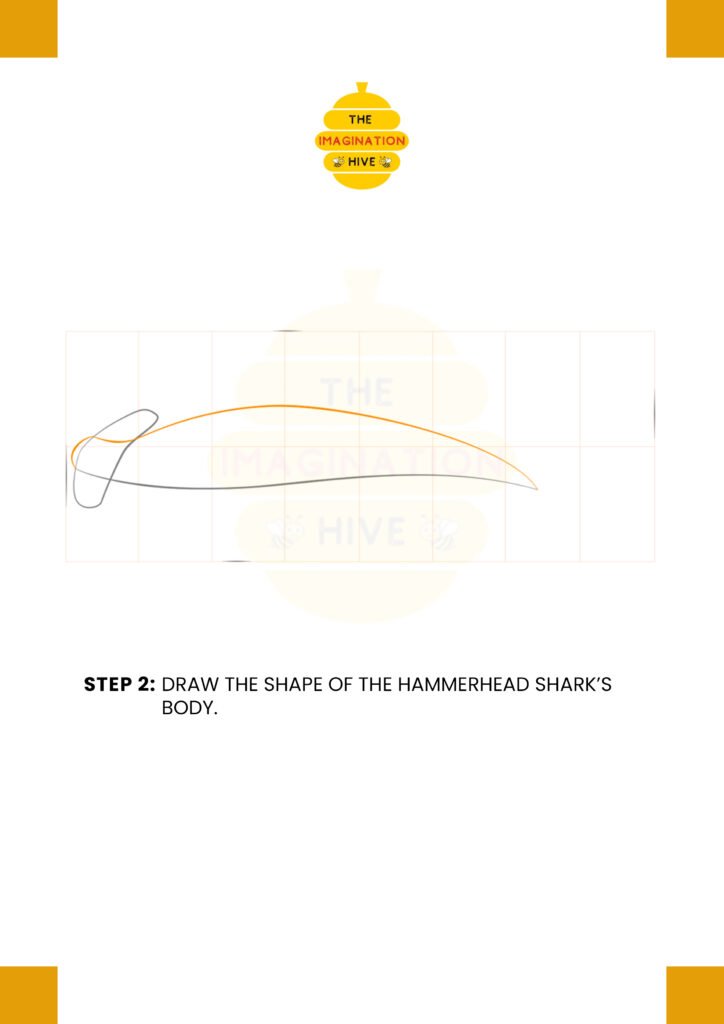
Draw the shape of the hammerhead shark’s body.
Short tip: Make the body thicker near the head and taper it toward the tail.
Step 3:
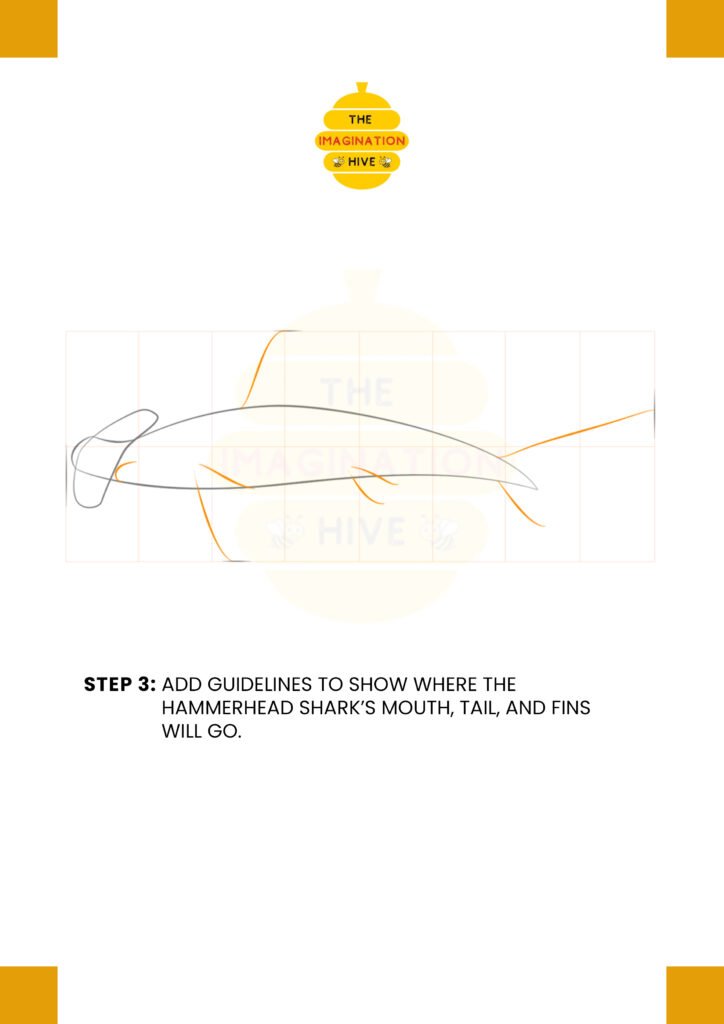
Add guidelines to show where the hammerhead shark’s mouth, tail, and fins will go.
Short tip: Light guidelines help keep the fins balanced on both sides.
Step 4:
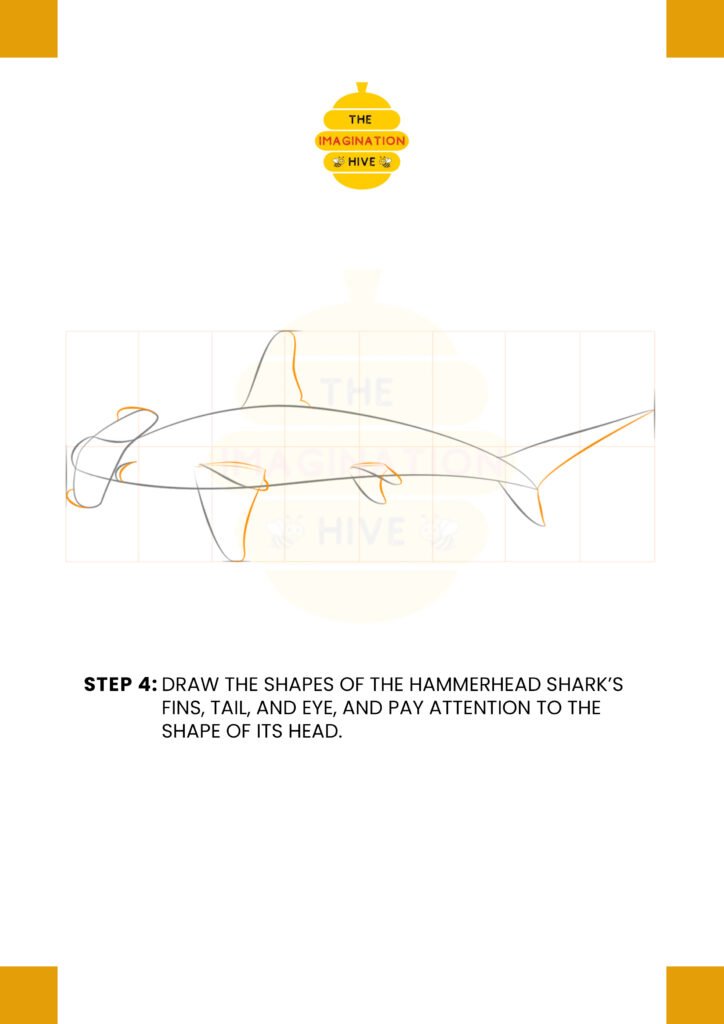
Draw the shapes of the hammerhead shark’s fins, tail, and eye, and pay attention to the shape of its head.
Short tip: Focus on the wide hammer-shaped head — this is the shark’s most important feature.
Step 5:

Add the eye, gills, and small tail fins, draw the nose, and vary the line thickness and darkness.
Short tip: Small details like gills and line variation make the shark look more realistic.
Step 6:

Sketch the small fins and refine the whole shark, paying close attention to details.
Short tip: Smooth out curves and refine fin edges for a clean, natural look.
Step 7:
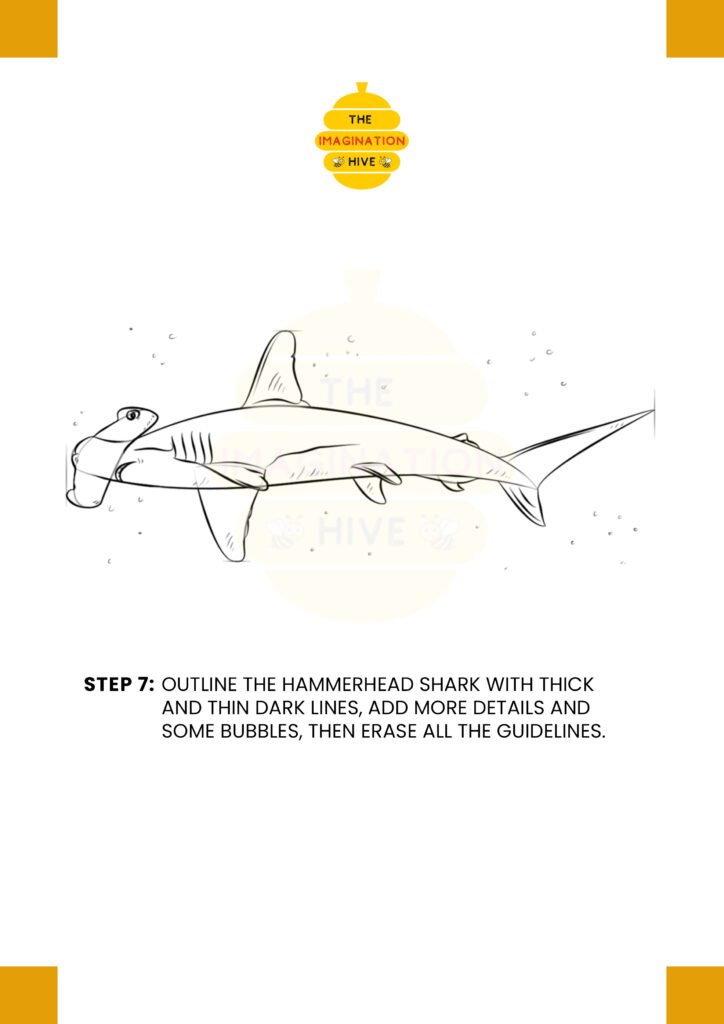
Outline the hammerhead shark with thick and thin dark lines, add more details and some bubbles, then erase all the guidelines.
Short tip: Use thicker lines for the outer body and thinner lines for inner details to finish the drawing neatly.