Learn how to draw an okapi by building its unique body shape with simple forms and gradually refining its elegant details.
Step 1:
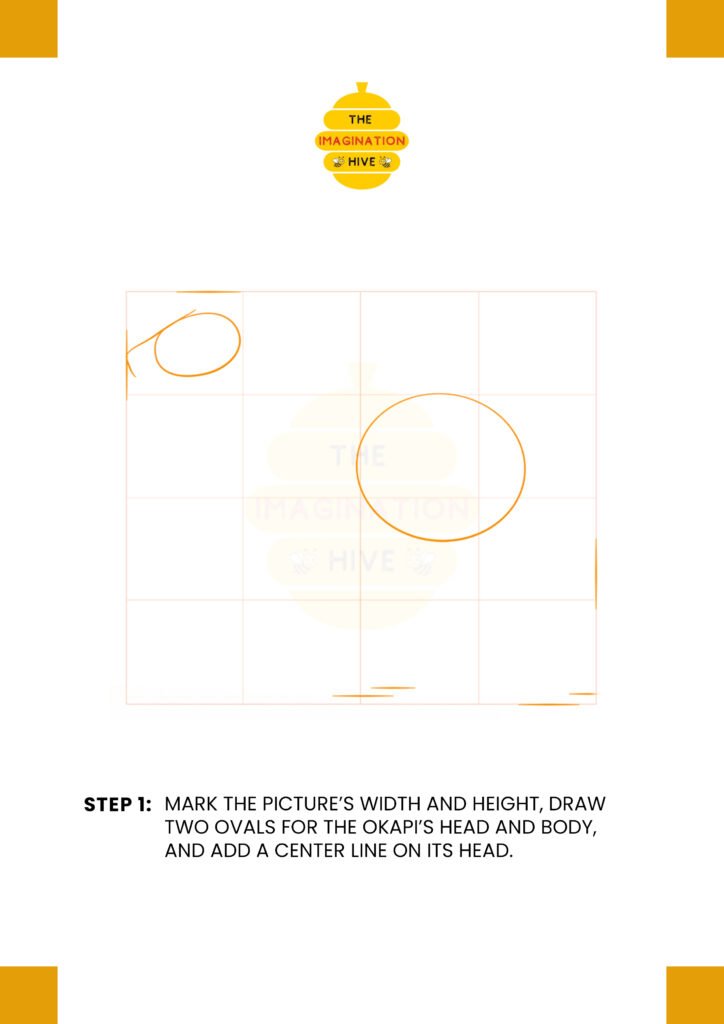
Mark the picture’s width and height, draw two ovals for the okapi’s head and body, and add a center line on its head.
Short tip: Keep the head oval smaller and slightly angled to give the okapi a natural posture.
Step 2:
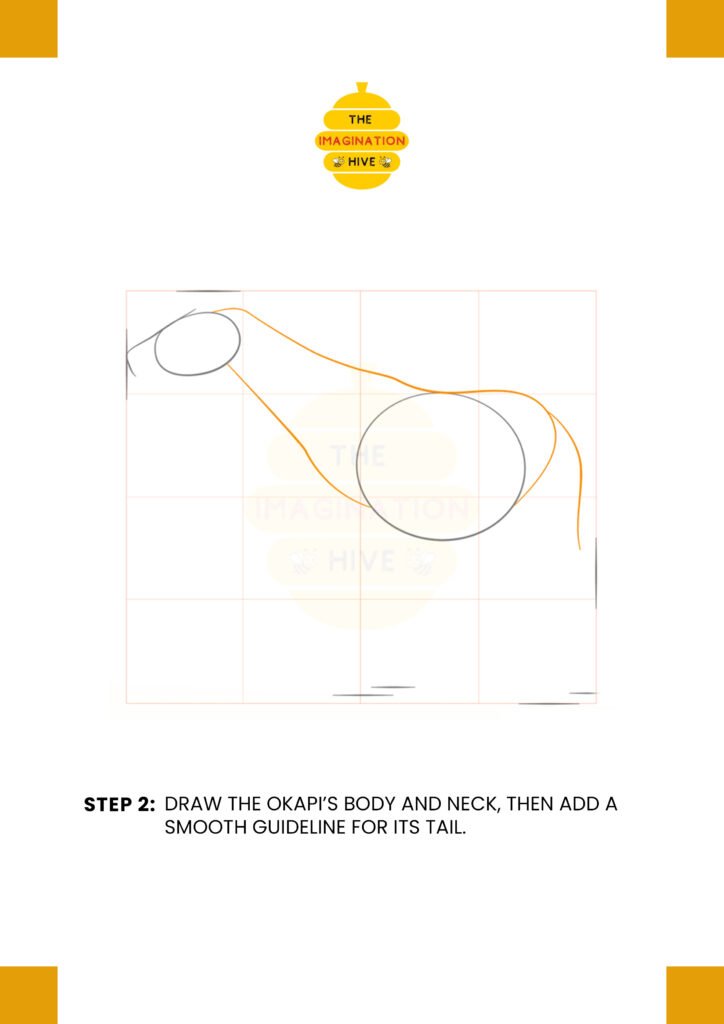
Draw the okapi’s body and neck, then add a smooth guideline for its tail.
Short tip: Use long, gentle curves to show the okapi’s graceful silhouette.
Step 3:
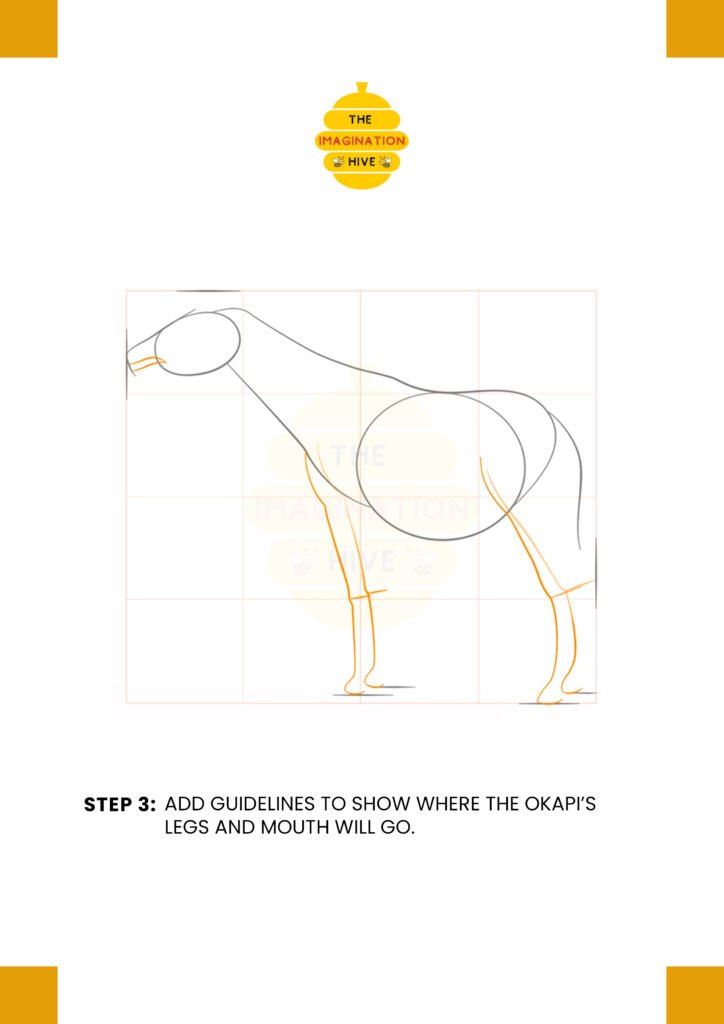
Add guidelines to show where the okapi’s legs and mouth will go.
Short tip: Place the leg guidelines evenly to keep the body balanced.
Step 4:
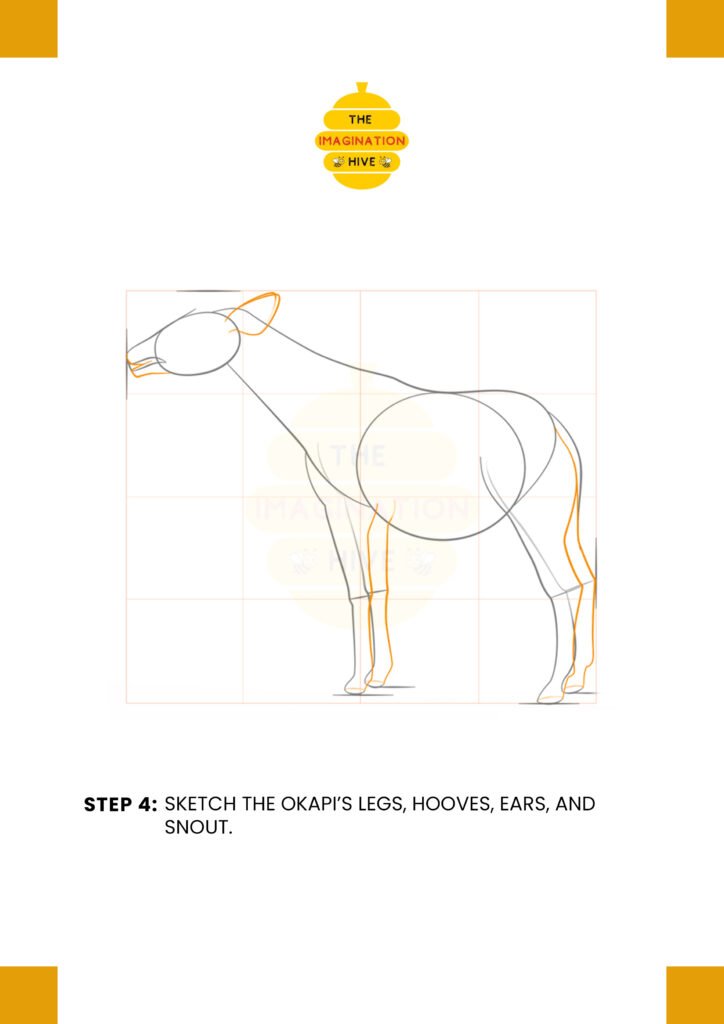
Sketch the okapi’s legs, hooves, ears, and snout.
Short tip: Keep the legs long and slender to match the okapi’s real proportions.
Step 5:
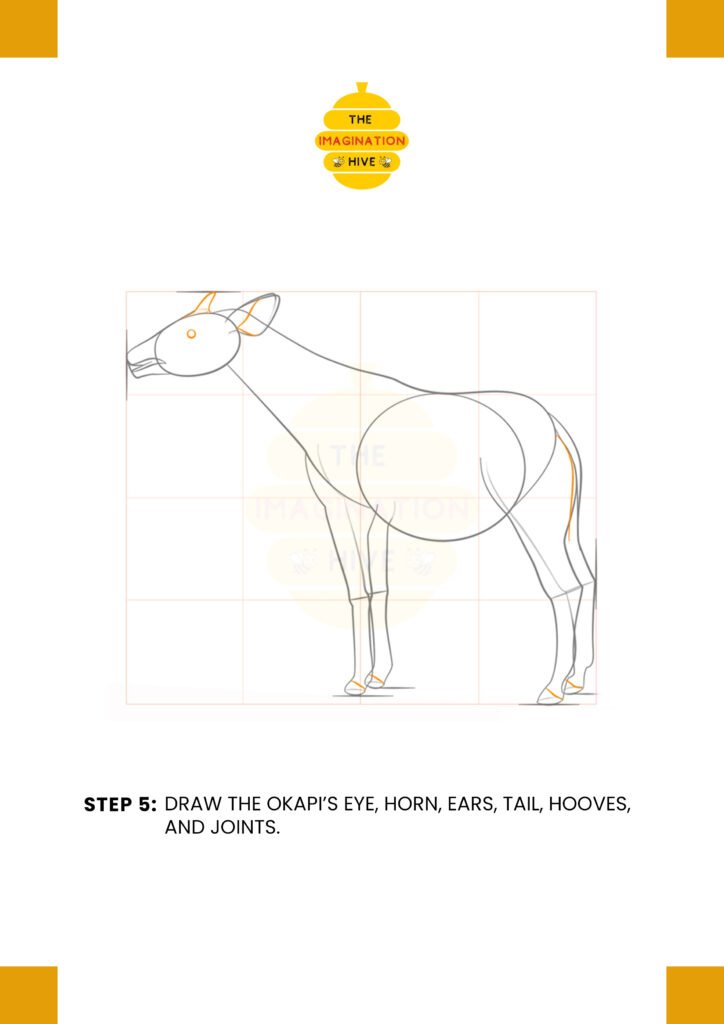
Draw the okapi’s eye, horn, ears, tail, hooves, and joints.
Short tip: Small facial details help capture the calm expression of the okapi.
Step 6:
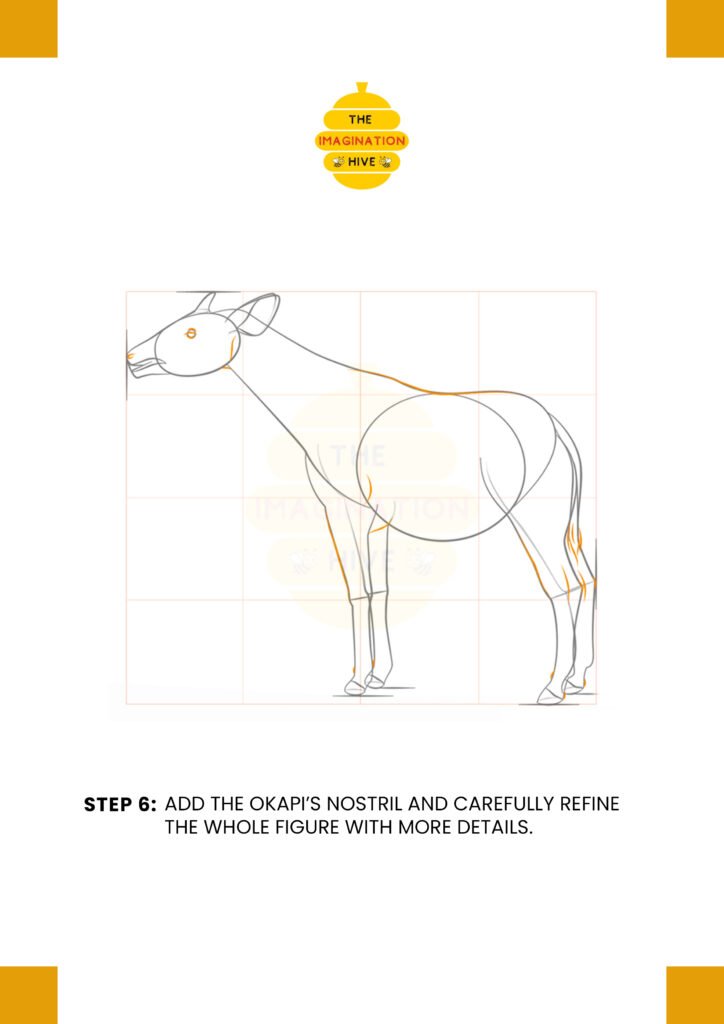
Add the okapi’s nostril and carefully refine the whole figure with more details.
Short tip: Smooth out overlapping lines to make the body look clean and natural.
Step 7:
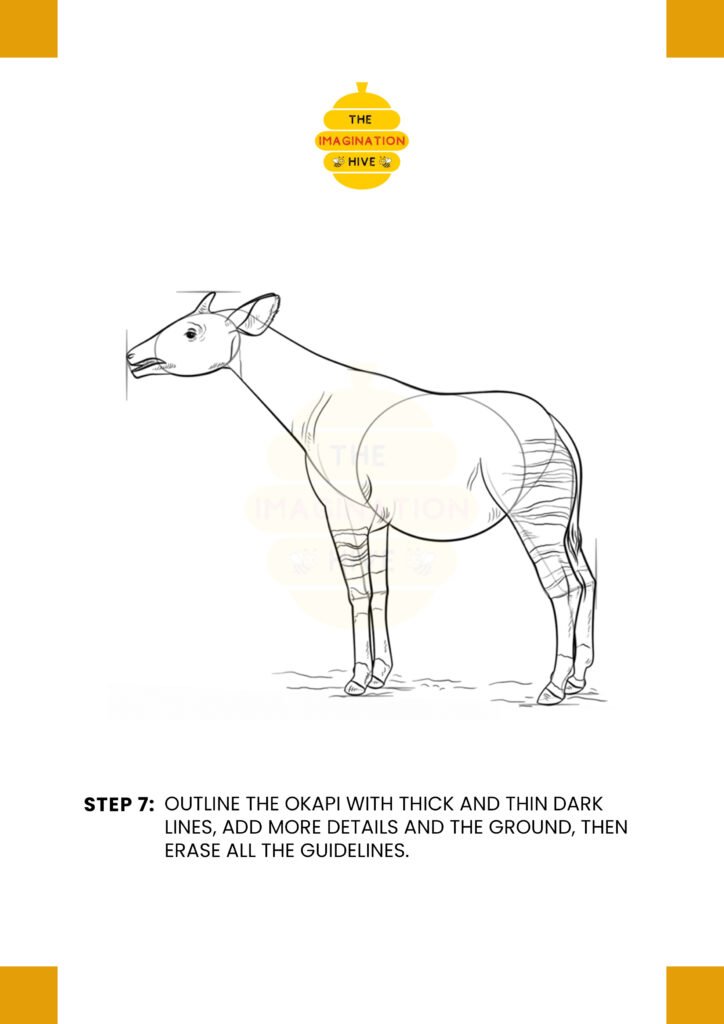
Outline the okapi with thick and thin dark lines, add more details and the ground, then erase all the guidelines.
Short tip: Use thicker lines on the outer edges and thinner lines inside for a polished finish.