In this step-by-step tutorial, you’ll learn how to draw a gazelle by starting with simple shapes and gradually refining the body, legs, and horns to create an elegant standing pose.
STEP 1: Measure and Draw Basic Shapes
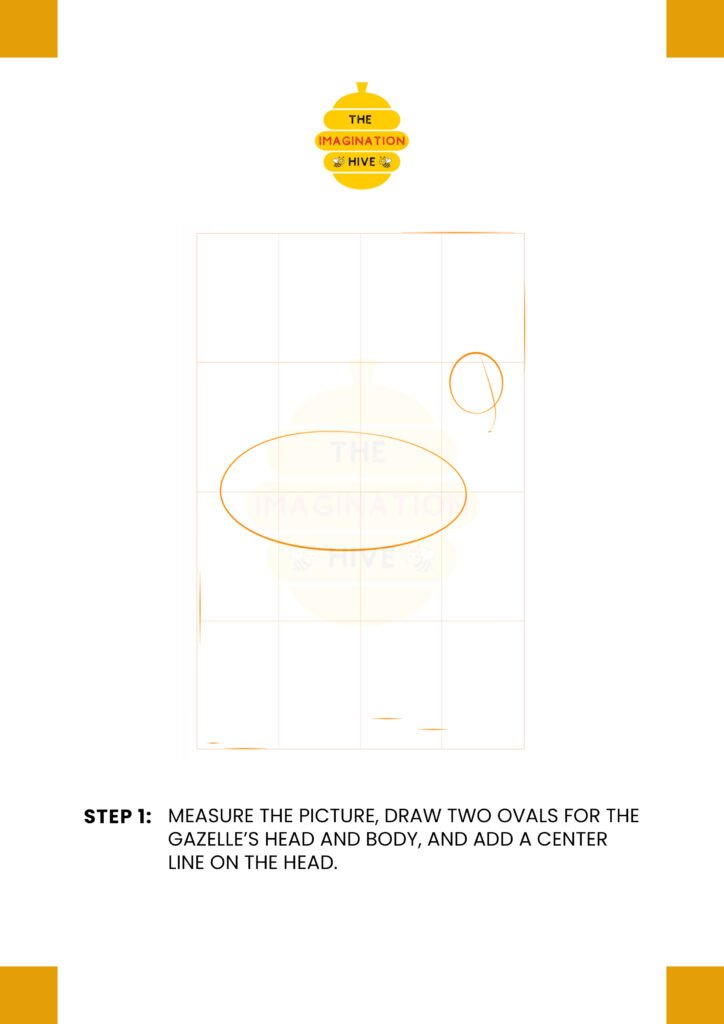
Measure the picture, draw two ovals for the gazelle’s head and body, and add a center line on the head to guide facial placement.
Short tip:
Keep the ovals light and loose so you can adjust proportions easily.
STEP 2: Draw the Body and Neck Shapes
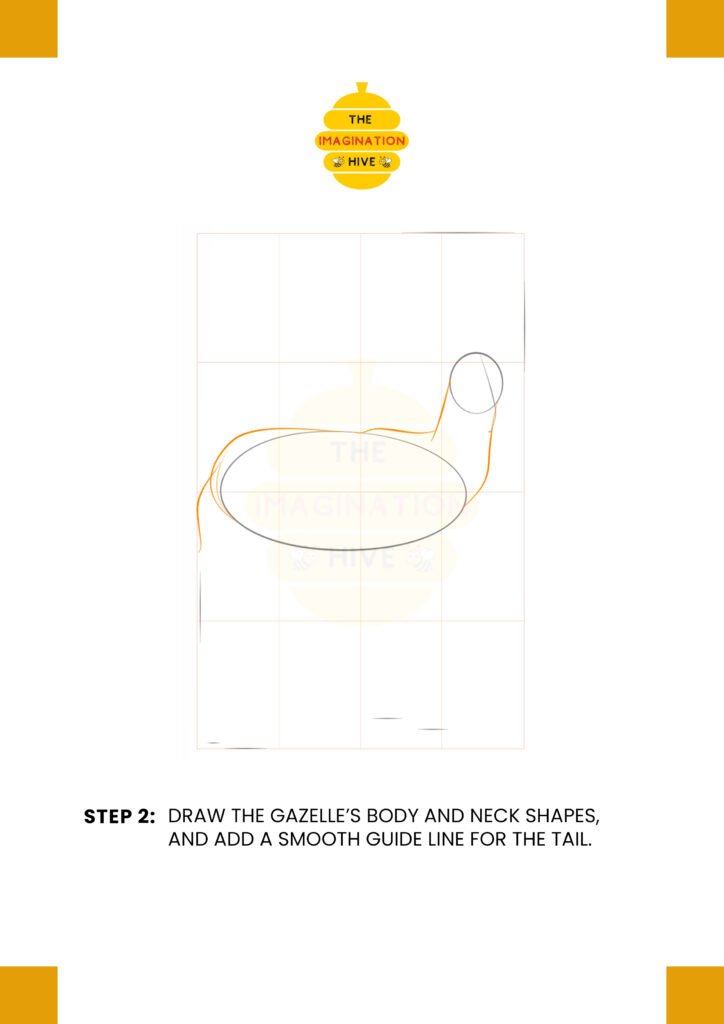
Connect the head and body with smooth lines to form the neck and back, then add a flowing guide line to show the direction of the tail.
Short tip:
A gentle curve in the neck helps capture the gazelle’s graceful look.
STEP 3: Add Guidelines for Legs and Face
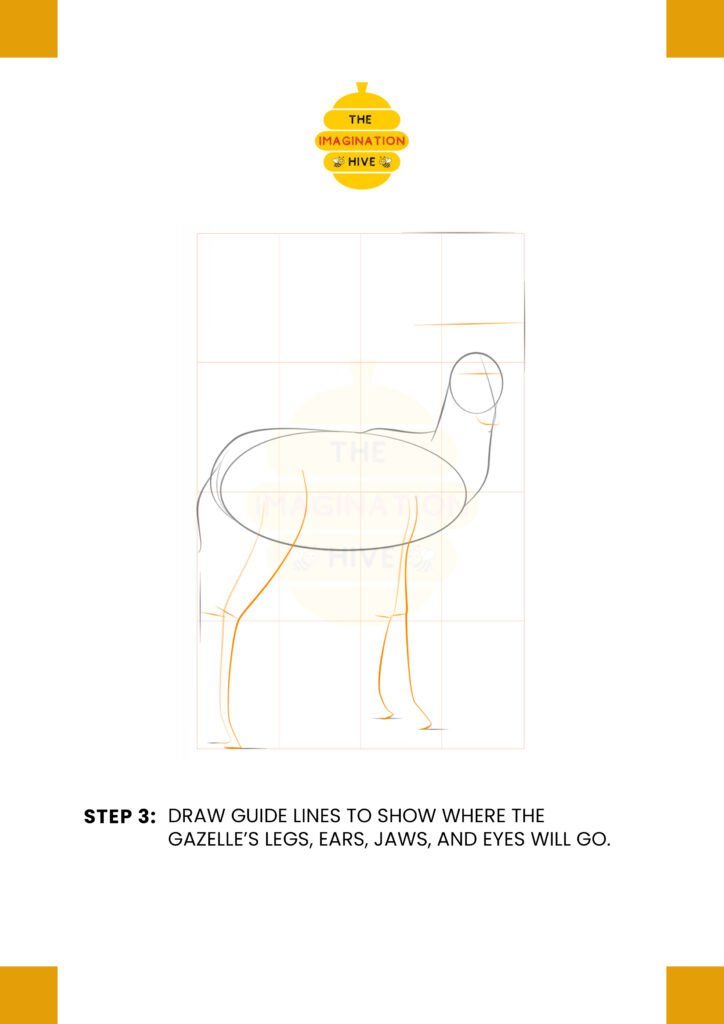
Draw guide lines to show where the gazelle’s legs, ears, jaws, and eyes will go, keeping the stance balanced and upright.
Short tip:
Focus on placement first, not details.
STEP 4: Sketch Legs, Hooves, and Head Details
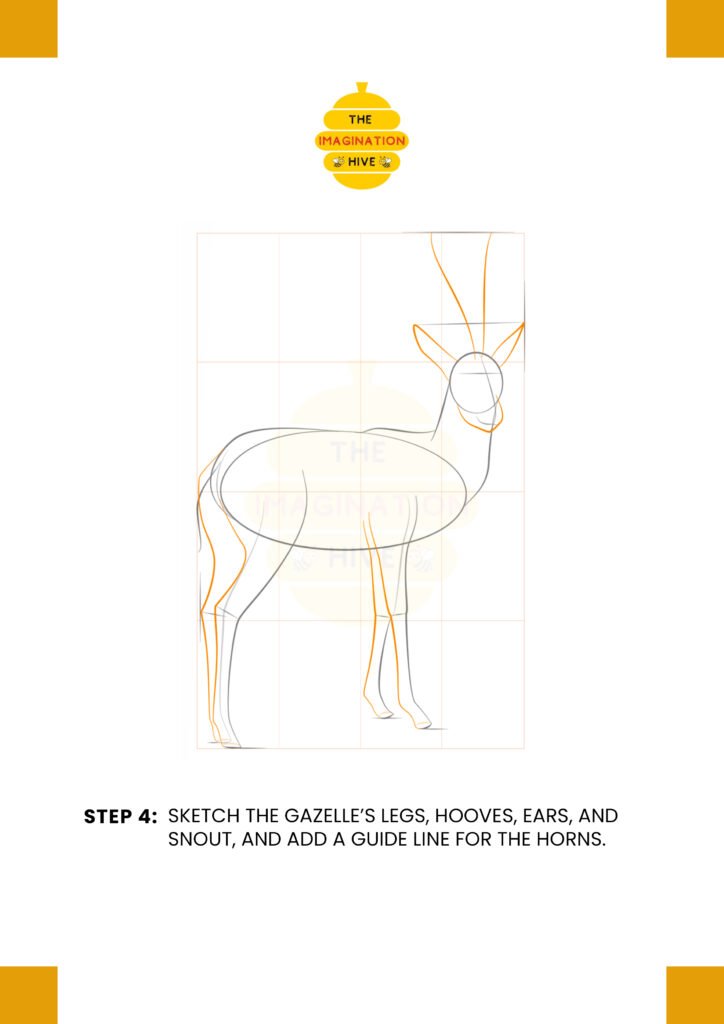
Sketch the gazelle’s legs and hooves, draw the ears and snout, and add a guide line for the horns extending upward from the head.
Short tip:
Gazelle legs are long and slim—avoid making them bulky.
STEP 5: Draw Eyes, Tail, Nose, and Horns
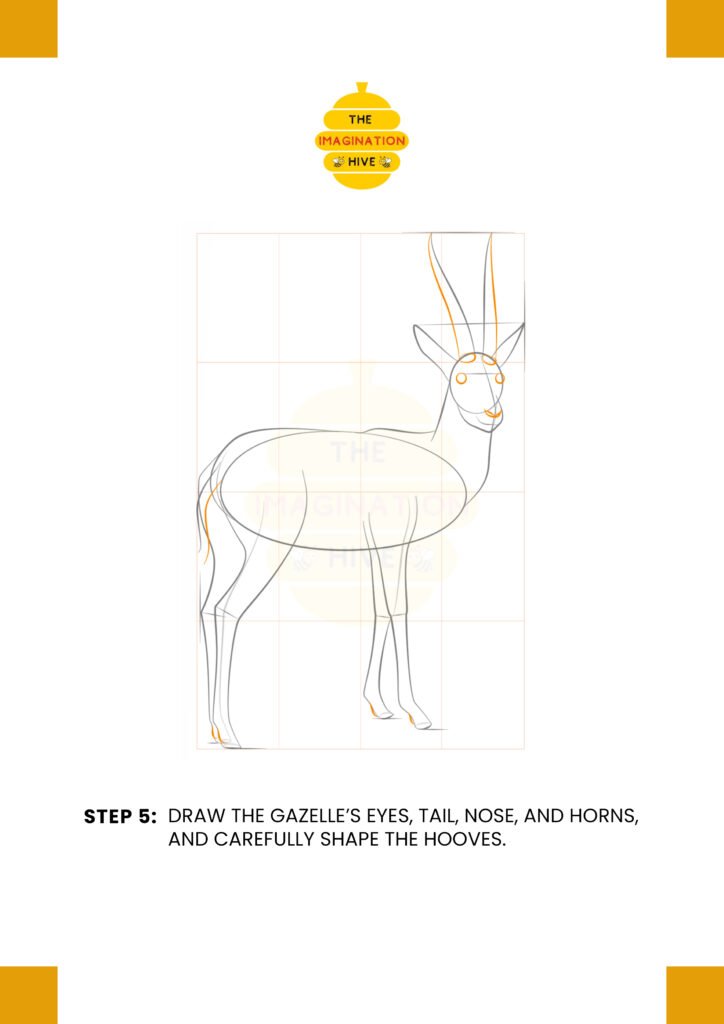
Add the eyes, nose, and tail, then carefully shape the horns and refine the hooves for a cleaner look.
Short tip:
Keep the horns symmetrical and lightly curved.
STEP 6: Add Horn Patterns and Final Details
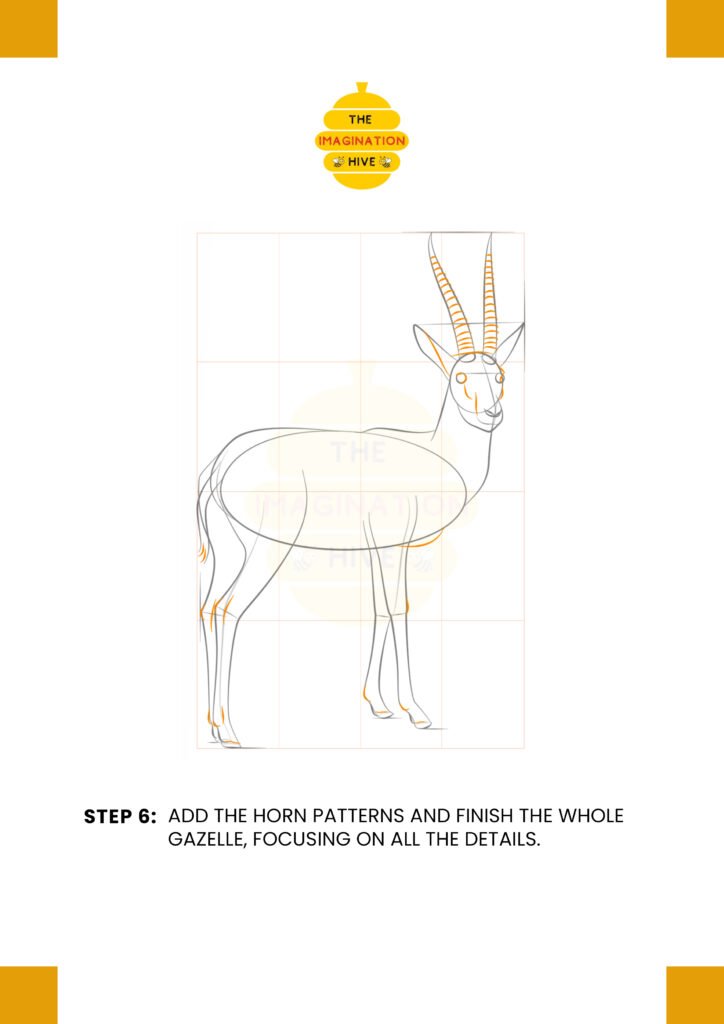
Add the horn patterns and refine the entire gazelle by smoothing lines and improving body and leg shapes.
Short tip:
Small line details can add realism without overcrowding the drawing.
STEP 7: Outline and Clean Up
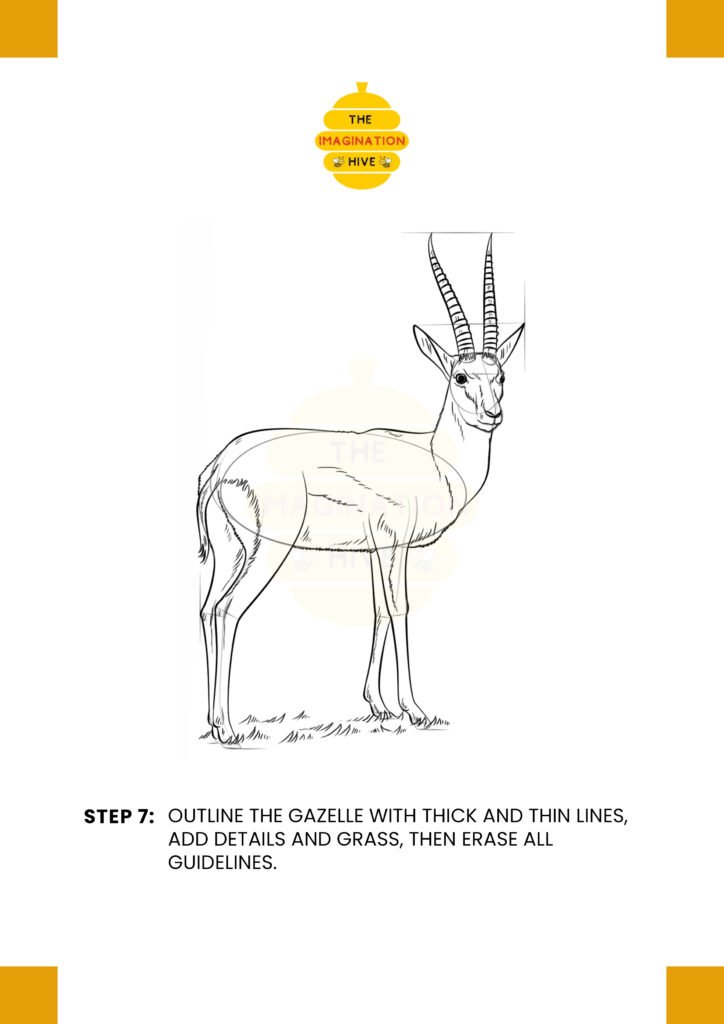
Outline the gazelle with thick and thin lines, add ground or grass details, and erase all remaining guidelines.
Short tip:
Varying line thickness gives the drawing depth and a polished finish.