
Blog / How to Draw a Snow Leopard Step-by-Step (Free Printable Sheet)
How to Draw a Snow Leopard Step-by-Step (Free Printable Sheet)
October 27, 2026

A snow leopard is a wonderful first big cat to draw. The head is round, the tail is long, and the spots can be as simple as little circles. Follow the seven steps, then download a printable from the How to Draw Animals collection.

Step 1: Draw the head

Draw a circle for the snow leopard’s head and a light cross through the middle. The cross keeps the eyes level.
Short tip: Keep the pencil light until the last step.
Step 2: Add the body

Add a long oval behind the head for the body. A snow leopard is sleek, so keep the body longer than it is tall.
Short tip: Keep the pencil light until the last step.
Step 3: Mark the ears, legs, and tail

Sketch two small triangles on the head, four short lines under the body, and a long curved line for the thick tail.
Short tip: Keep the pencil light until the last step.
Step 4: Shape the ears, paws, and tail

Turn the triangles into rounded ears. Widen the legs into simple tubes and give the tail a fluffy outline.
Short tip: Keep the pencil light until the last step.
Step 5: Draw the face

Add two eyes on the cross, a small nose, and a short muzzle. Snow leopards have a calm, rounded face.
Short tip: Keep the pencil light until the last step.
Step 6: Clean the outline
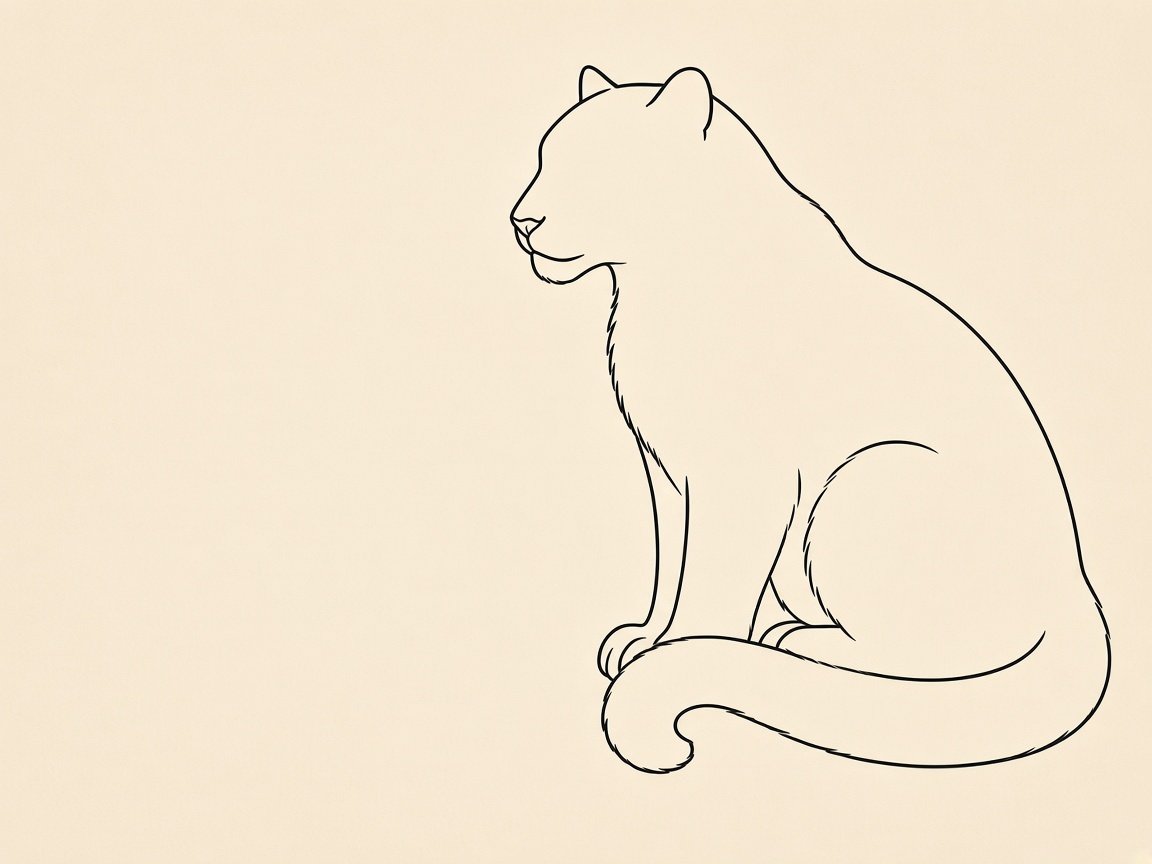
Trace the outer shape with a darker line and erase the cross and extra guides.
Short tip: Keep the pencil light until the last step.
Step 7: Add spots
Dot the forehead, back, and tail with small spots. Add a few short lines for fur, then erase anything left over.
Short tip: Keep the pencil light until the last step.