In this fun drawing tutorial, you’ll learn how to draw Bugs Bunny lying down and relaxing with a carrot in his hand. Follow each step carefully, starting with simple shapes and gradually adding details to bring this classic cartoon character to life.
STEP 1: Mark the Height and Draw Basic Ovals
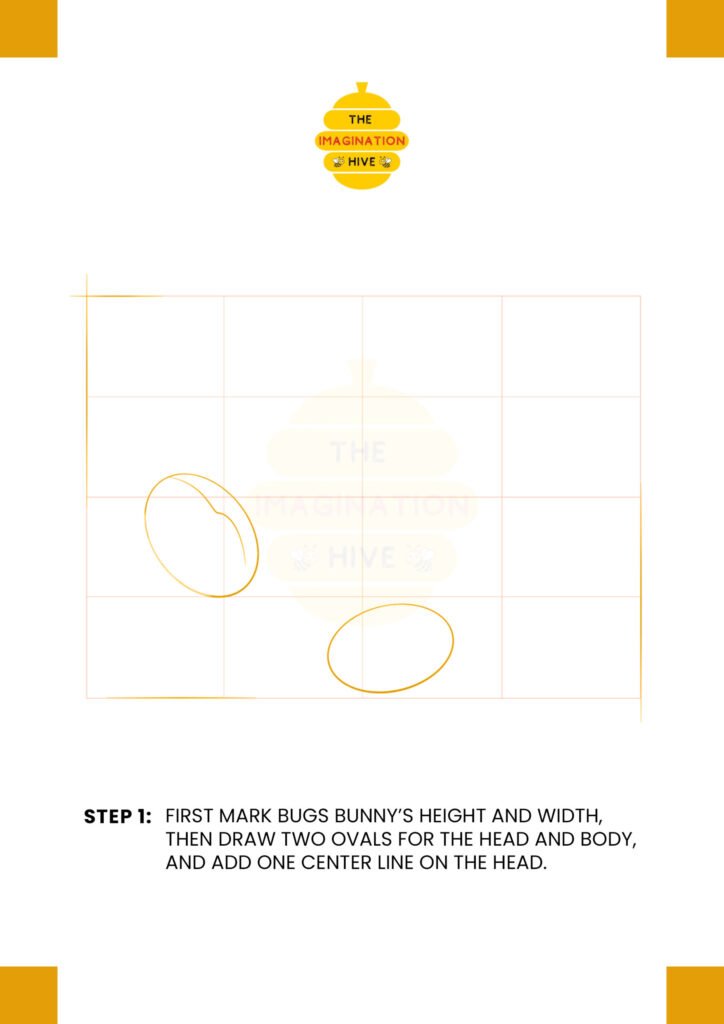
Start by marking Bugs Bunny’s height and width using light guidelines. Draw one oval for the head and another oval for the body. Add a single center line on the head to help place the facial features correctly.
Short tip: Keep your lines very light so you can easily erase them later.
These basic shapes will help you get the right proportions before adding any details.
STEP 2: Sketch the Neck and Body Shape
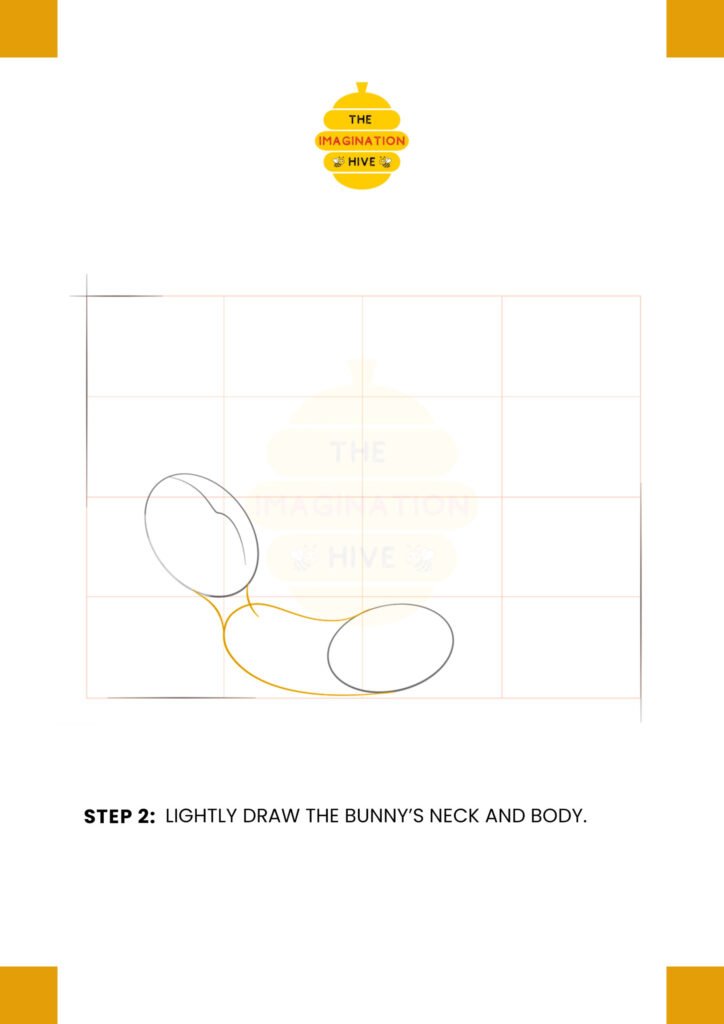
Lightly connect the head and body by sketching the neck. Refine the body shape so it looks relaxed and slightly curved, matching the laying-down pose.
Short tip: Don’t worry about perfection—focus on the overall flow of the pose.
At this stage, your drawing should look simple but clearly show the character’s position.
STEP 3: Add Guidelines for Legs and Face

Draw light guidelines for the legs and front legs. Use small curved lines to show their size and position. Add small marks on the head to indicate where the eyes will go.
Short tip: Think of the legs as soft tubes to make positioning easier.
These guidelines will help you place everything correctly before outlining.
STEP 4: Draw the Ears and Nose, Outline the Legs
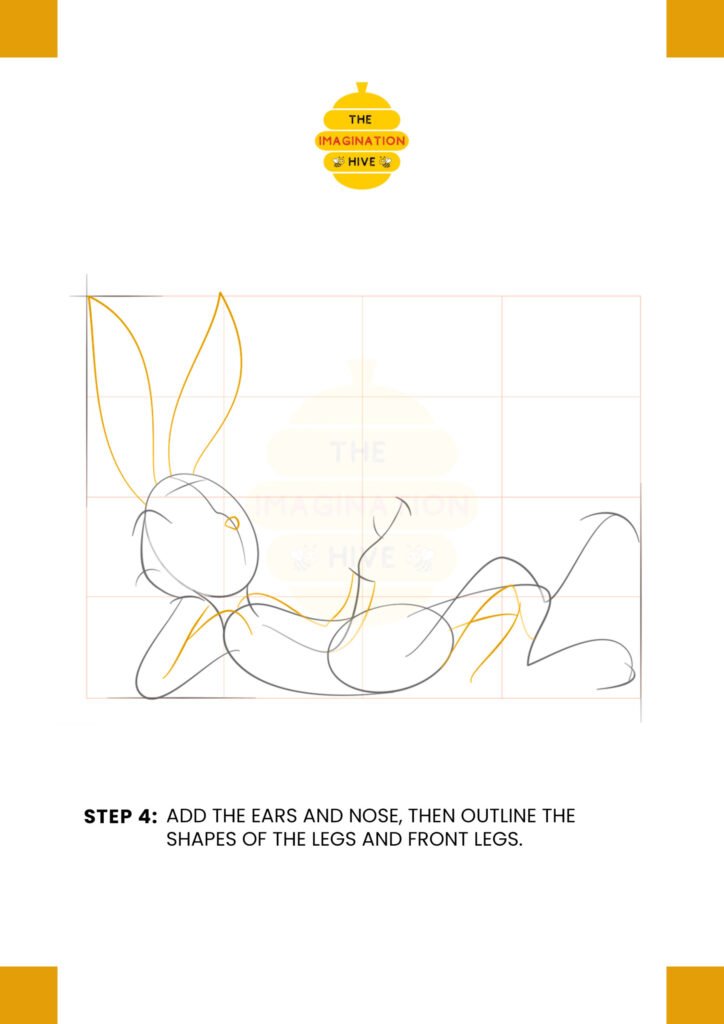
Add Bugs Bunny’s long upright ears on top of the head. Sketch the nose and begin outlining the shapes of the legs and front legs more clearly.
Short tip: Make the ears tall and slightly curved for a natural look.
Now the character should start looking more recognizable.
STEP 5: Add Eyes, Feet, Face, and Ear Details
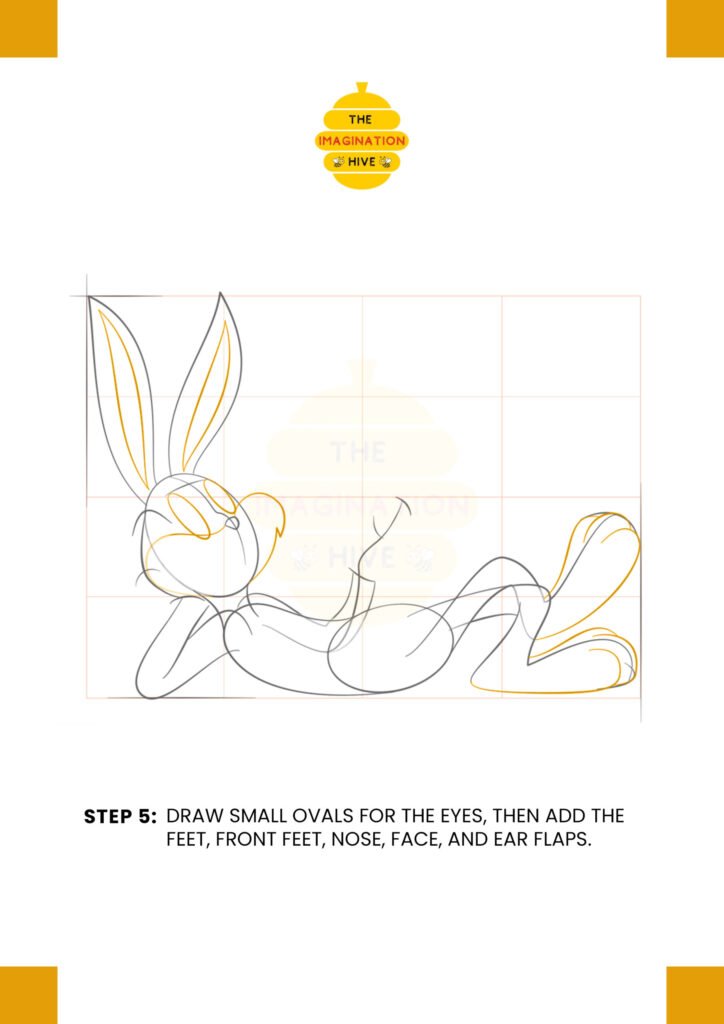
Draw small ovals for the eyes. Add the feet, front feet, nose details, face shape, and the inner parts of the ears.
Short tip: Keep the facial features balanced on both sides of the center line.
Your drawing is now starting to show Bugs Bunny’s personality.
STEP 6: Sketch the Gloves, Tail, Mouth, and Pupils
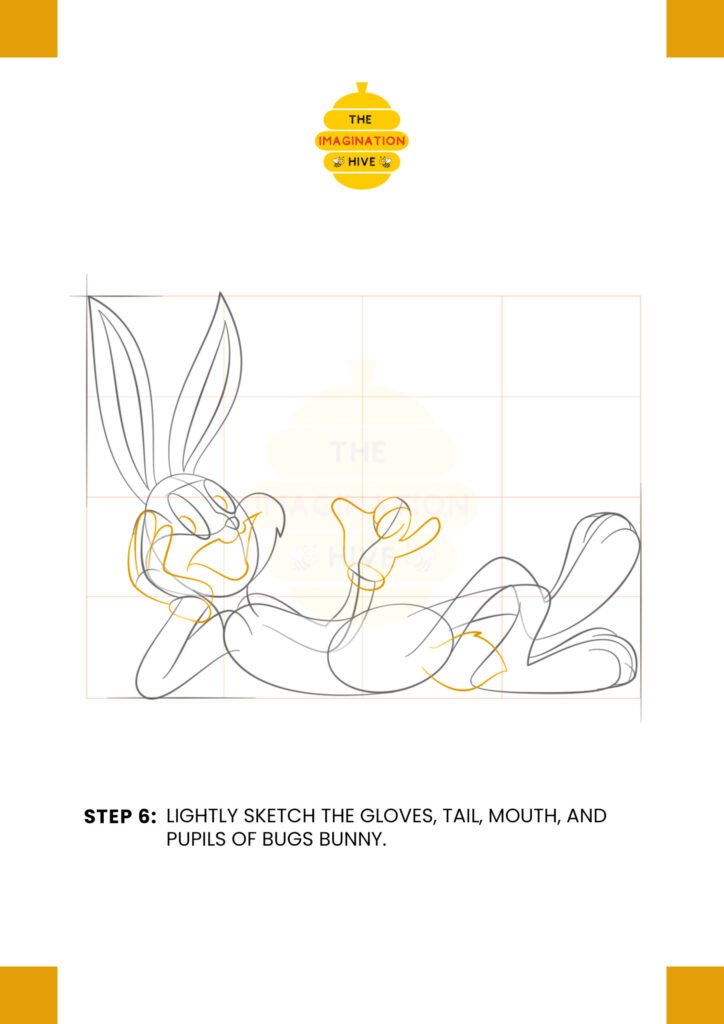
Lightly sketch the gloves on his hands, the fluffy tail, the mouth shape, and the pupils inside the eyes. Begin shaping the carrot in his hand.
Short tip: Use curved lines to make the gloves and cheeks look soft and cartoon-like.
This step adds more character and expression to the drawing.
STEP 7: Refine Details and Add the Carrot
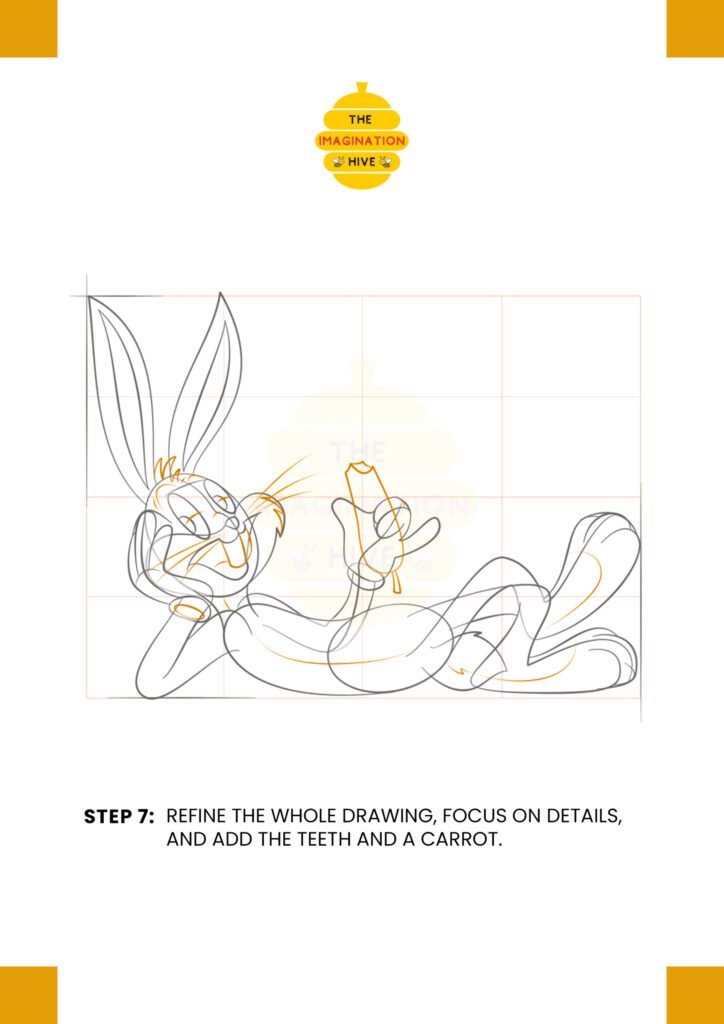
Refine the entire drawing by cleaning up the lines. Focus on facial details, add the teeth, and clearly draw the carrot in his hand.
Short tip: Go over important outlines slightly darker to define the character.
Now Bugs Bunny should look lively and expressive.
STEP 8: Final Outline and Add Ground Details
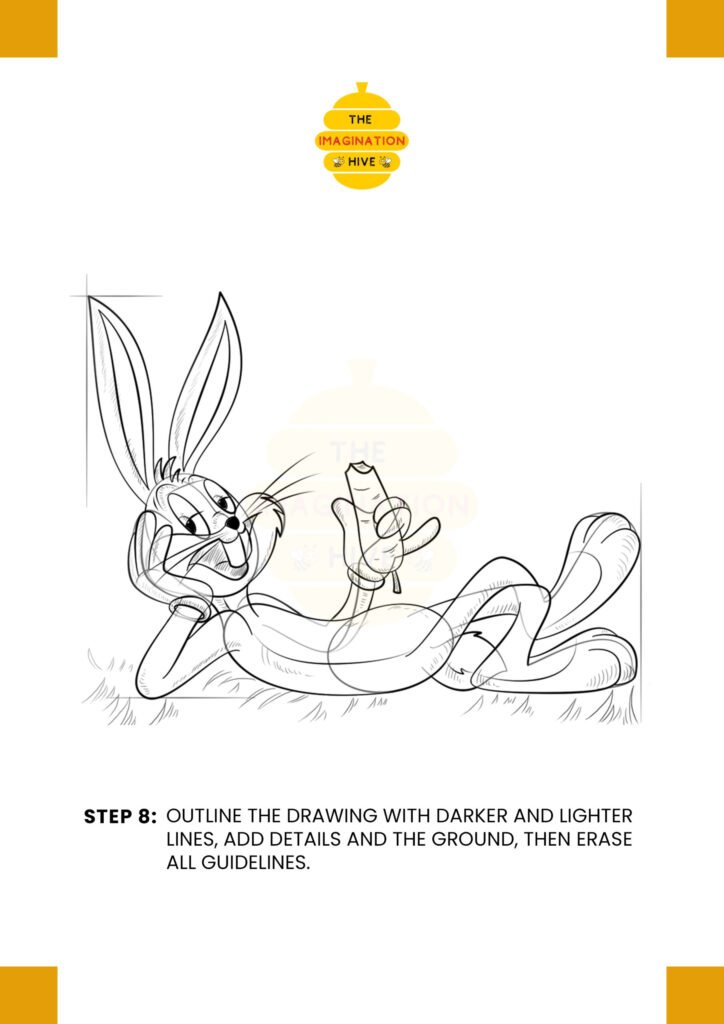
Outline the entire drawing with darker and lighter lines for depth. Add small details like grass or ground beneath him, then erase all remaining guidelines.
Short tip: Erase gently to avoid smudging your final lines.
Your Bugs Bunny drawing is now complete and ready for coloring!