Drawing an antelope may look tricky at first, but if you break it down into simple shapes, it becomes easy and fun! In this step-by-step guide, you’ll start with basic ovals and lines, then slowly refine them into a beautiful antelope with long legs and curved horns.
Step 1: Draw the Basic Shapes
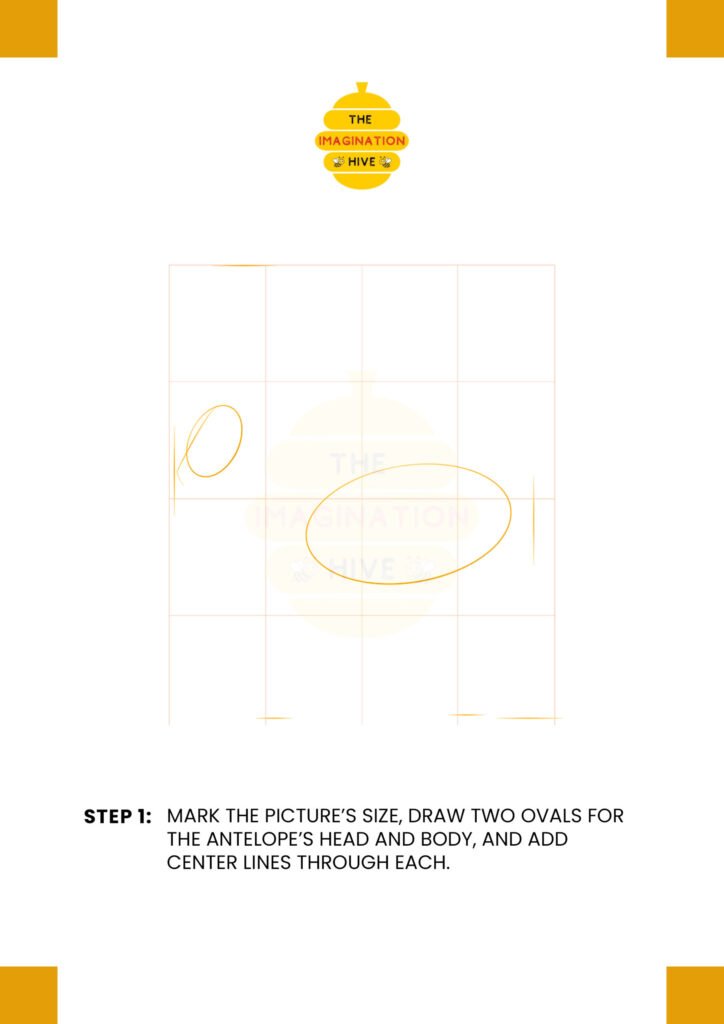
Start by marking the size of your drawing area. Draw two ovals — one small oval for the head and a larger oval for the body. Add a center guideline through each oval to help position the features correctly.
Short Tip: Keep your lines light so you can erase them later.
These simple shapes will help you maintain the correct proportions as you build the antelope.
Step 2: Outline the Neck and Body

Connect the head to the body using smooth curved lines to form the neck. Then refine the body shape slightly around the large oval.
Short Tip: Use gentle curves to make the neck look natural and elegant.
At this stage, your antelope should start looking more connected and balanced.
Step 3: Add Leg Guidelines and Head Details
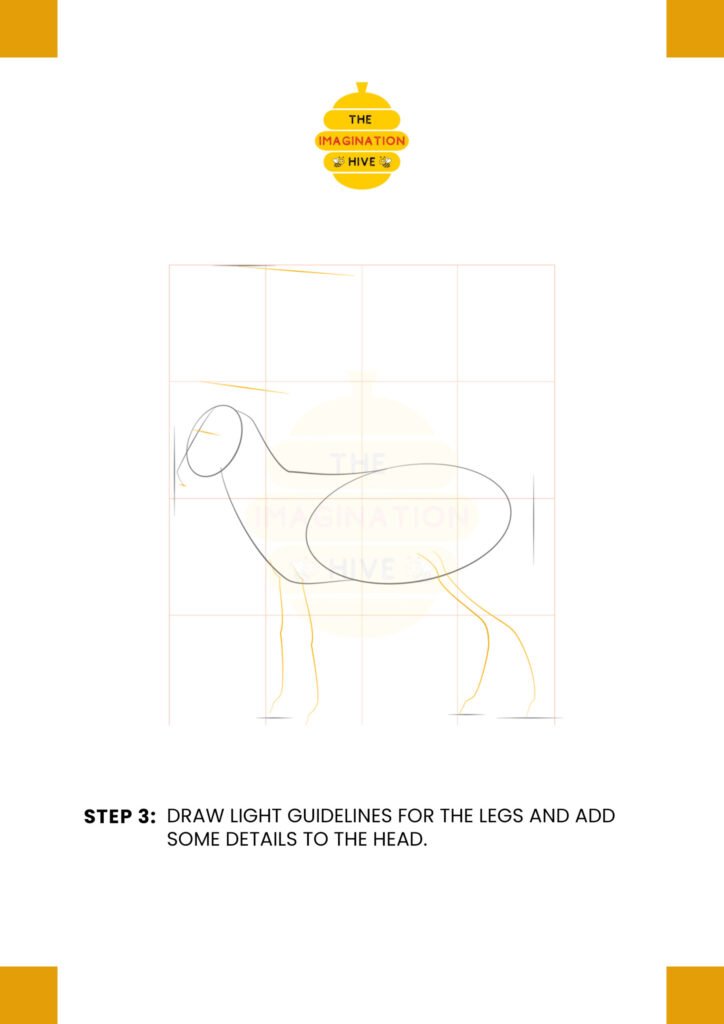
Sketch light guidelines for the legs using long, straight lines. Add a few small details to the head, such as light facial marks or positioning lines.
Short Tip: Make sure the legs are long and slender.
These guidelines will help you place the legs evenly and keep them proportional.
Step 4: Outline the Legs and Face
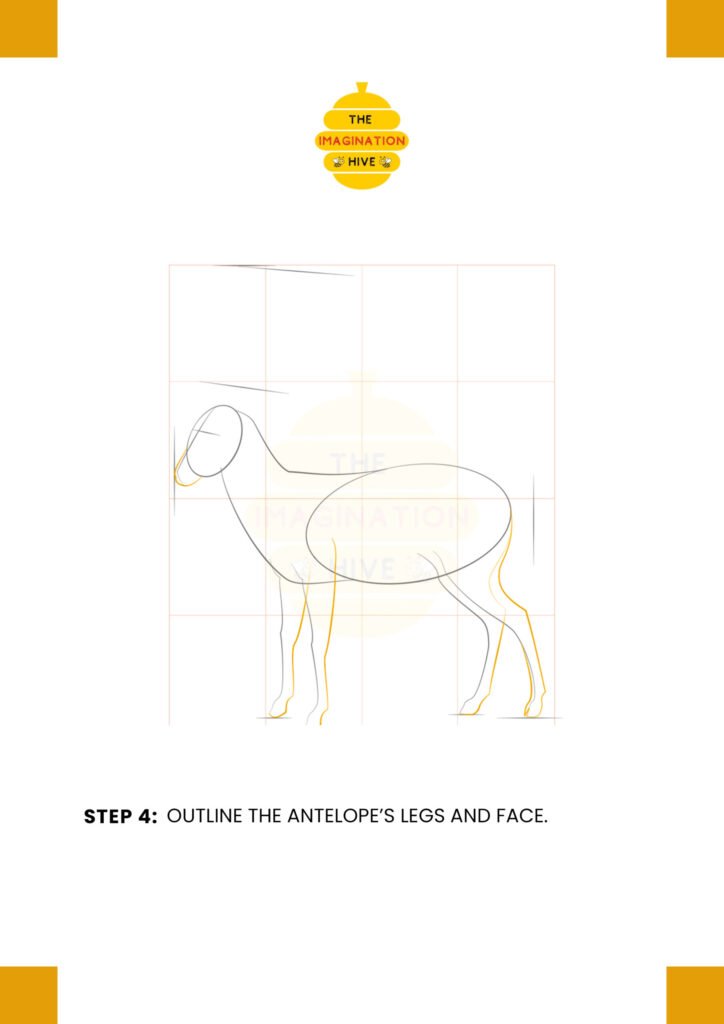
Now outline the legs more clearly, shaping them around the guidelines. Define the face structure by refining the muzzle and jaw.
Short Tip: Antelope legs are thin, so avoid drawing them too thick.
You should now clearly see the antelope’s standing posture.
Step 5: Add Horns and Facial Features
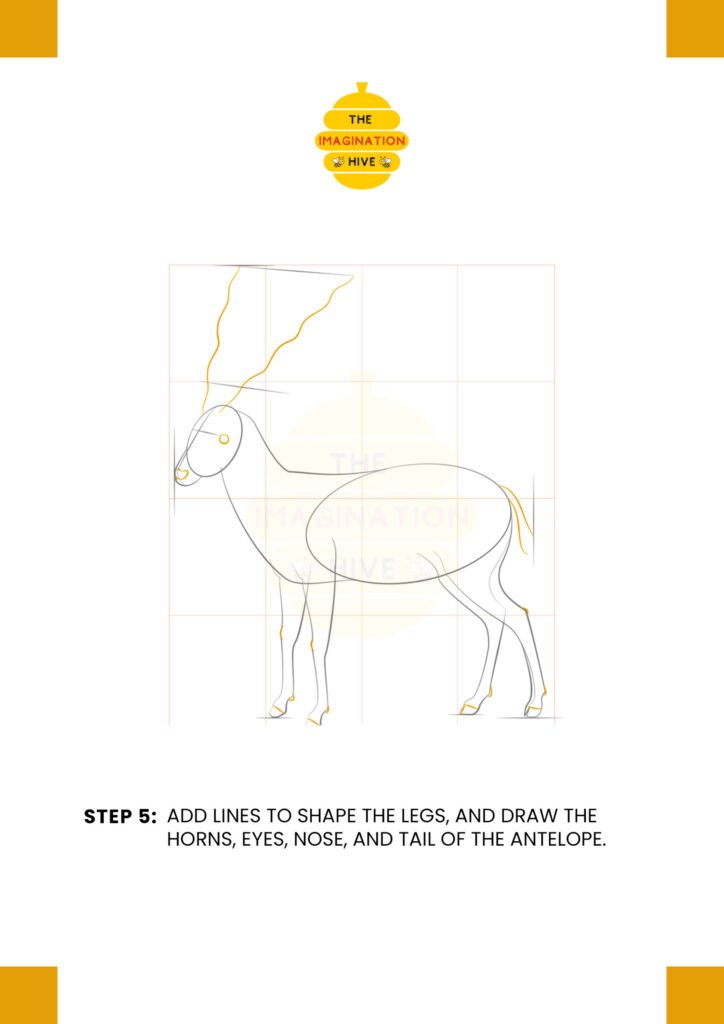
Draw the antelope’s long, curved horns extending upward. Add the eyes, nose, and tail, and refine the shape of the legs.
Short Tip: Draw the horns with smooth, flowing curves.
This step gives your antelope its unique and recognizable look.
Step 6: Refine the Horns and Ears
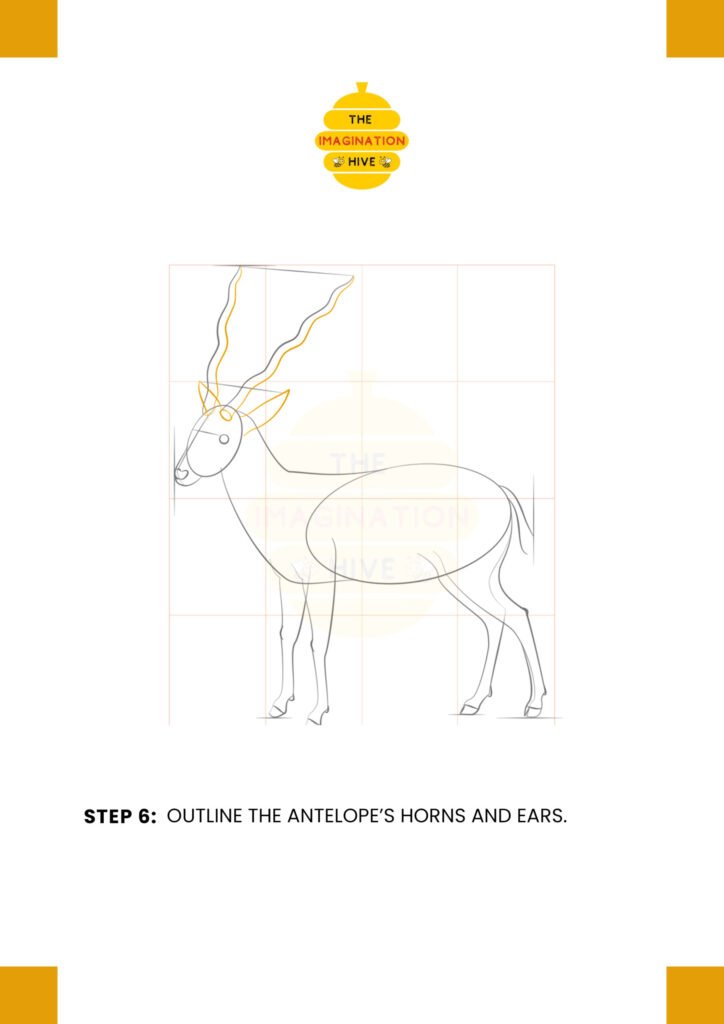
Outline the horns more clearly and shape the ears on both sides of the head.
Short Tip: Make the ears slightly pointed for a realistic appearance.
Your antelope is now starting to look more detailed and expressive.
Step 7: Add Body Details
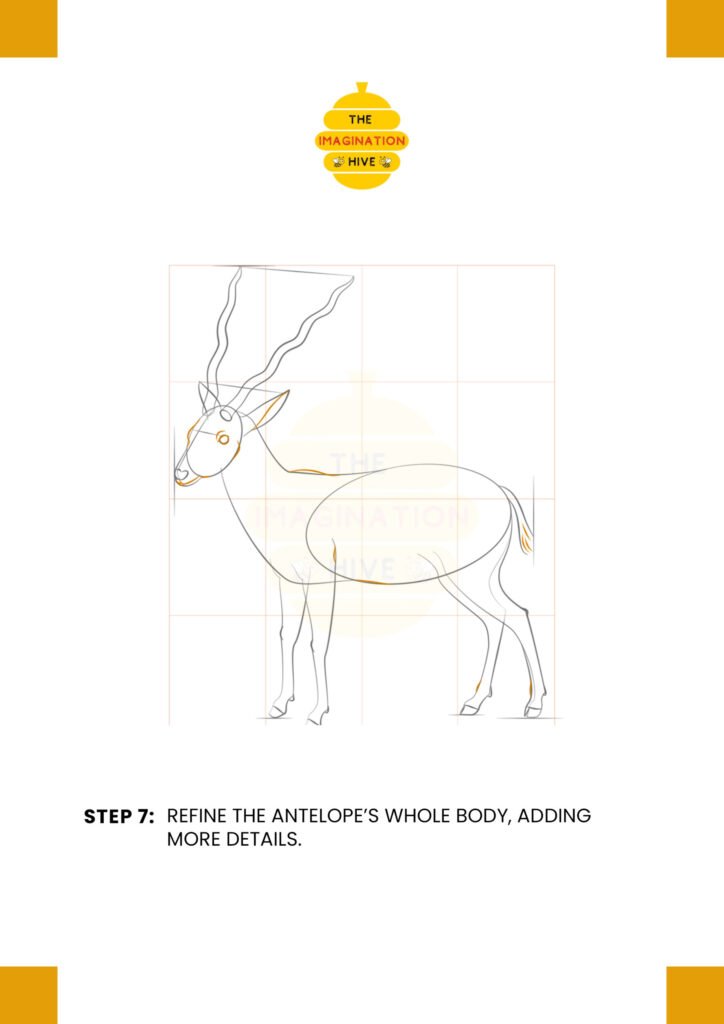
Refine the entire body, smoothing out curves and adding small details like muscle lines and tail shape.
Short Tip: Follow the original body oval as a guide while refining.
Take your time here to clean up and improve the overall shape.
Step 8: Final Outline and Details
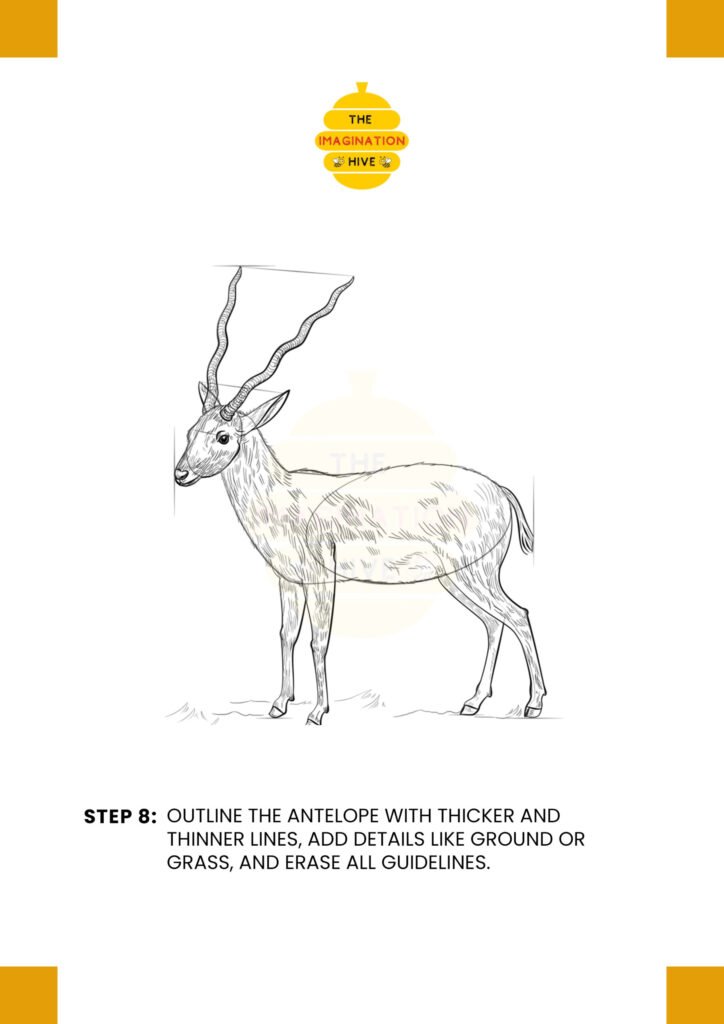
Go over the final outline with thicker and thinner lines for depth. Add texture lines to suggest fur and draw some grass or ground beneath the feet. Finally, erase all remaining guidelines.
Short Tip: Vary line thickness to make your drawing look more professional.
And that’s it! 🎉 You now have a beautifully drawn antelope ready to color.