Drawing an alpaca is a fun and simple activity when you break it down into easy shapes. In this step-by-step guide, we’ll build the alpaca using basic ovals and lines, then slowly refine the details until we have a fluffy, realistic animal. Let’s get started!
Step 1: Draw the Basic Head and Body Shapes
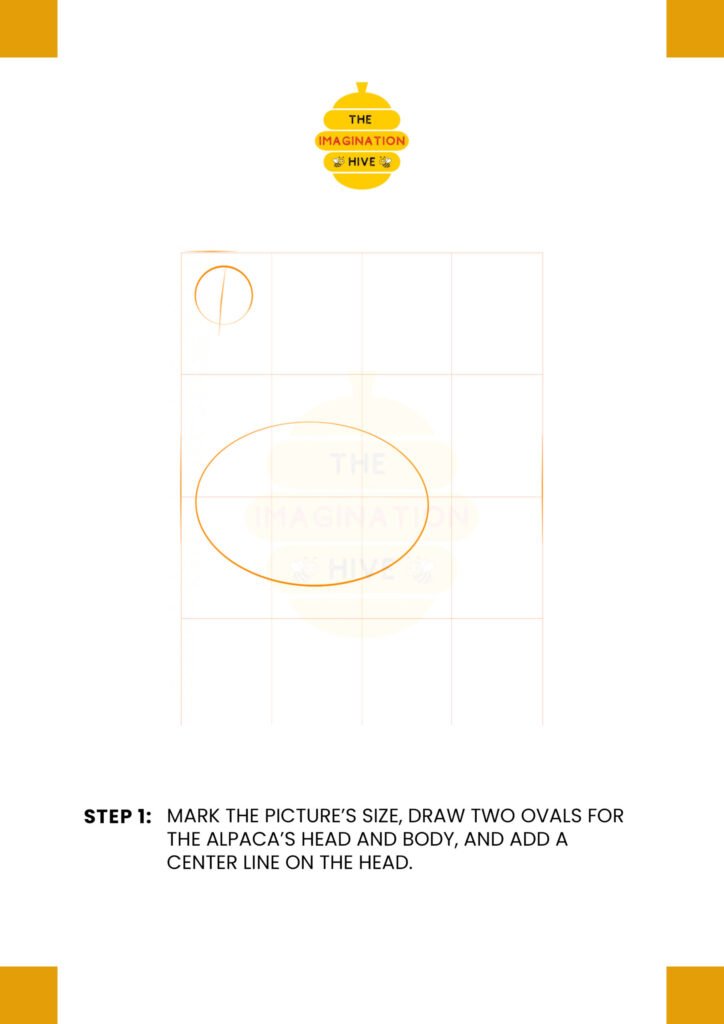
Start by marking the size of your drawing area. Draw a small oval for the head near the top and a larger oval below it for the body. Add a vertical center line on the head to guide the facial features.
Short tip: Draw lightly so you can erase guidelines later.
These basic shapes help you place everything correctly before adding details.
Step 2: Outline the Neck and Body
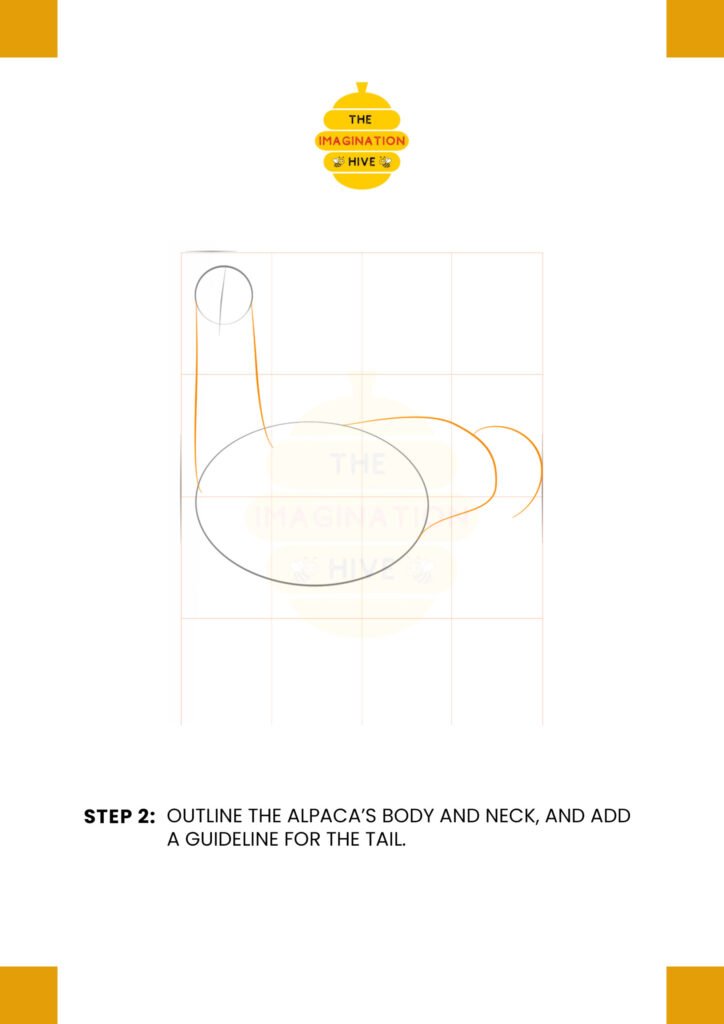
Connect the head to the body with two long curved lines to form the neck. Refine the body shape slightly and add a curved guideline at the back to show where the tail will be.
Short tip: Keep the neck long and slightly curved for a natural alpaca look.
Now the alpaca’s main structure is clearly visible.
Step 3: Mark the Legs and Head Position
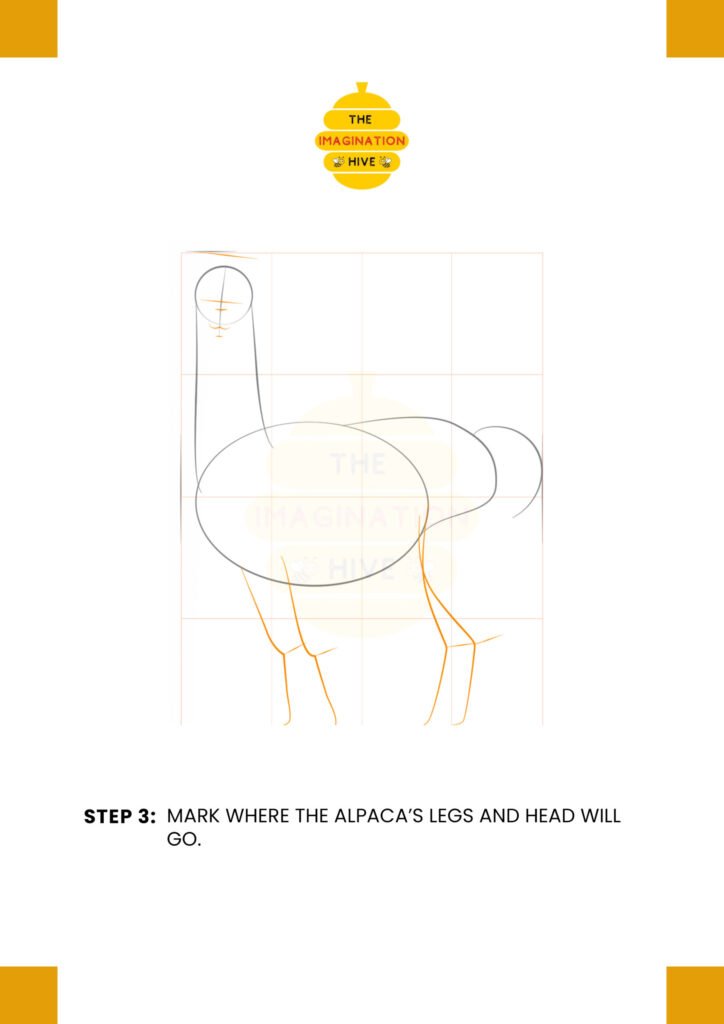
Sketch simple lines to show where the front and back legs will go. Add small horizontal guidelines on the head to position the eyes and snout.
Short tip: Make sure the legs are evenly spaced for balance.
These placement lines will guide you when shaping the legs and facial features.
Step 4: Outline the Legs, Ears, and Snout
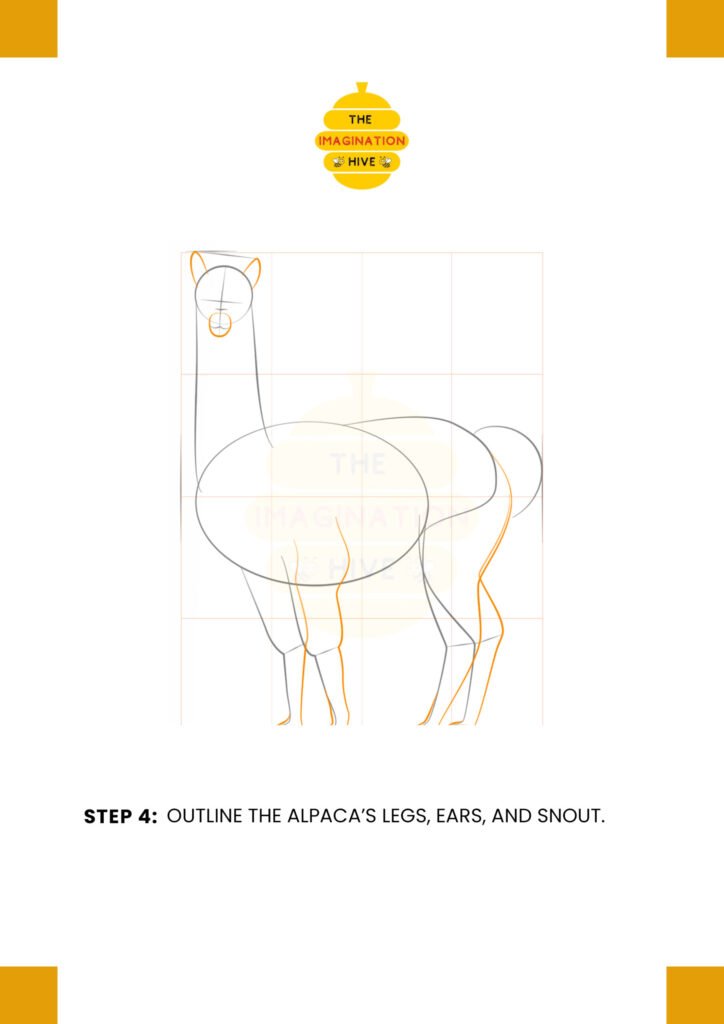
Turn the leg guidelines into proper leg shapes. Draw two pointed ears on top of the head and shape the snout using curved lines.
Short tip: Keep the ears slightly pointed and upright.
The alpaca’s silhouette should now be clearly recognizable.
Step 5: Add the Eyes, Tail, and Refine Features
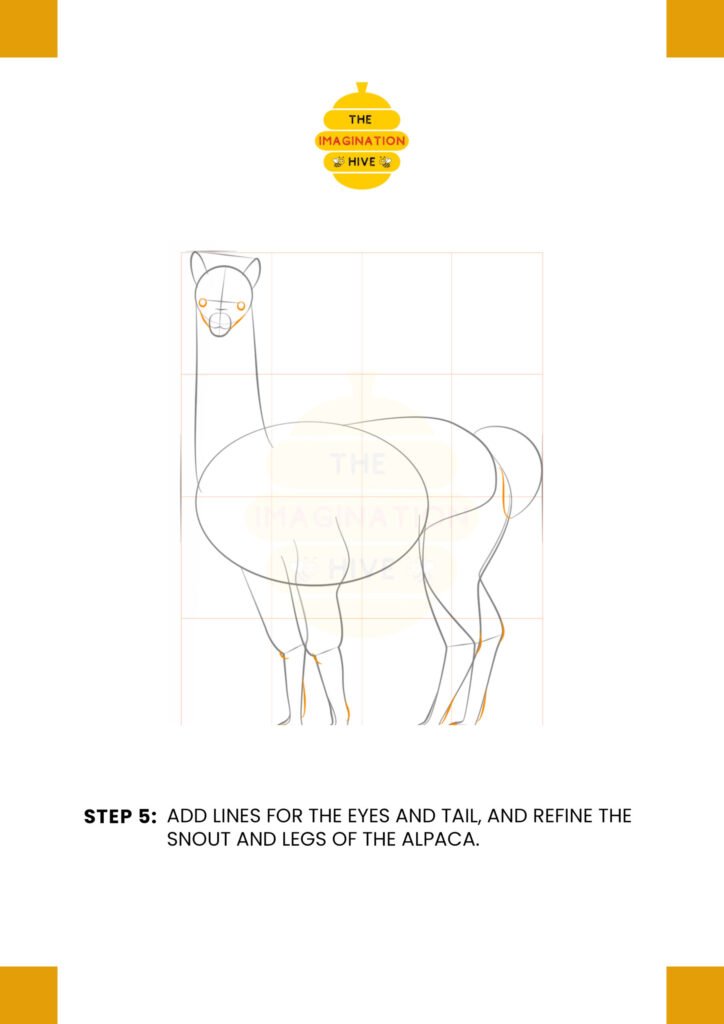
Draw the eyes using small ovals and refine the snout shape. Add more detail to the legs and sketch the fluffy tail at the back.
Short tip: Keep the eyes small and evenly aligned with your guidelines.
Now the alpaca is starting to look expressive and lively.
Step 6: Carefully Outline the Whole Alpaca
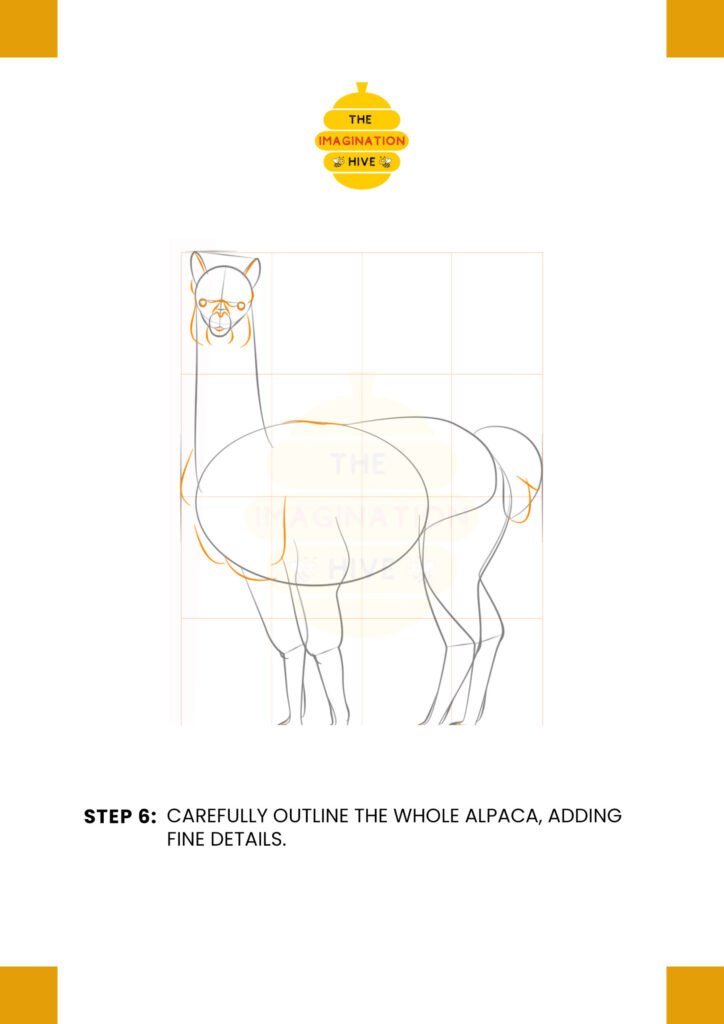
Go over the entire drawing, strengthening the final lines. Add soft fur details around the neck, body, and legs using short curved strokes.
Short tip: Use small, quick strokes to create a fluffy texture.
This is where your alpaca begins to look soft and realistic.
Step 7: Final Outline and Details
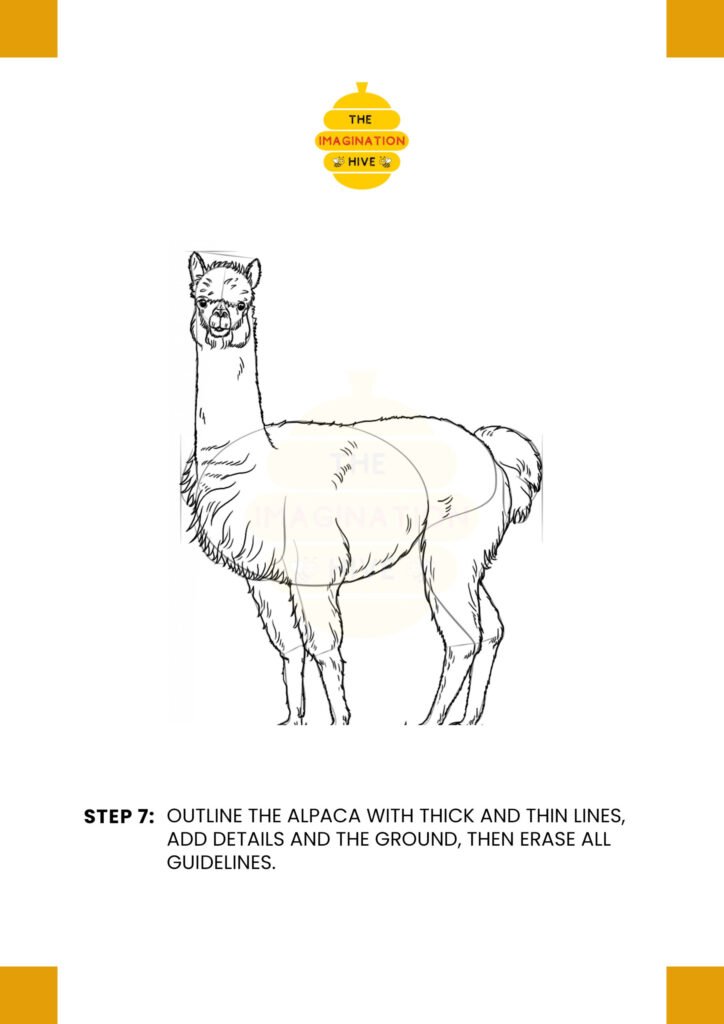
Outline the alpaca with a mix of thick and thin lines for depth. Add more fur details and draw a simple ground line beneath the feet. Finally, erase all remaining guidelines.
Short tip: Thicker lines on the outer edges make the drawing stand out.
Your alpaca drawing is now complete — beautifully outlined and full of character!