Learning how to draw a Tasmanian devil is a fun way to practice sketching animals with strong features and expressive faces. In this step-by-step guide, you’ll start with simple shapes and slowly build up the body, legs, and facial details until your drawing looks realistic and full of character. Grab your pencil and let’s begin!
Step 1 : Draw the Head Shape
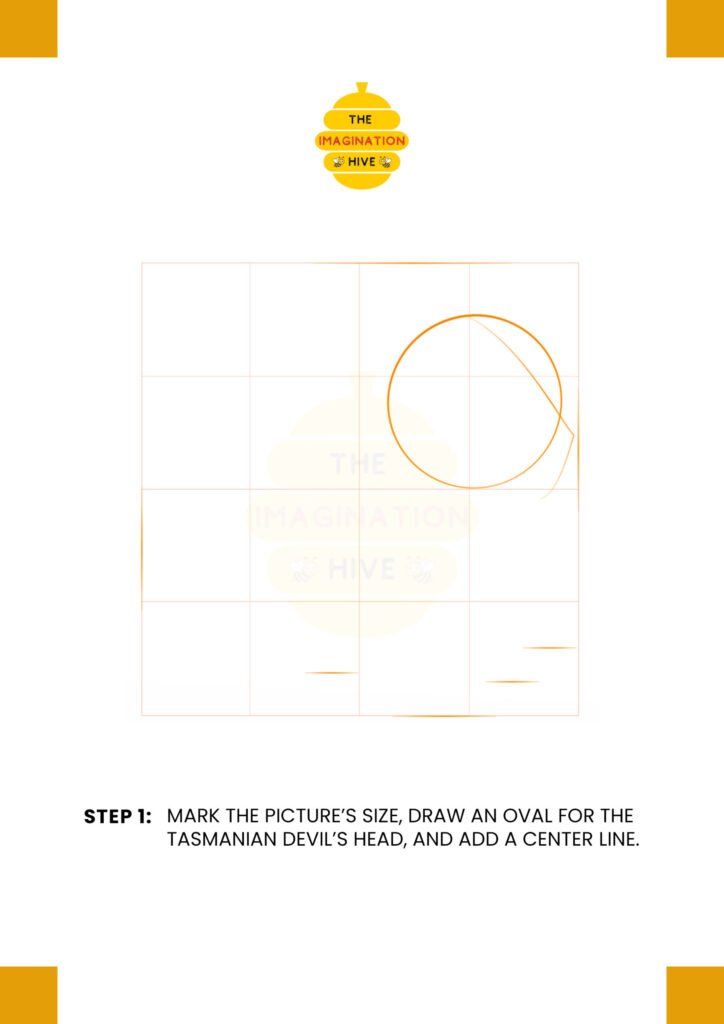
Start by marking the picture’s size with light guidelines. Then draw a large oval for the Tasmanian devil’s head and add a vertical center line to help place the facial features correctly.
Short Tip: Keep your lines light.
Light sketch lines are easier to erase and adjust as you refine the drawing.
Step 2 : Outline the Body and Tail Guideline
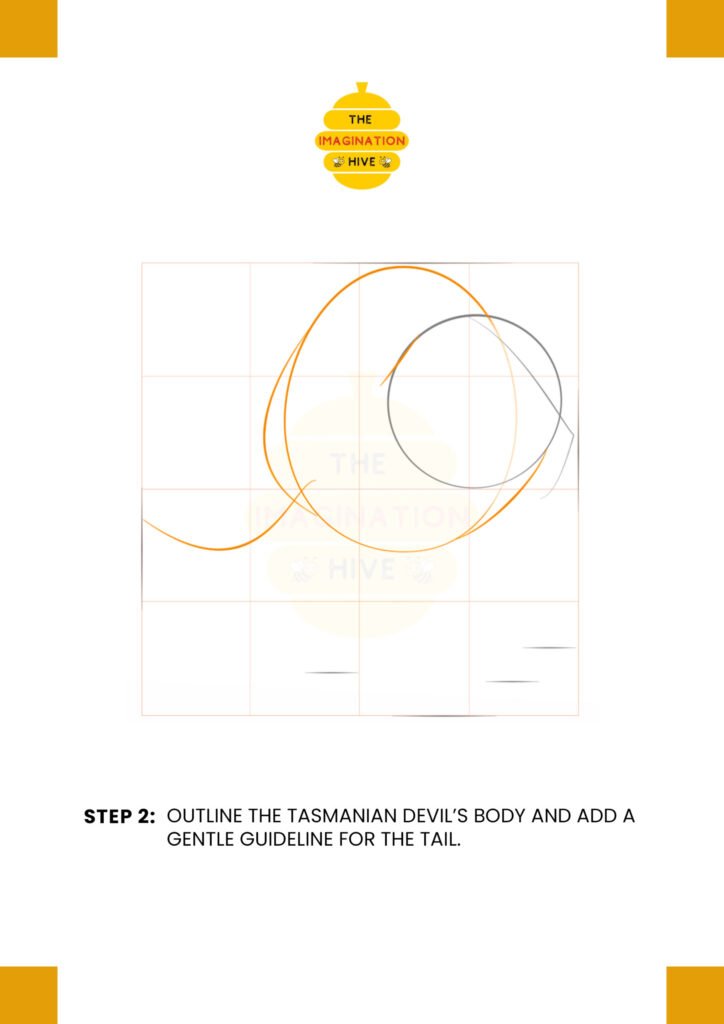
Draw the rounded body behind the head, making it slightly larger and lower. Add a smooth curved guideline for the tail extending from the back.
Short Tip: Use smooth curves.
Soft, flowing lines will make the body look natural and balanced.
Step 3 : Add Guidelines for Features and Legs
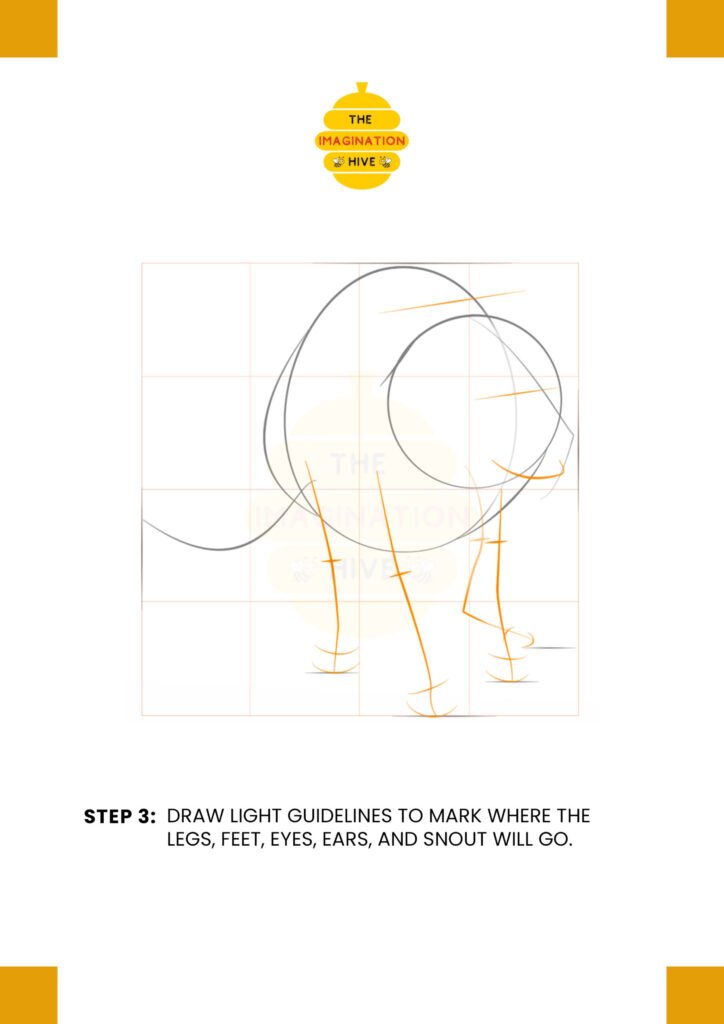
Sketch light straight and curved lines to mark where the legs, feet, eyes, ears, and snout will go. These guidelines help with correct proportions.
Short Tip: Check proportions early.
Make sure the legs are evenly spaced before adding details.
Step 4 : Draw the Basic Shapes of the Legs, Ears, and Jaw
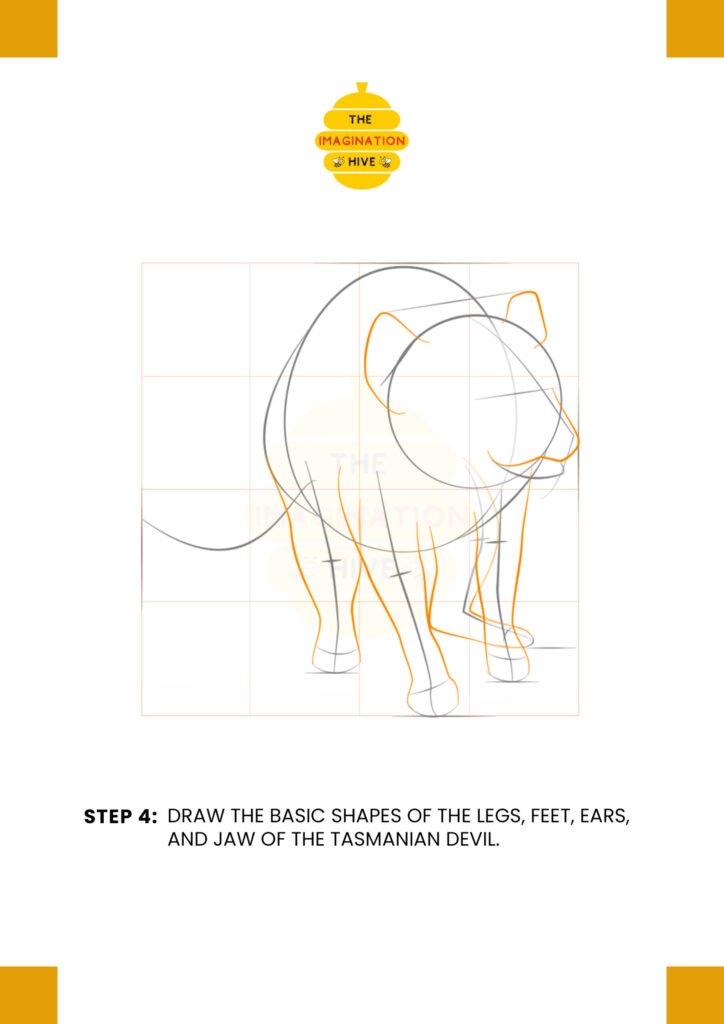
Start shaping the legs using simple tube-like forms. Add triangular ears on top of the head and outline the jaw and snout area.
Short Tip: Build from simple shapes.
Breaking complex parts into simple forms makes drawing much easier.
Step 5 : Add the Tail, Toes, Eyes, and Nose

Refine the tail shape and draw the toes on each foot. Add small circles for the eyes, shape the nose, and define the lower jaw and mouth. Finish shaping the ears.
Short Tip: Focus on symmetry.
Try to keep both sides of the face balanced for a realistic look.
Step 6 : Refine the Whole Body
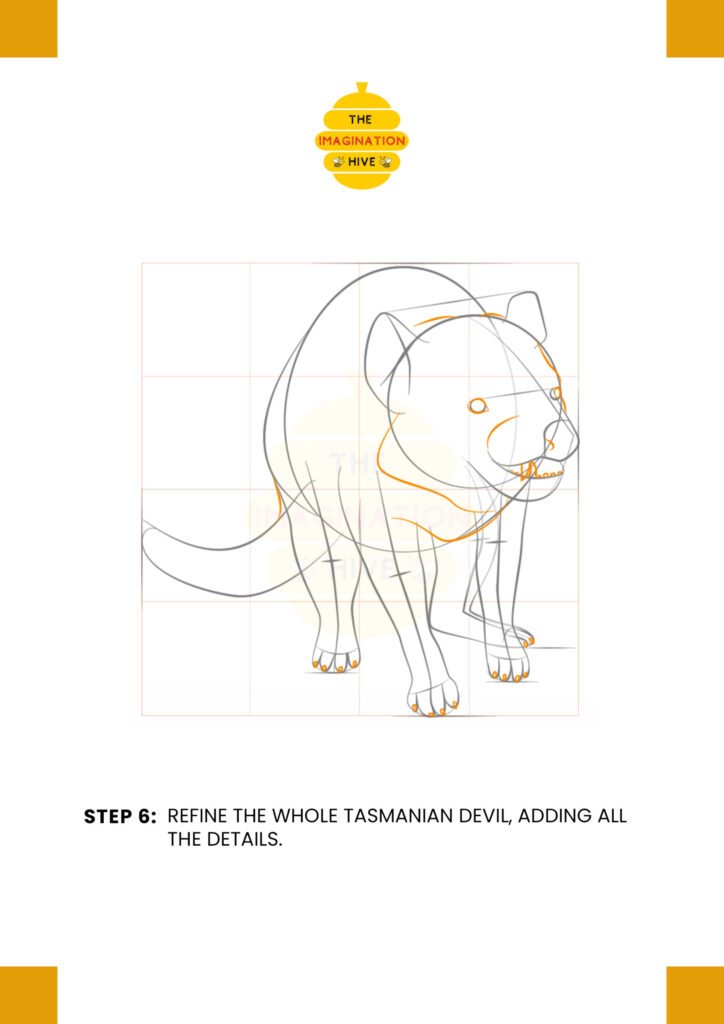
Go over the entire Tasmanian devil, improving the curves and adding small details like claws and facial lines. Strengthen the outline where needed.
Short Tip: Adjust as you go.
Don’t be afraid to correct lines to improve the shape.
Step 7 : Add Final Details and Texture
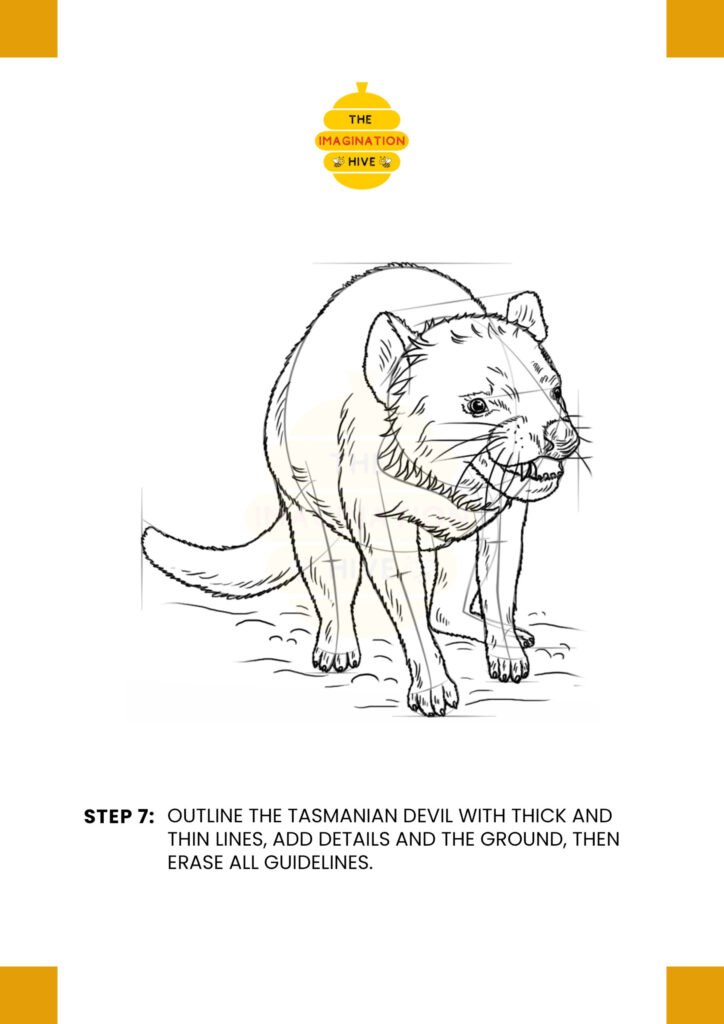
Outline the Tasmanian devil with thicker and thinner lines to give depth. Add fur texture, facial details, and draw the ground beneath the feet. Then erase all extra guidelines.
Short Tip: Vary line thickness.
Thicker outer lines and thinner inner lines make your drawing look more dynamic and alive.