Drawing a snow leopard is a great way to practice smooth body shapes, strong legs, and detailed fur patterns. Follow these simple steps to build the drawing gradually, from basic forms to a finished outline.
STEP 1: Mark the Picture’s Width and Height
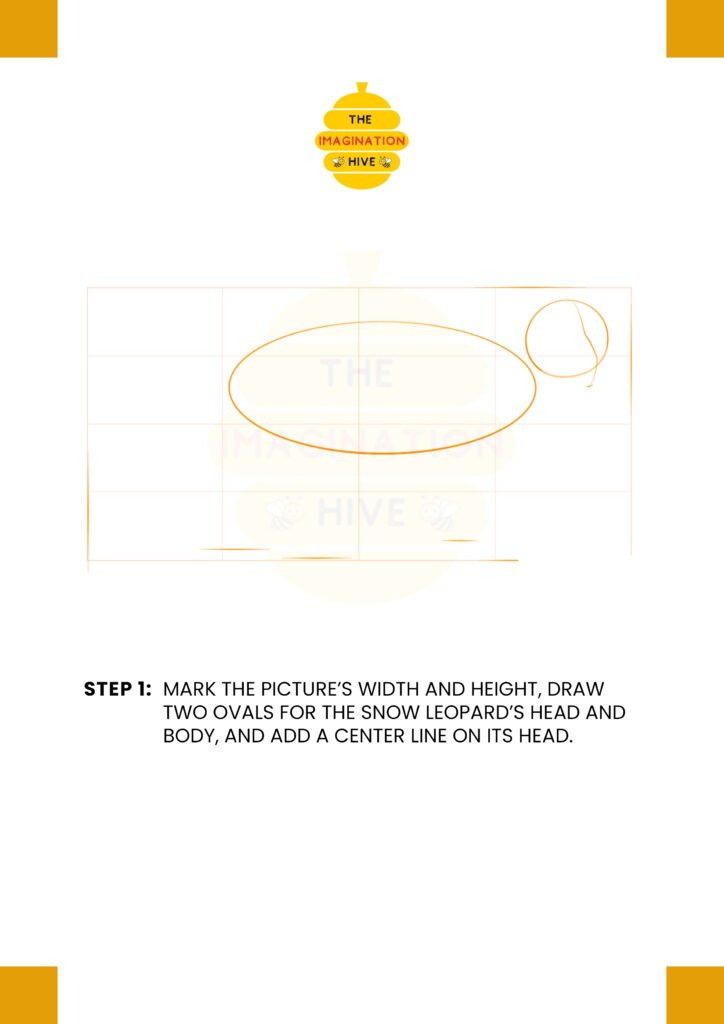
Start by lightly marking the overall width and height of your drawing area. Draw two simple ovals—one for the head and one for the body—and add a center line on the head to guide facial placement.
Short tip:
Keep your lines very light at this stage so they’re easy to erase later.
STEP 2: Draw the Body and Neck
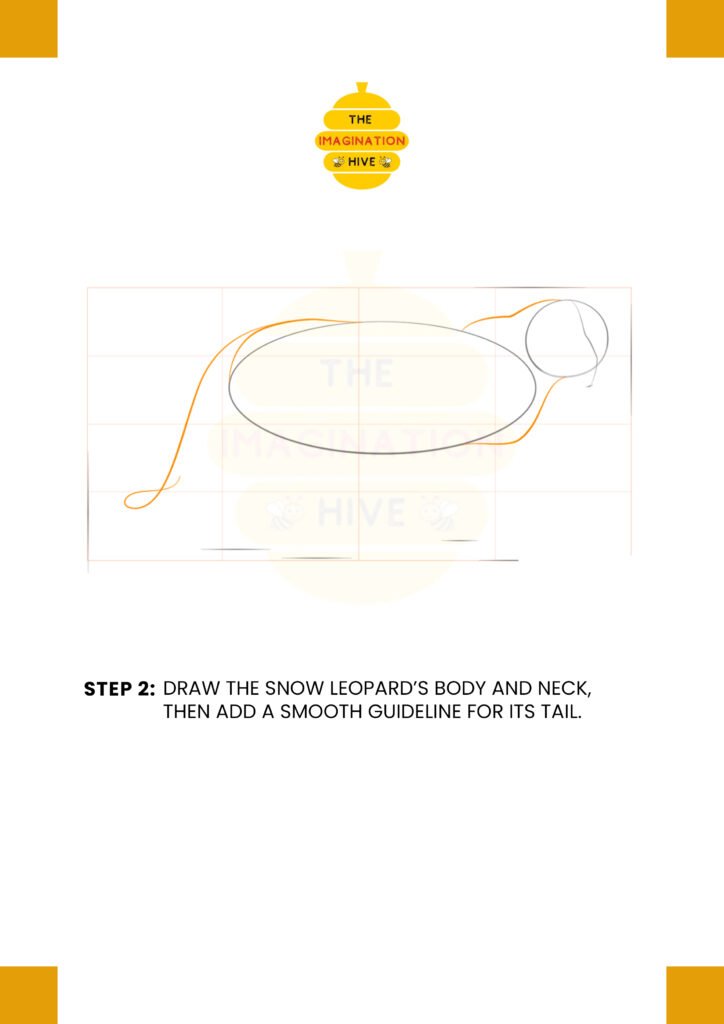
Connect the head and body with smooth lines to form the neck. Add a long, flowing guideline extending from the body to show the direction and curve of the tail.
Short tip:
Use long, gentle strokes to keep the snow leopard’s posture relaxed and natural.
STEP 3: Add Guidelines for Legs and Face
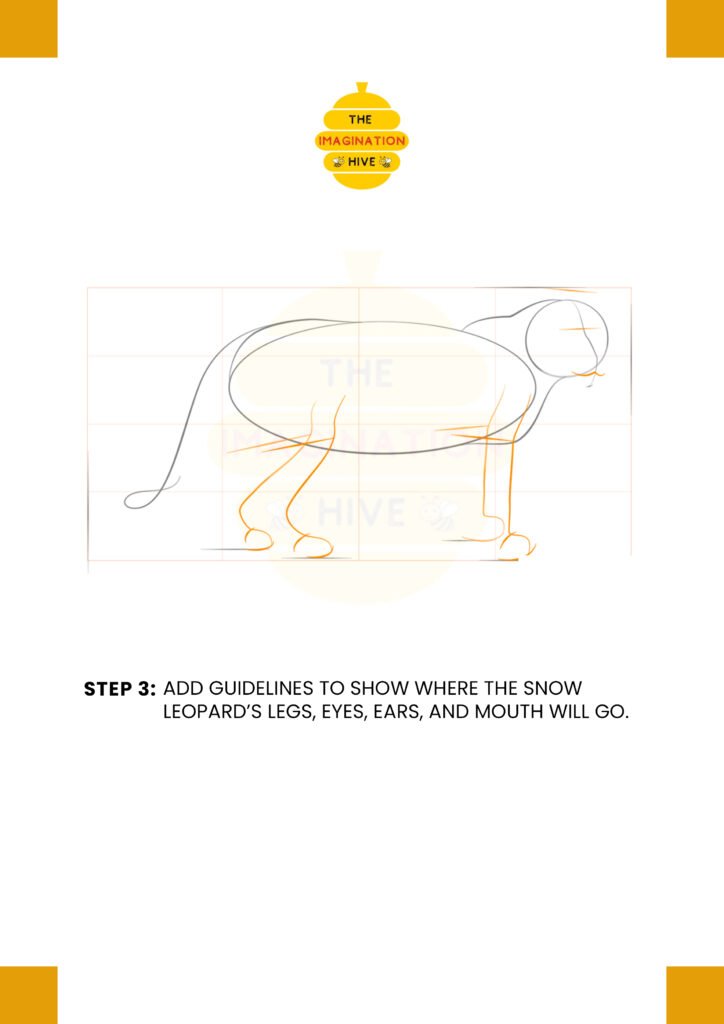
Sketch simple guideline lines to show where the legs will be placed. Add light marks for the eyes, ears, and mouth on the head using the center line as a reference.
Short tip:
Make sure the legs look balanced so the snow leopard appears stable on the ground.
STEP 4: Sketch the Legs, Feet, Snout, and Ears
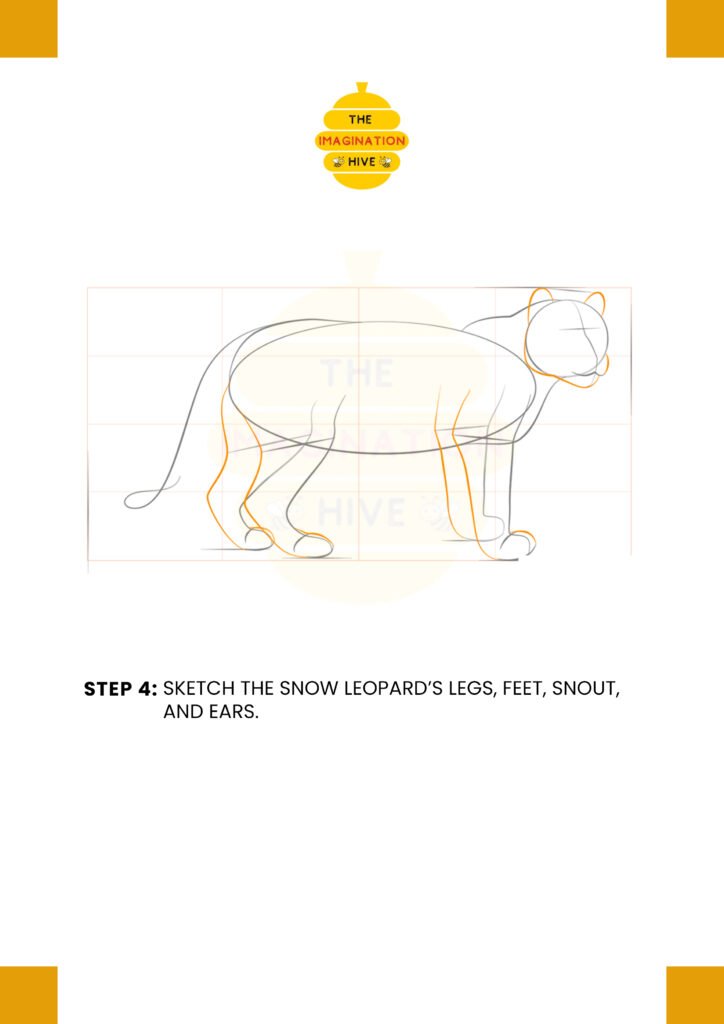
Turn the leg guidelines into basic leg shapes, adding rounded feet. Refine the head by sketching the snout and ears, keeping everything simple and proportional.
Short tip:
Snow leopard legs are strong but smooth—avoid sharp angles.
STEP 5: Draw the Eyes, Tail, Nose, and Toes

Add the eyes, nose, and mouth details to bring the face to life. Thicken the tail and sketch in the toes on each foot.
Short tip:
A thick, fluffy tail is a key feature of a snow leopard—don’t make it too thin.
STEP 6: Refine the Whole Snow Leopard
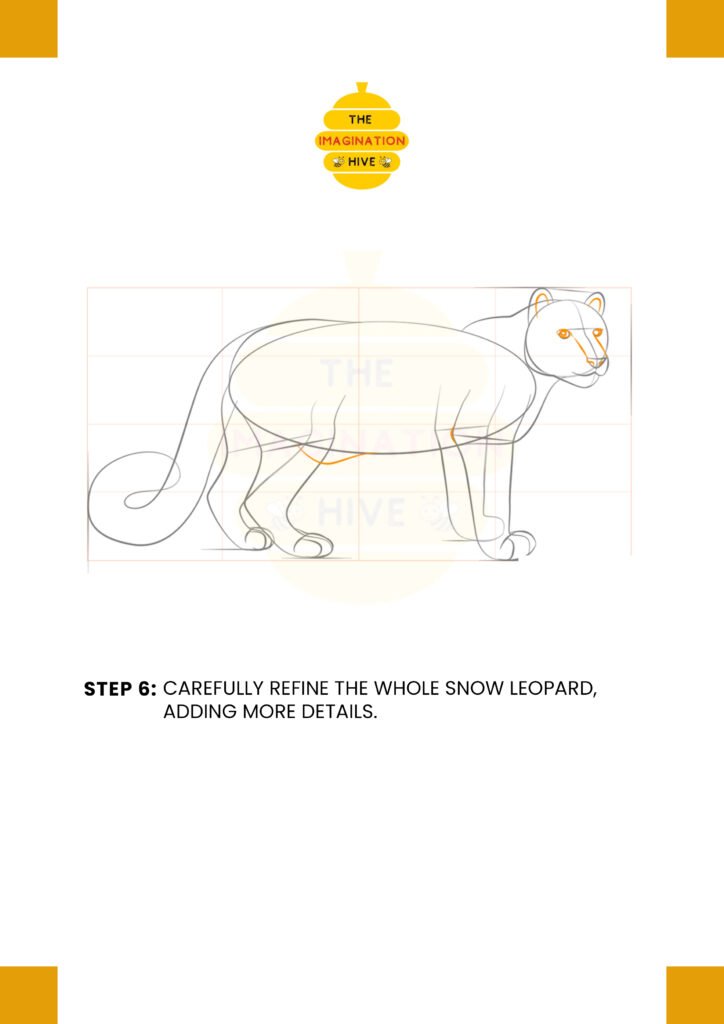
Go over the entire drawing, smoothing out lines and adjusting shapes. Add subtle curves to the body and legs to improve the overall flow.
Short tip:
Focus on clean, confident lines rather than adding too much detail too early.
STEP 7: Outline and Finish the Drawing
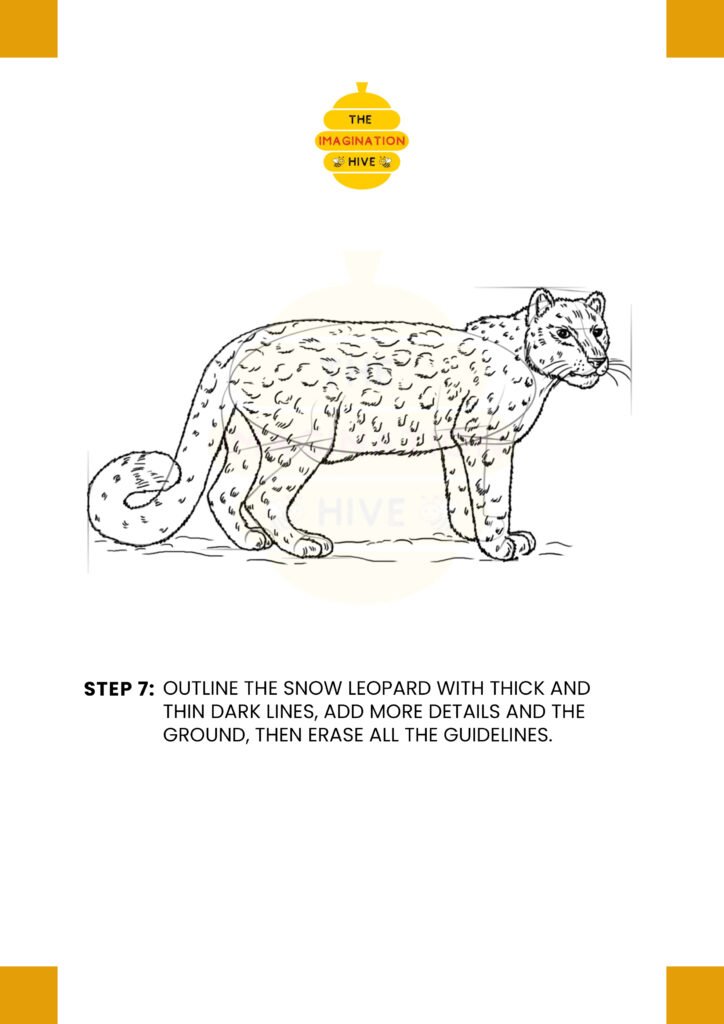
Outline the snow leopard using a mix of thick and thin dark lines. Add fur details, spots, and a simple ground line, then erase all remaining guidelines.
Short tip:
Vary your line thickness to give the drawing depth and a finished look.