Drawing a seagull is a great way to practice smooth lines, wing shapes, and movement. This step-by-step guide breaks the process into simple shapes and clear guidelines, making it easy for beginners and kids to follow along.
STEP 1: Draw the Basic Shapes
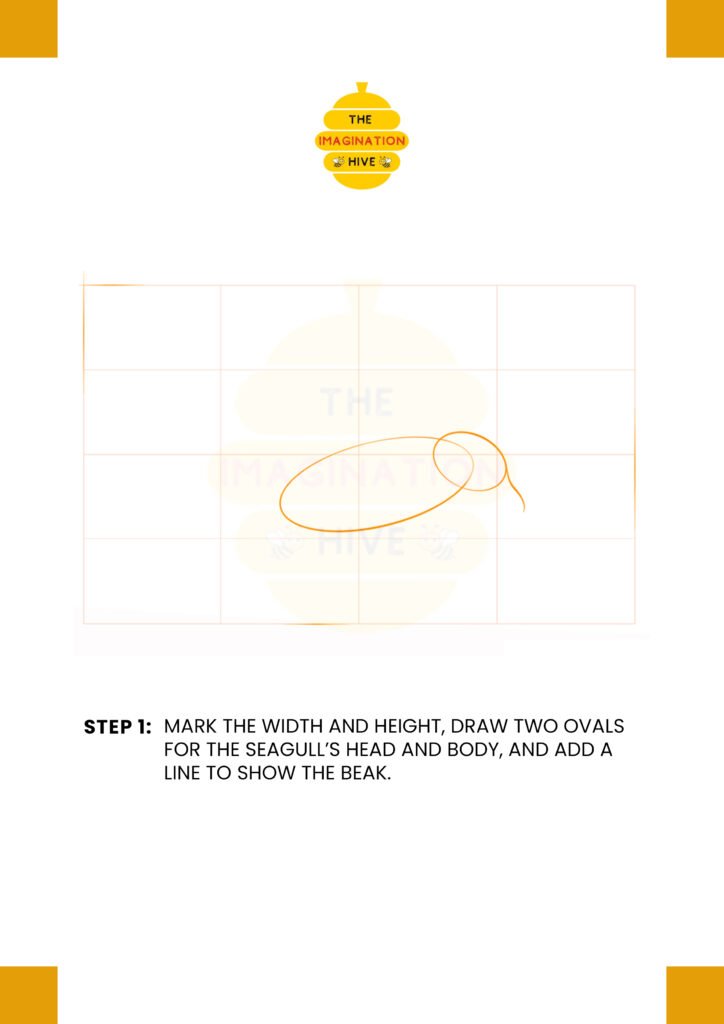
Mark the width and height of your drawing area. Sketch two ovals—one for the seagull’s body and a smaller one for the head. Add a short line extending from the head to show the direction of the beak.
Tip: Keep your lines light so they’re easy to erase later.
These shapes help you plan proportions before adding details.
STEP 2: Shape the Body and Neck
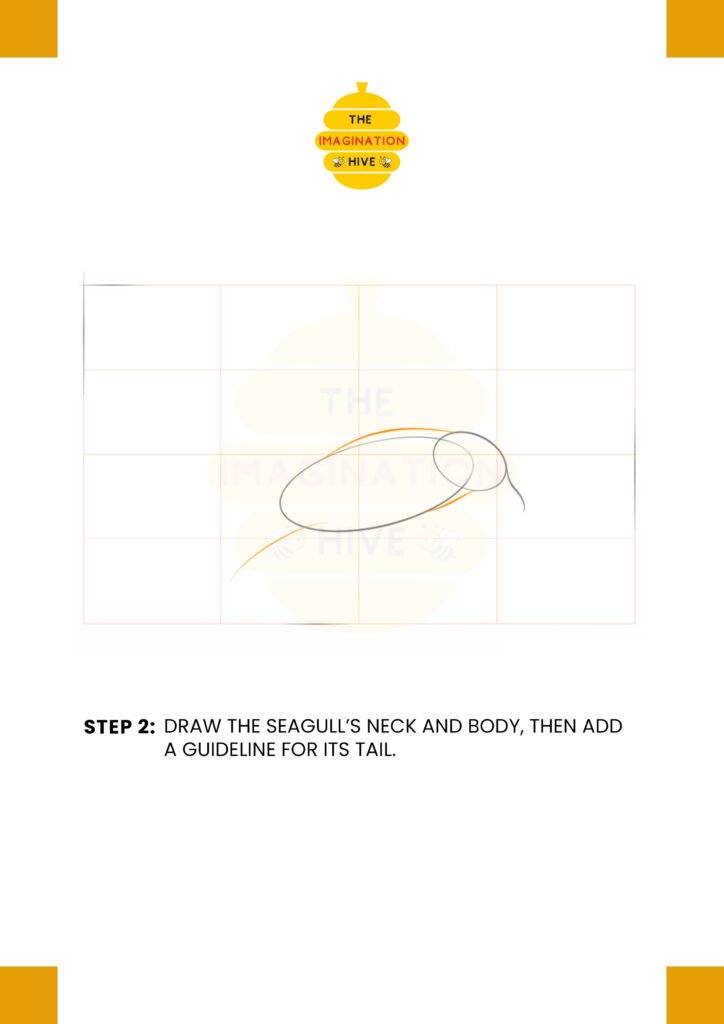
Connect the head and body using smooth lines to form the neck. Refine the body shape and add a curved guideline at the back to indicate where the tail will be.
Tip: Use long, flowing strokes for a natural look.
This keeps the seagull from looking stiff.
STEP 3: Add Placement Guidelines
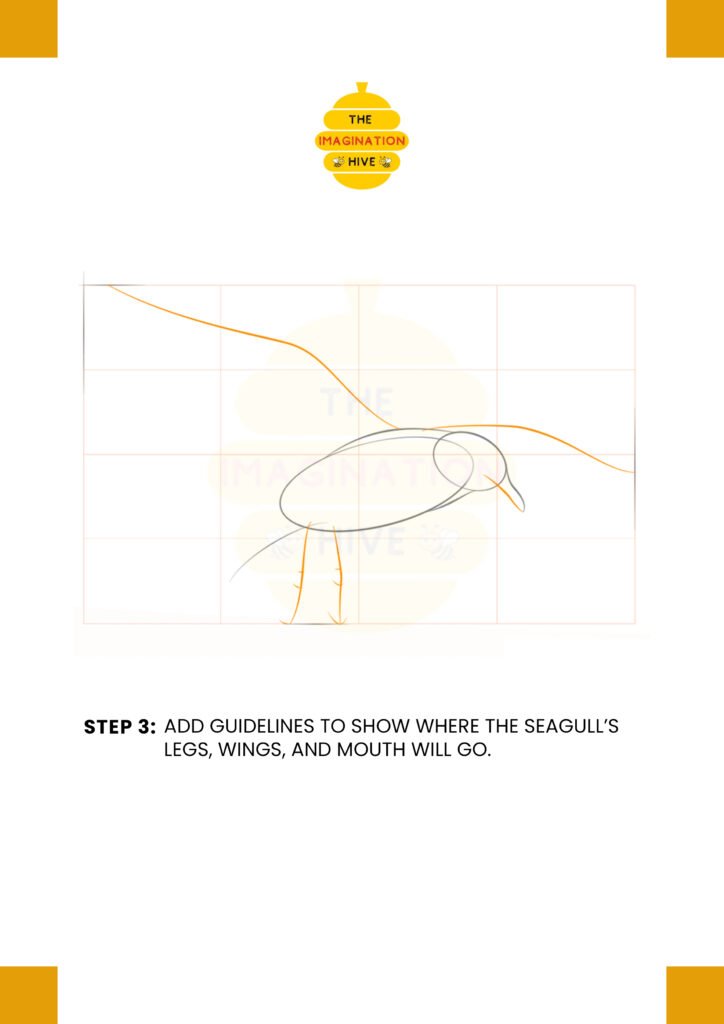
Draw simple lines to show where the legs, wings, and mouth will go. Extend long curved lines outward to map the wingspan.
Tip: Guidelines don’t need to be perfect.
They’re only there to help with placement.
STEP 4: Draw the Main Body Parts
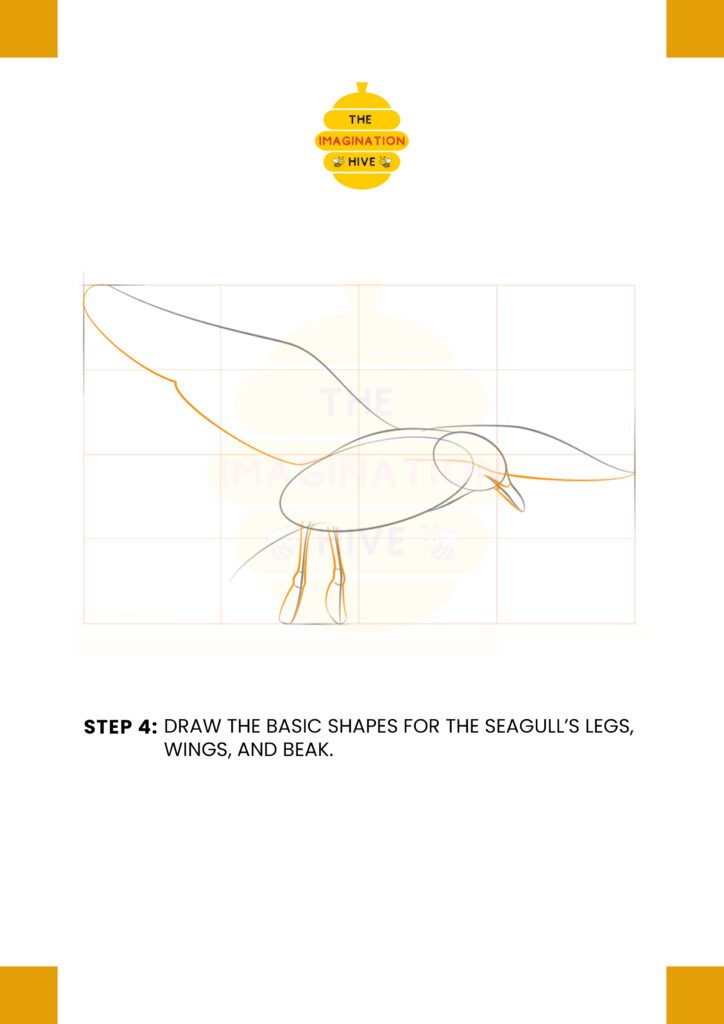
Sketch the basic shapes of the legs, wings, and beak using the guidelines. Keep everything simple and slightly rounded.
Tip: Focus on shape, not detail, at this stage.
Details come later once the pose looks right.
STEP 5: Add Details
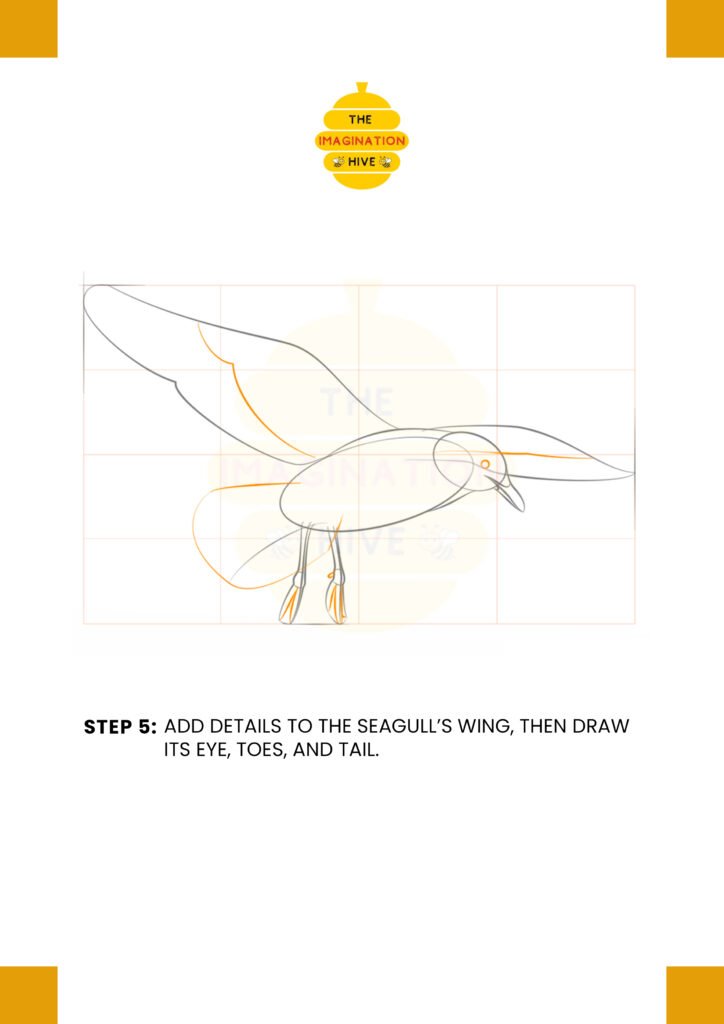
Refine the wings by adding feather sections. Draw the eye, shape the toes, and adjust the tail to match the seagull’s pose.
Tip: Add details gradually.
Too many lines too early can make the drawing messy.
STEP 6: Refine Feathers and Claws
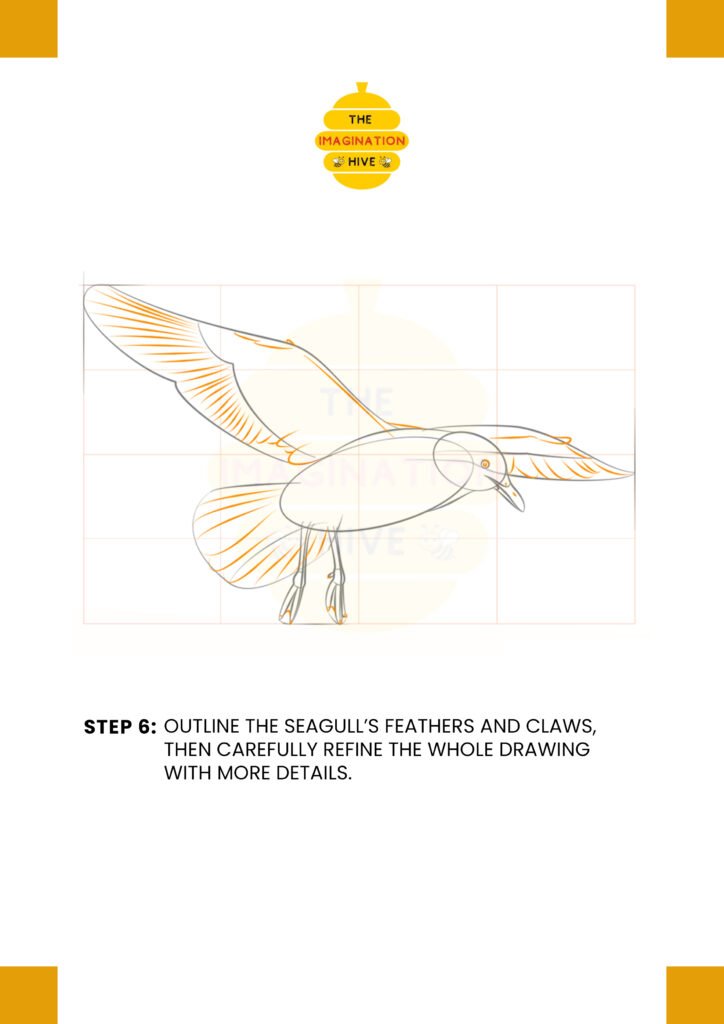
Outline the feathers more clearly and add small details to the claws and beak. Smooth out any uneven lines.
Tip: Vary line thickness for depth.
Thicker lines work well on the outline, thinner ones for details.
STEP 7: Final Outline and Cleanup
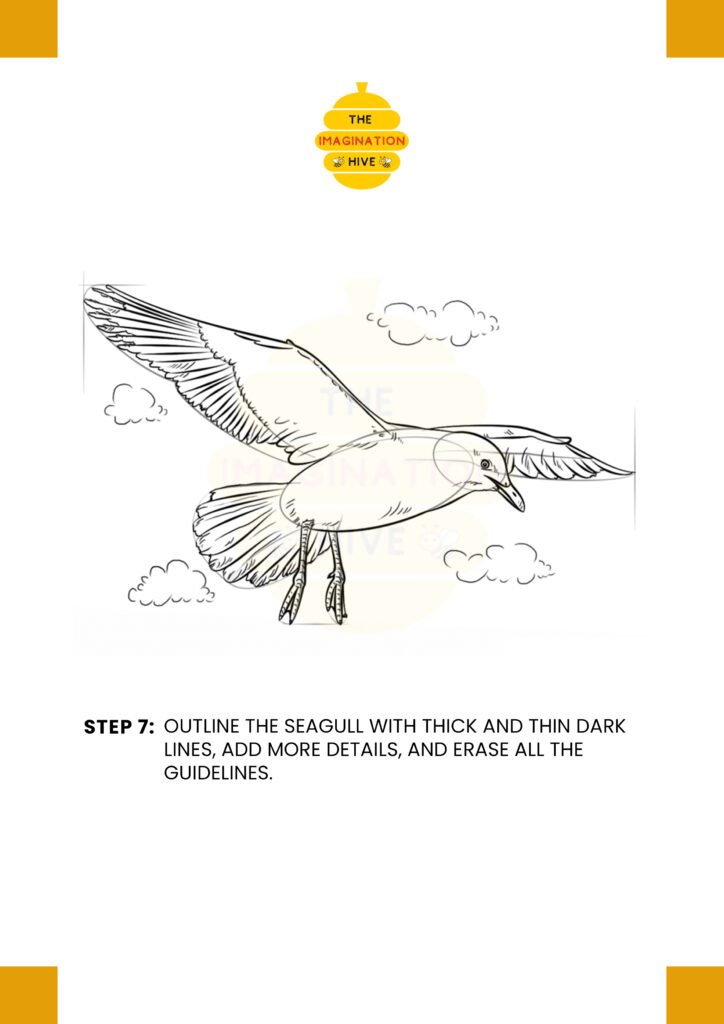
Go over the final drawing with clean, confident lines. Add any extra details you like, then erase all remaining guidelines.
Tip: Take your time on this step.
A clean outline makes the drawing look finished and polished.