In this easy step-by-step drawing guide, you’ll learn how to draw a rhinoceros by starting with simple shapes and gradually adding details to create a strong and realistic animal drawing.
STEP 1: Mark the Size and Basic Body Shape
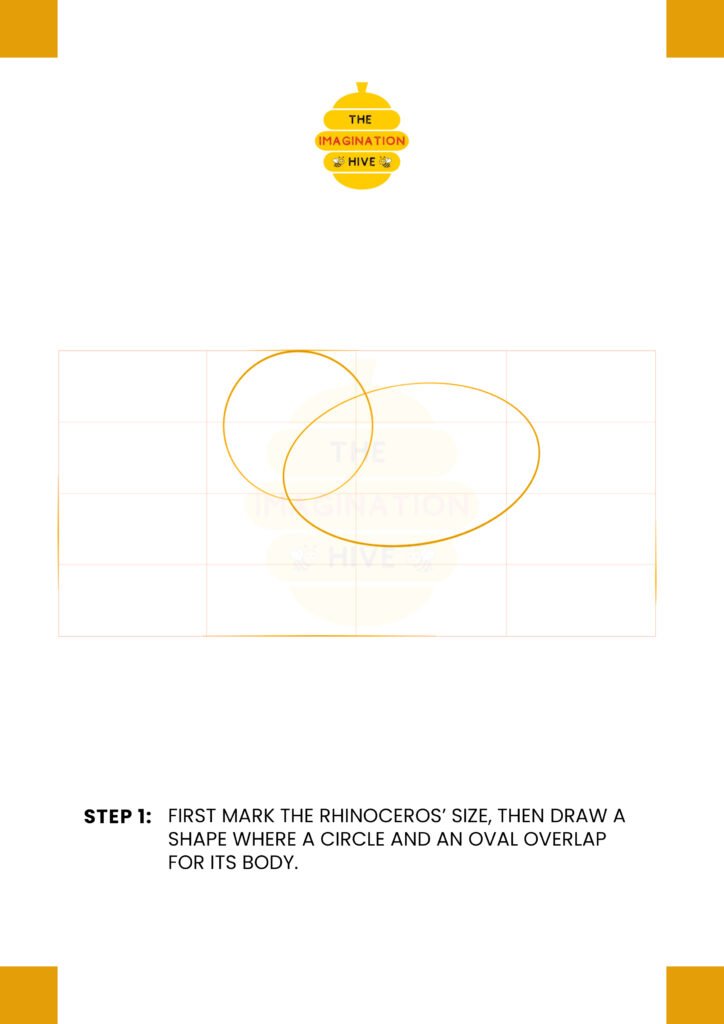
First mark the rhinoceros’ overall size, then draw a shape where a circle and an oval overlap to form the main body structure.
Short tip:
Keep your lines light at this stage so they’re easy to erase later.
STEP 2: Draw the Head and Body Flow
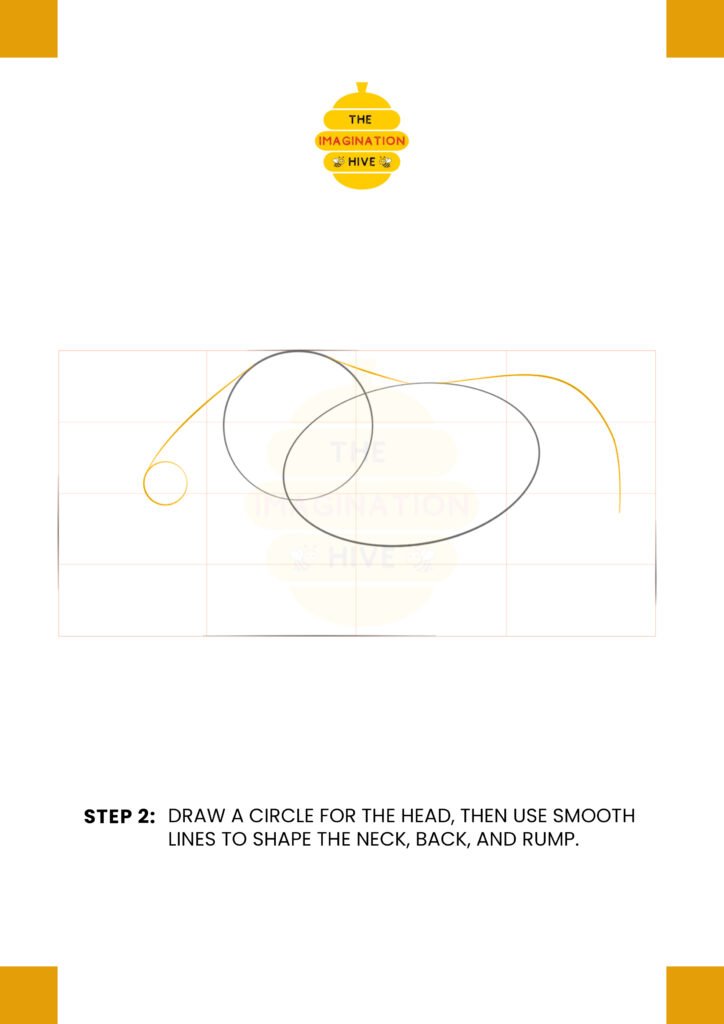
Draw a circle for the head, then use smooth curved lines to shape the neck, back, and rump of the rhinoceros.
Short tip:
Long, flowing lines help the body look natural and balanced.
STEP 3: Add the Legs Guidelines
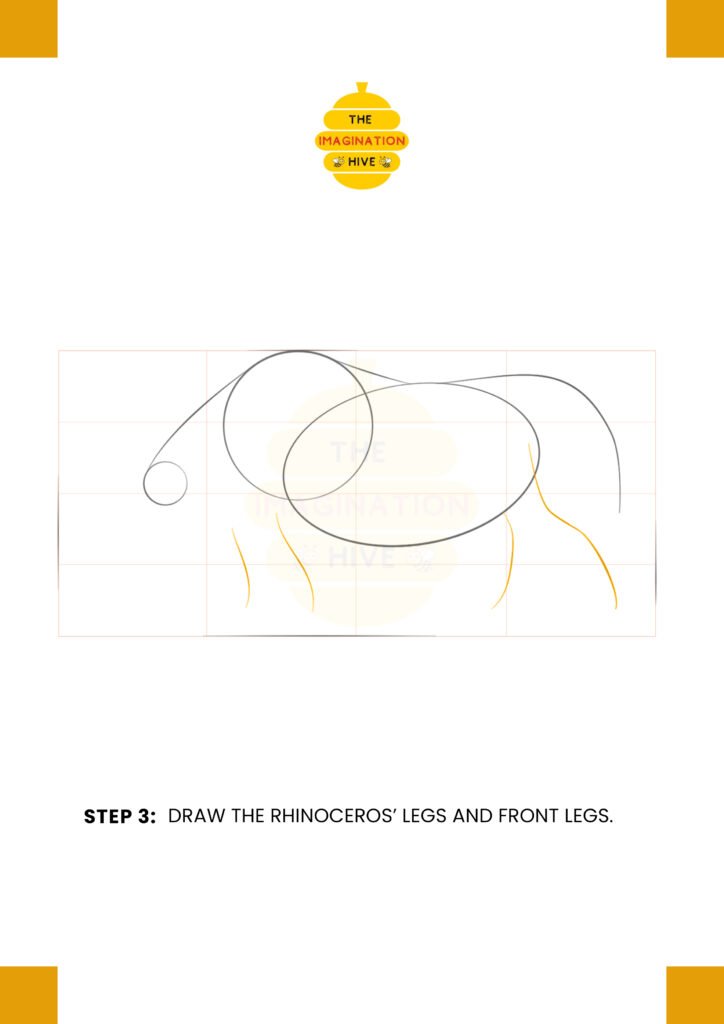
Draw simple lines to mark the positions of the rhinoceros’ legs, making sure they align evenly with the body.
Short tip:
Use vertical guidelines to keep the legs steady and grounded.
STEP 4: Sketch the Head and Chest

Sketch the rhinoceros’ head shape and chest area, defining the snout and front structure more clearly.
Short tip:
Focus on the heavy, forward-leaning shape of the head for realism.
STEP 5: Outline the Legs
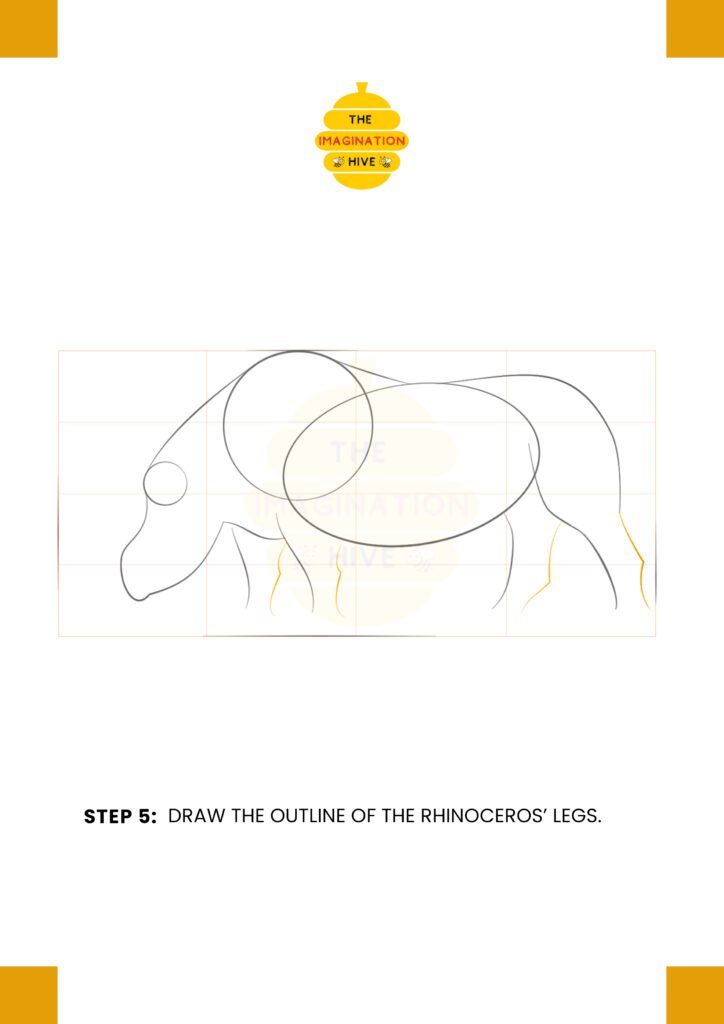
Draw the full outlines of the legs, giving them a thick and sturdy appearance.
Short tip:
Rhinoceros legs are wide and powerful, so avoid making them too thin.
STEP 6: Add Feet, Horns, and Features
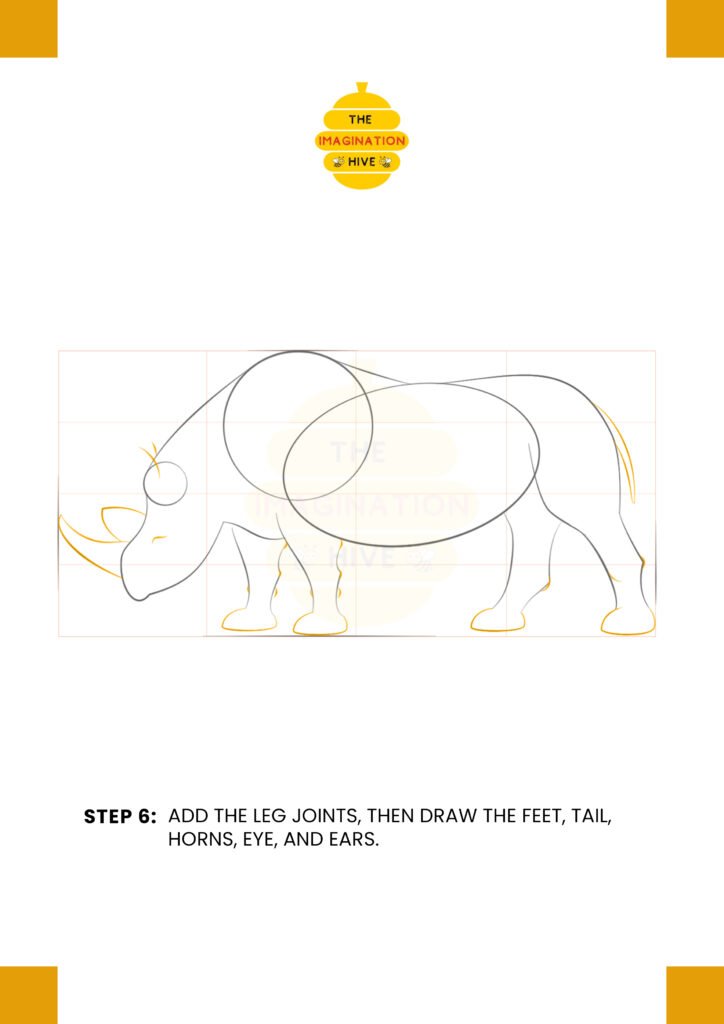
Add the leg joints, then draw the feet, tail, horns, eye, and ears to bring the rhino to life.
Short tip:
Keep details simple and clean to avoid cluttering the drawing.
STEP 7: Add Facial and Skin Details
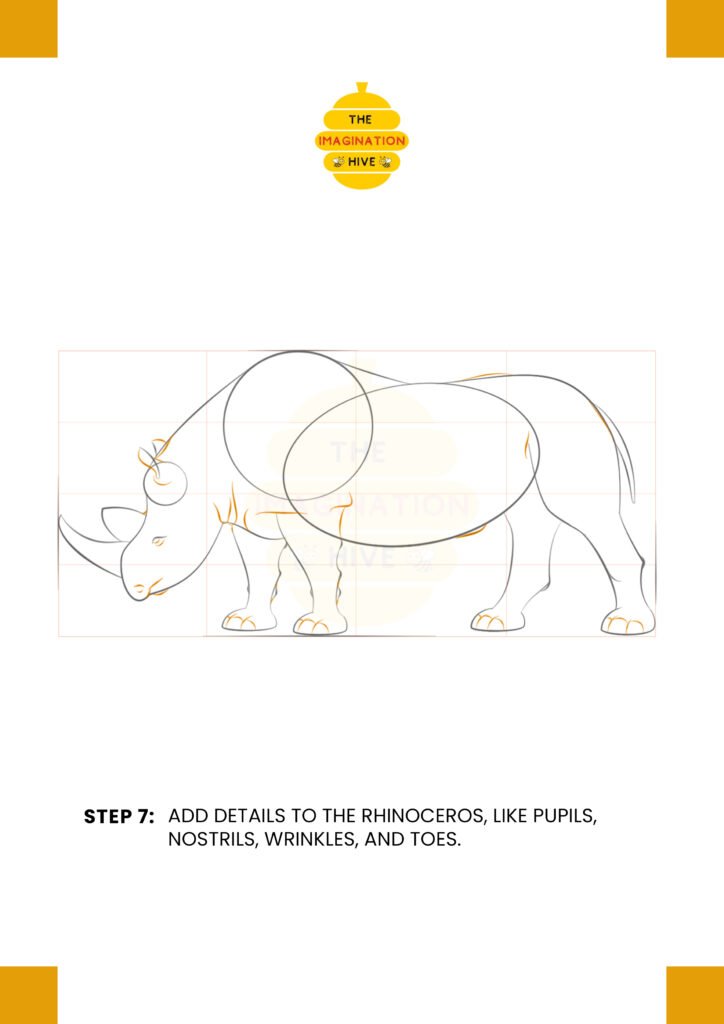
Add details like pupils, nostrils, wrinkles, skin folds, and toes to enhance realism.
Short tip:
Use short, curved lines to show thick skin texture naturally.
STEP 8: Final Outline and Cleanup
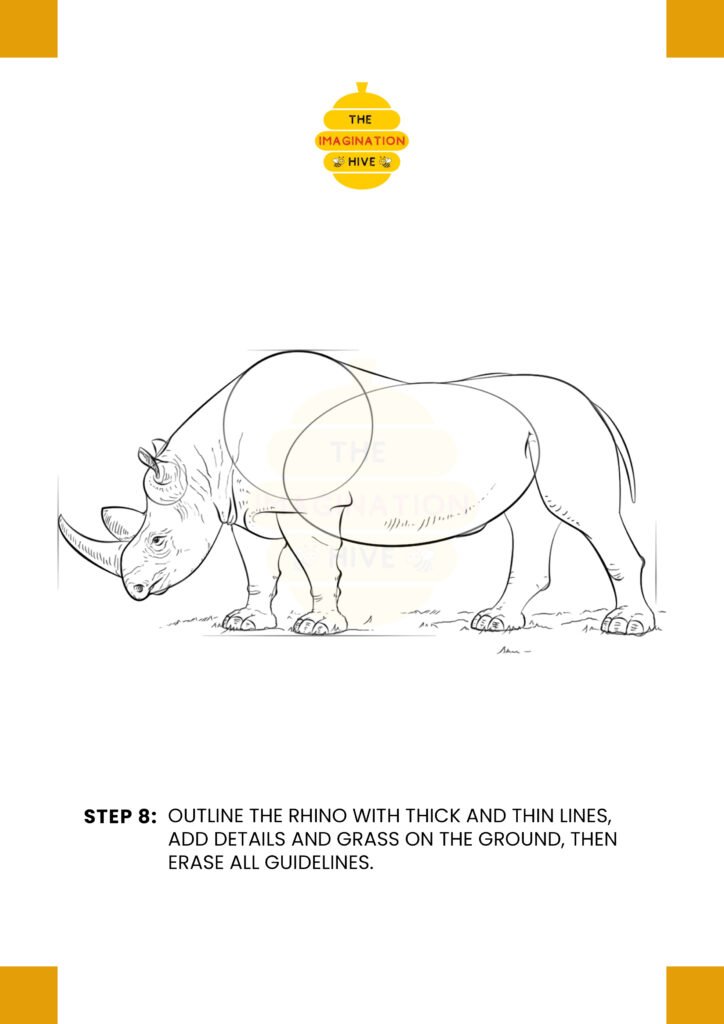
Outline the rhinoceros with thick and thin lines, add ground details like grass, then erase all remaining guidelines.
Short tip:
Vary line thickness to give the drawing depth and a finished look.