Learn how to draw a singing nightingale perched on a branch by starting with simple shapes and gradually adding smooth details and feathers.
Step 1:
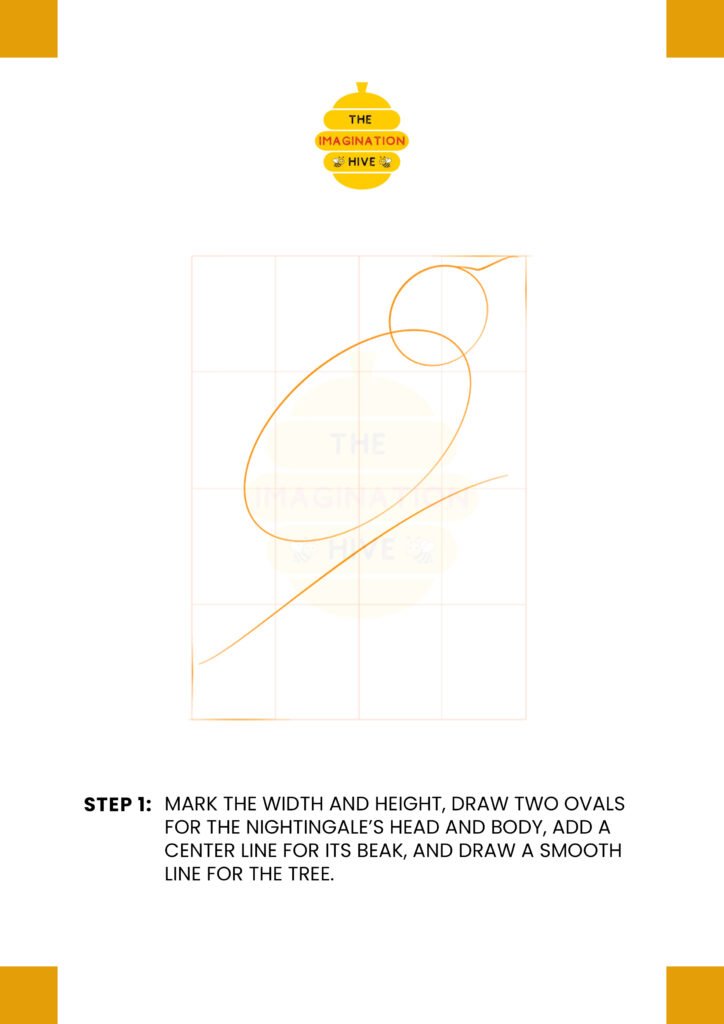
Mark the width and height, draw two ovals for the nightingale’s head and body, add a center line for its beak, and draw a smooth line for the tree.
Short tip: Keep the body oval slightly tilted to give the bird a natural perched pose.
Step 2:

Draw the nightingale’s neck, then add guidelines for its body and tail.
Short tip: Use gentle curves so the bird looks relaxed and balanced.
Step 3:
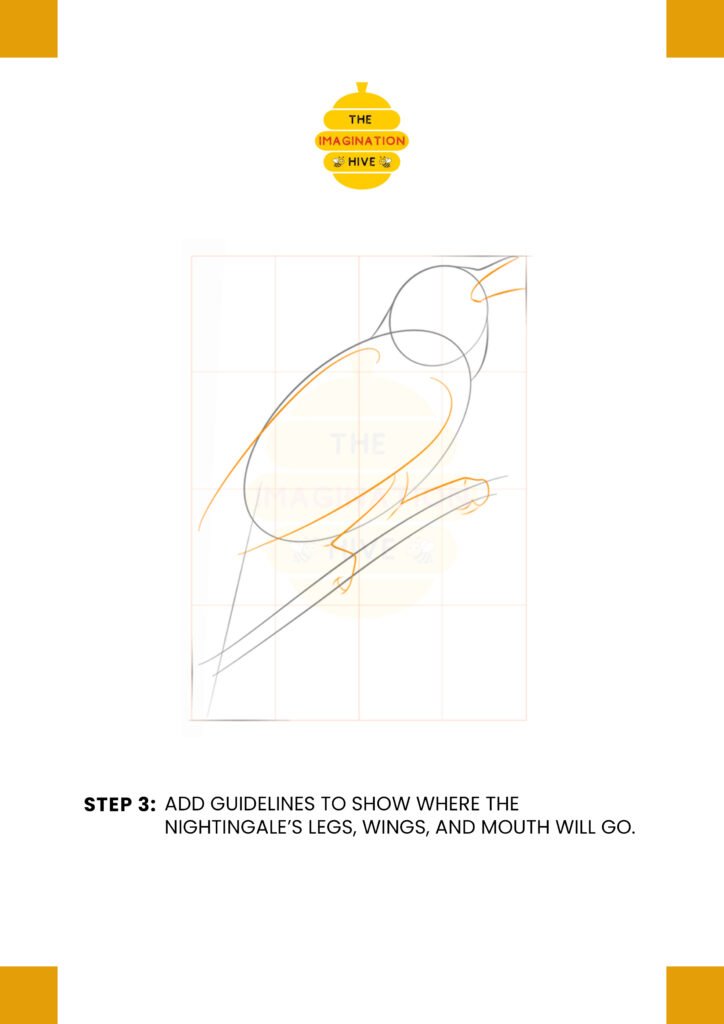
Add guidelines to show where the nightingale’s legs, wings, and mouth will go.
Short tip: Light guidelines help place details correctly without cluttering the drawing.
Step 4:
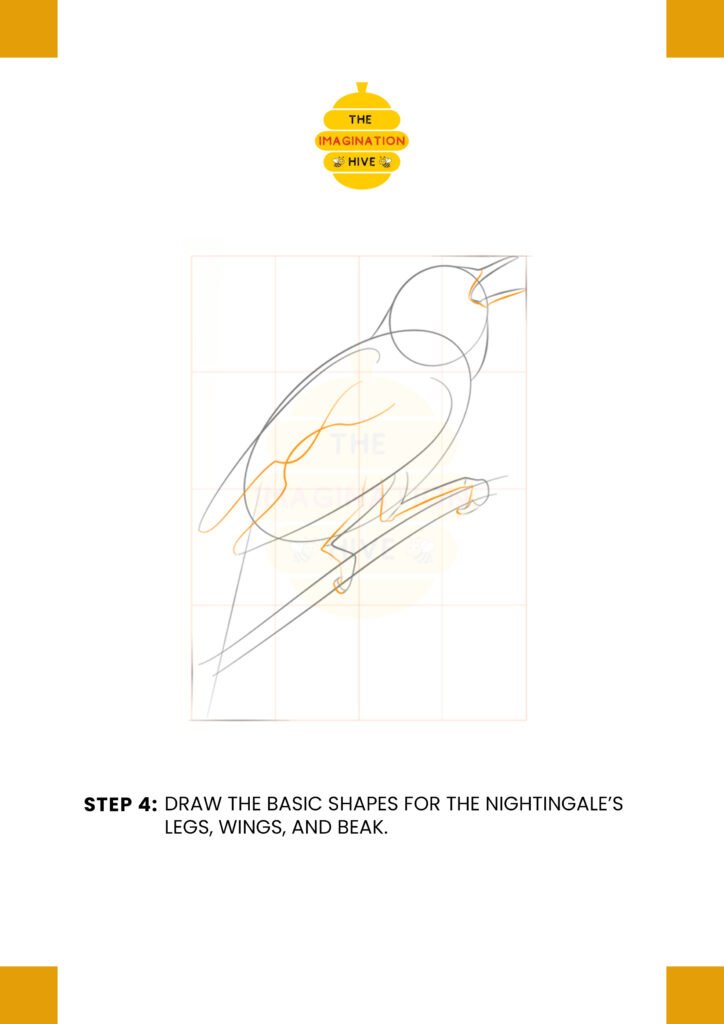
Draw the basic shapes for the nightingale’s legs, wings, and beak.
Short tip: Keep the beak narrow and slightly open to show the singing pose.
Step 5:
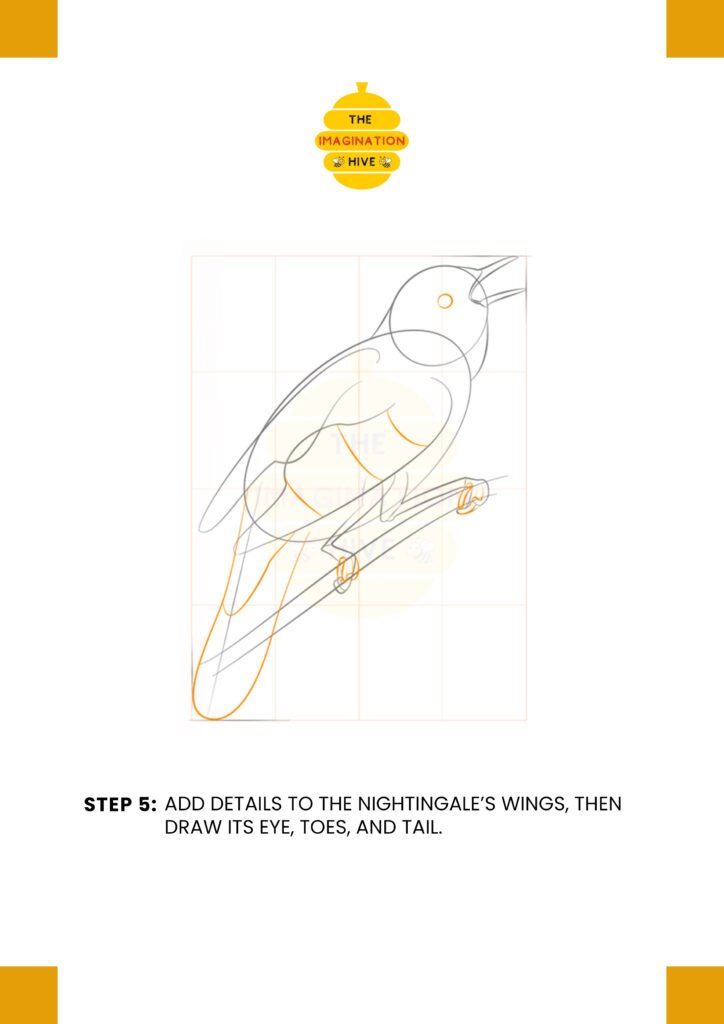
Add details to the nightingale’s wings, then draw its eye, toes, and tail.
Short tip: Layer the wing lines softly to suggest overlapping feathers.
Step 6:
 Outline the nightingale’s feathers, tongue, and claws, then carefully refine the whole figure with more details.
Short tip: Use short, smooth strokes to keep the feathers neat and natural.
Step 7:
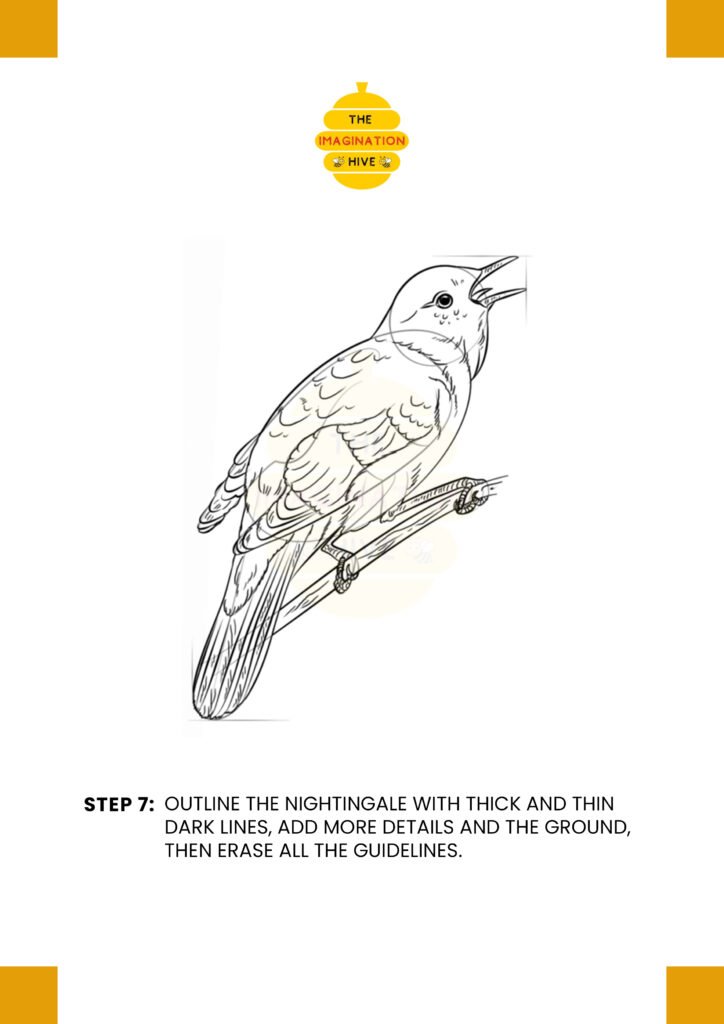
Outline the nightingale with thick and thin dark lines, add more details and the ground, then erase all the guidelines.
Short tip: Thicker outer lines and thinner inner lines create a clean, finished drawing.