In this step-by-step tutorial, you’ll learn how to draw a narwhal by starting with simple shapes and gradually adding details to create a smooth, realistic underwater animal.
STEP 1: Draw the Basic Head and Body Shapes
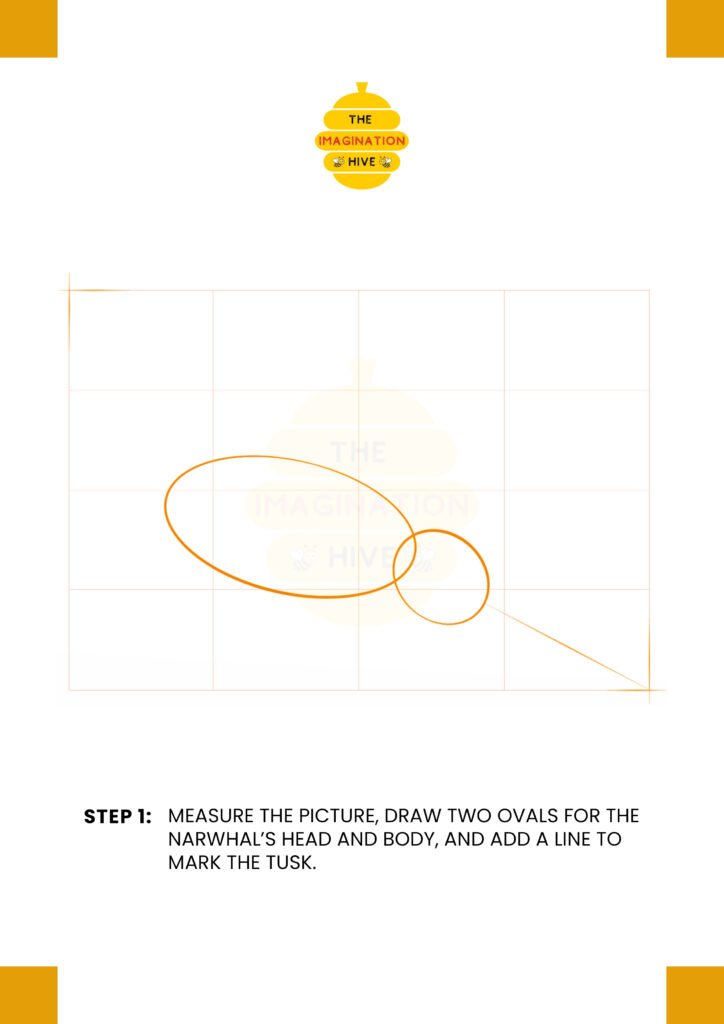
Measure the picture area, then draw two ovals—one for the narwhal’s body and a smaller one for the head. Add a straight line extending forward from the head to mark the direction and length of the tusk.
Short tip:
Keep the shapes light and loose so they’re easy to adjust later.
STEP 2: Add the Body Curve and Tail Line

Connect the head and body with smooth, curved lines to form the narwhal’s back and belly. Extend a long curved line from the back of the body to begin shaping the tail.
Short tip:
Use flowing curves to give the narwhal a natural swimming posture.
STEP 3: Refine the Body and Add Guide Lines

Refine the body shape by smoothing the outline and adjusting proportions. Add guide lines for the tail flukes, fins, and mouth placement.
Short tip:
Guide lines help keep features aligned and balanced.
STEP 4: Draw the Fins, Tail, Eye, and Tusk
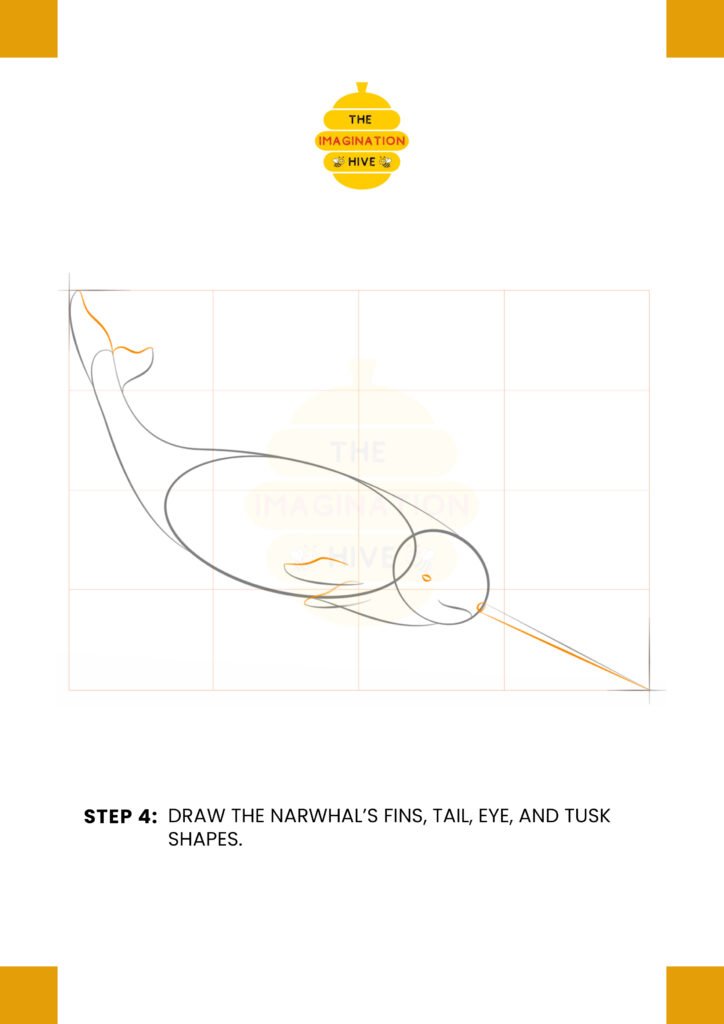
Draw the side fin, shape the tail flukes, add the eye and mouth, and define the tusk extending from the head.
Short tip:
Keep fins simple and slightly curved to match the body’s motion.
STEP 5: Add Details and Finish the Shape
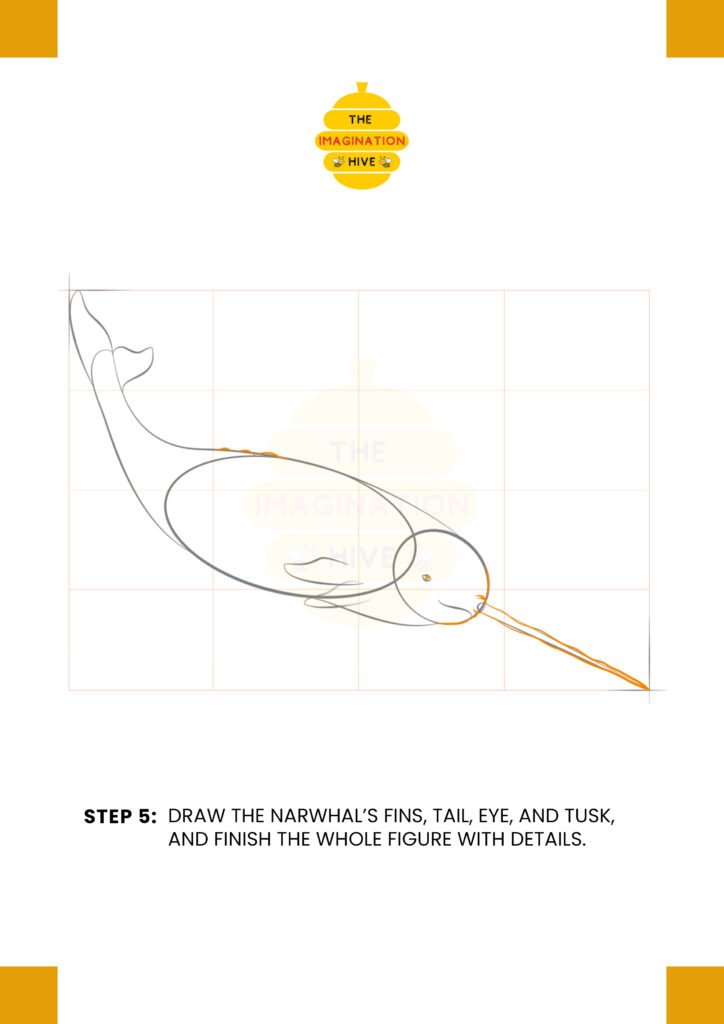
Refine all features by adding small curves, folds, and details to the fins, face, and tusk. Clean up the overall shape.
Short tip:
Small details make the narwhal look more realistic—add them lightly.
STEP 6: Final Outline and Cleanup

Trace over the final drawing with clean lines of varying thickness. Add water details if desired, then erase all remaining guidelines.
Short tip:
Vary line thickness to give depth and a polished, finished look.