Drawing a lion might look tricky at first, but if you break it down into simple shapes, it becomes fun and easy! In this step-by-step guide, we’ll build the lion gradually starting with basic ovals and lines, then adding details like the mane, paws, and facial features. Just take it one step at a time and enjoy the process.
Step 1 : Draw the Basic Head and Body Shapes
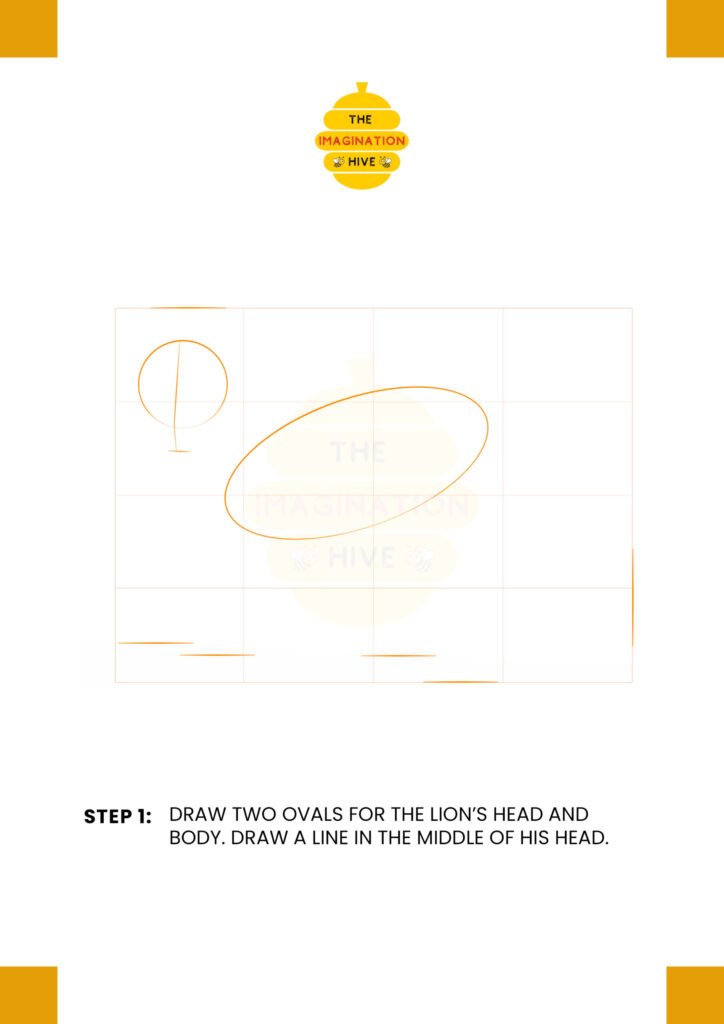
Start by drawing a small circle for the lion’s head. Add a light vertical line down the middle of the circle to help place the facial features later. Then draw a larger oval tilted slightly for the body.
Short tip: Keep your lines light and soft.
Light sketching makes it much easier to adjust shapes as you go.
Step 2 : Shape the Neck and Add the Tail Guide
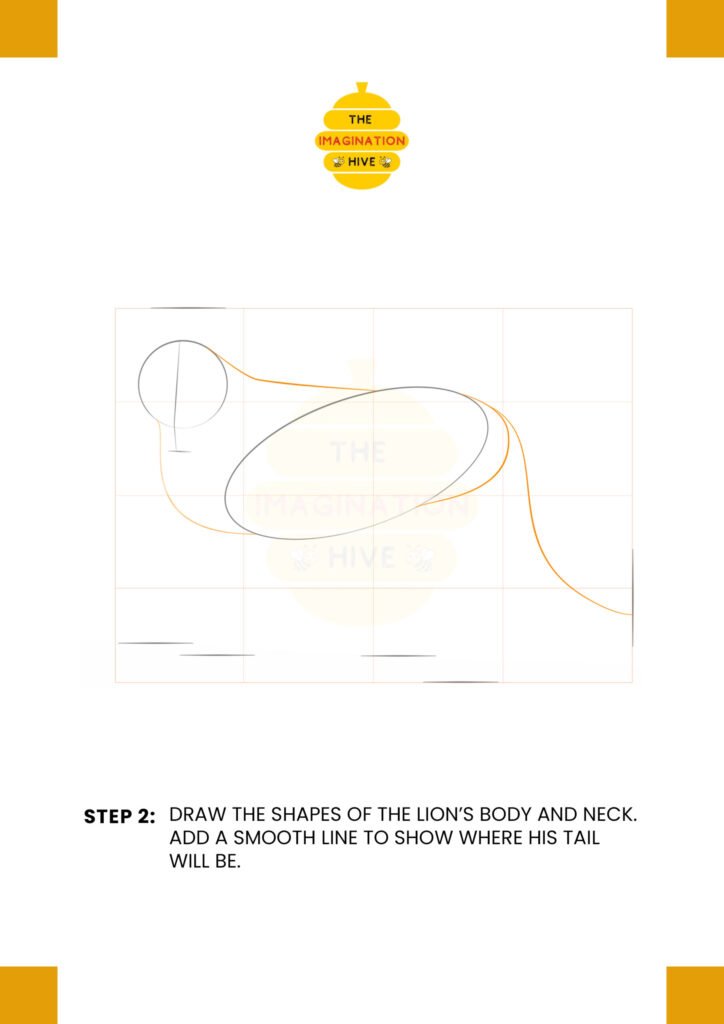
Connect the head to the body using smooth curved lines to form the neck. Then draw a long, flowing curved line from the back of the body to show where the tail will be.
Short tip: Use smooth, confident strokes.
A single flowing line looks more natural than lots of short sketchy lines.
Step 3 : Mark the Legs, Ears, and Face Guidelines
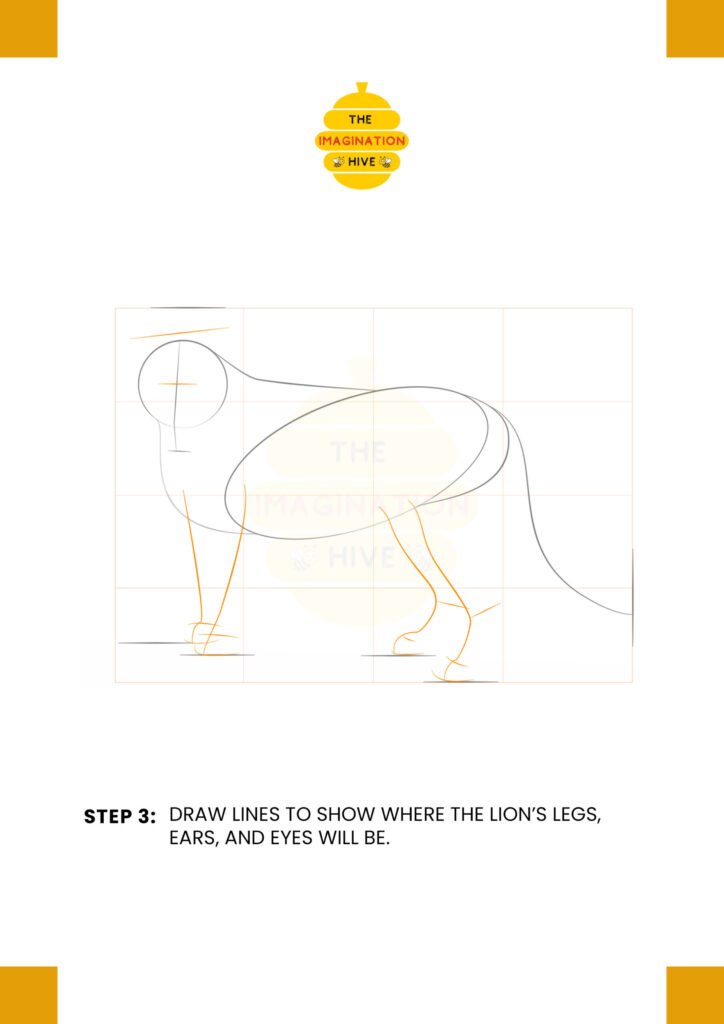
Draw simple straight lines to show where the front and back legs will go. Add two rounded ear shapes on top of the head. Lightly sketch horizontal guide lines across the face for the eyes and nose placement.
Short tip: Think of these as “roadmaps.”
Guidelines help you place features correctly before adding details.
Step 4 : Draw the Legs, Ears, and Snout
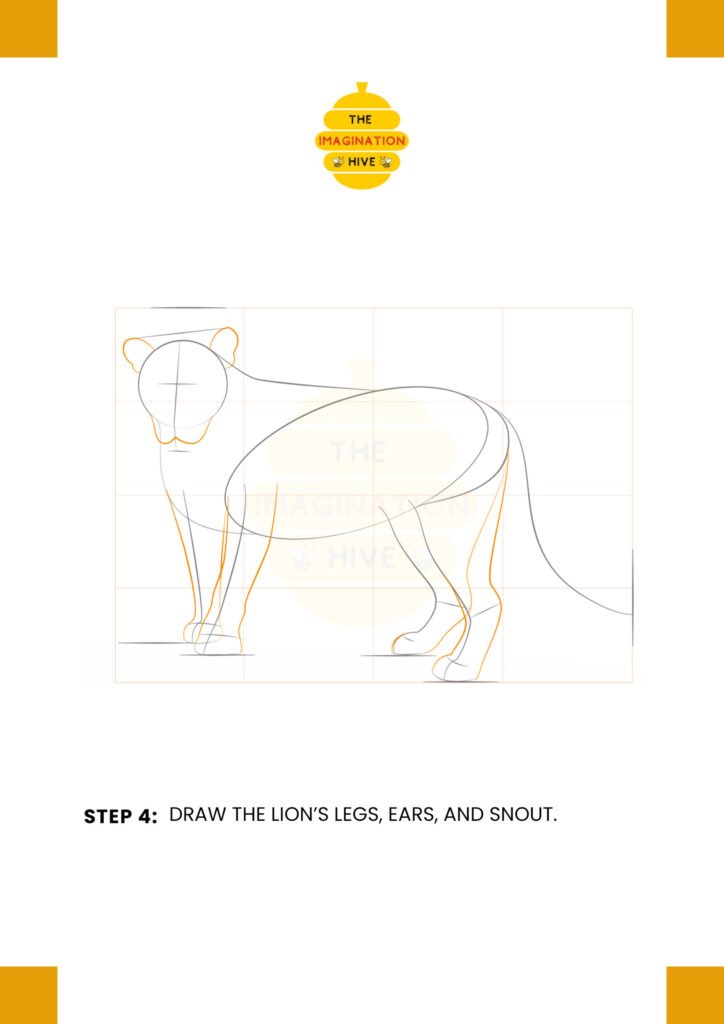
Now turn the leg lines into full leg shapes by adding thickness and forming the paws. Refine the ears and sketch the snout area at the front of the face.
Short tip: Build from simple to detailed.
Start with basic shapes, then slowly refine them.
Step 5 : Add the Nose, Jaw, Toes, and Tail
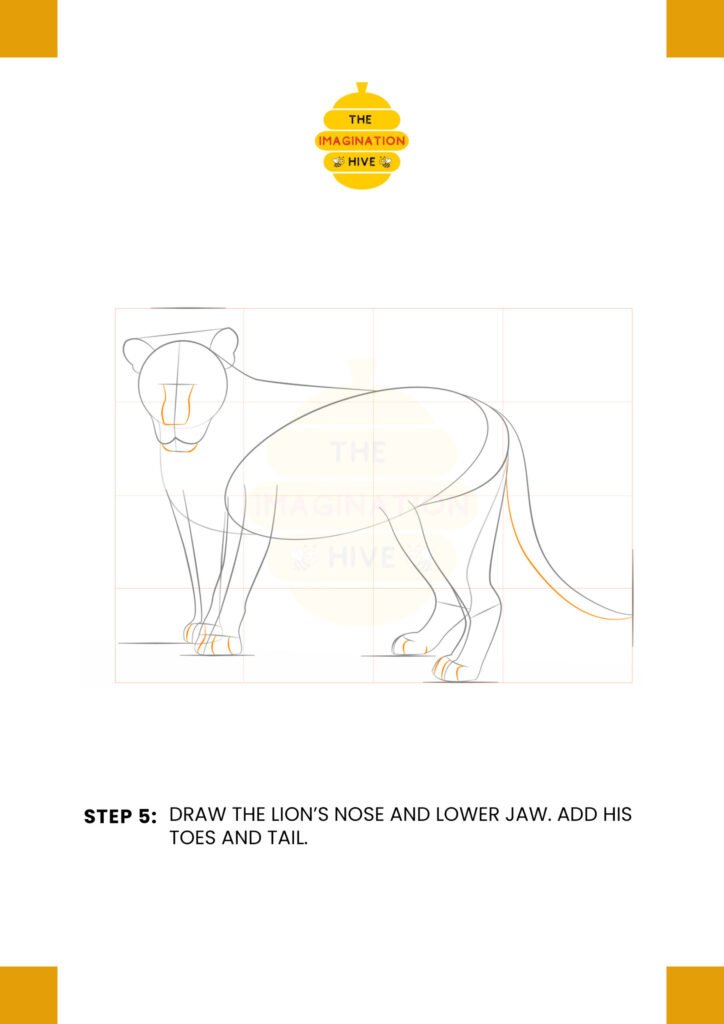
Draw the lion’s nose and lower jaw to give the face more structure. Add curved lines to form the toes on each paw. Then shape the tail properly and add a small tuft at the end.
Short tip: Keep proportions balanced.
Compare the legs and tail lengths so everything looks natural.
Step 6 : Add Facial Features and Mane Outline
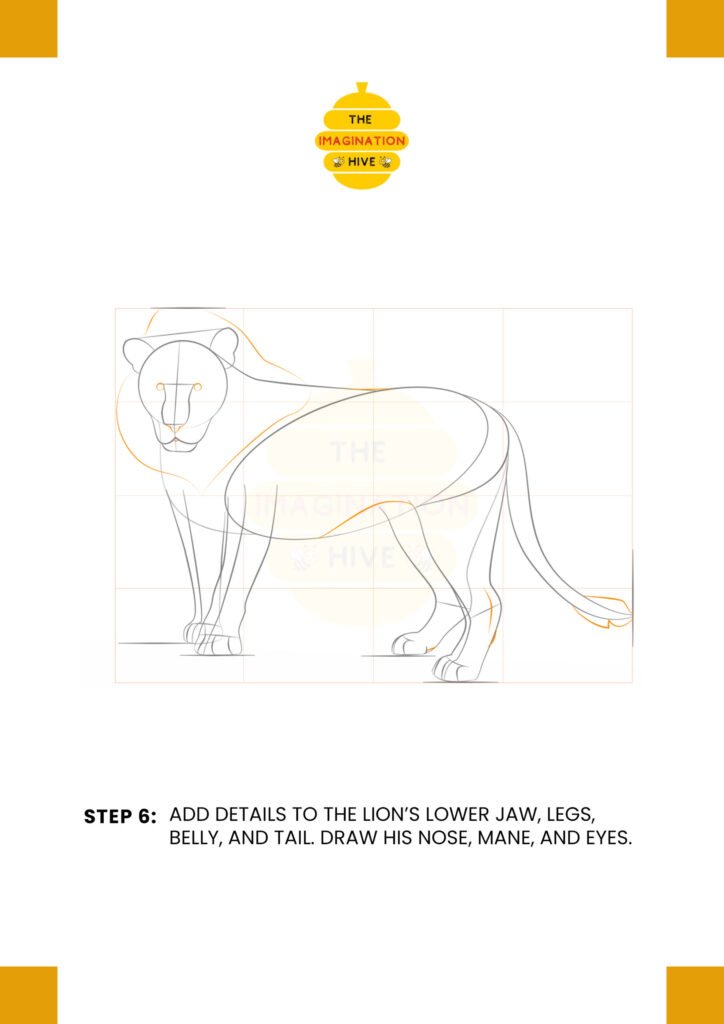
Draw the lion’s eyes, making sure they follow the guidelines. Refine the nose and mouth. Begin sketching the large flowing mane around the head and down the chest.
Short tip: Focus on symmetry.
Make sure both sides of the face look even and aligned.
Step 7 : Refine Details Across the Whole Body
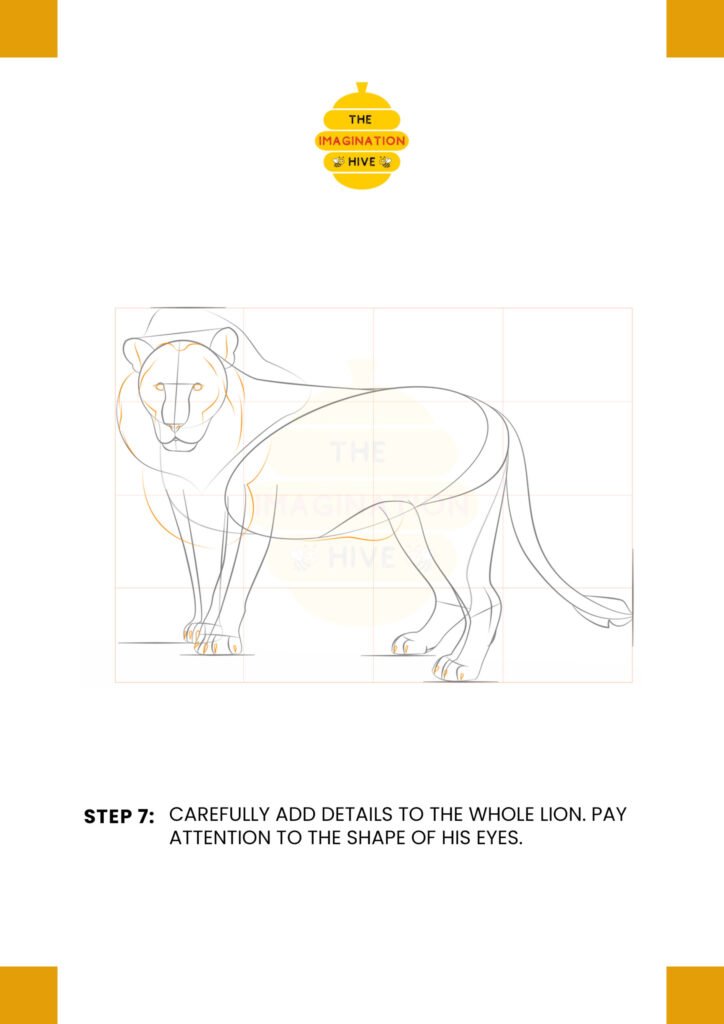
Carefully add more details to the mane, legs, belly, and tail. Define the paws clearly and shape the eyes properly. Smooth out any rough lines.
Short tip: Slow down at this stage.
Details make the drawing come alive, so take your time.
Step 8 : Outline, Darken, and Finish
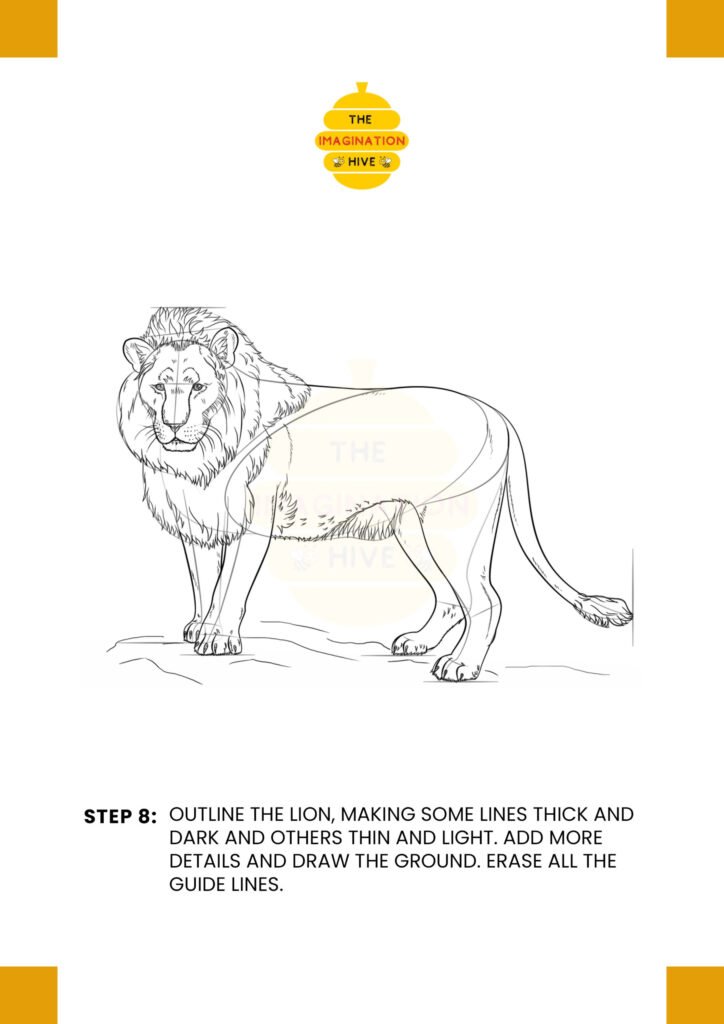
Trace over your final lines, making some outlines thicker and darker for depth. Add small fur details and draw a simple ground line beneath the lion. Finally, erase all the extra guide lines.
Short tip: Vary line thickness.
Thicker outlines and thinner detail lines make your drawing look more professional.
You’ve now completed your lion drawing step by step! Keep practicing, and soon you’ll be drawing different poses and expressions with confidence. 🦁