Drawing a goat becomes much easier when you break the process into simple shapes and gradual refinements. This step-by-step guide will help you build the goat’s body, legs, head, and details in a clean and logical way, making it suitable for beginners and kids while still looking realistic.
STEP 1: Draw the Basic Head and Body Shapes

Start by measuring the picture area and lightly sketch two ovals—one large oval for the goat’s body and a smaller one for the head. Position the head slightly forward and higher than the body to create a natural posture, then lightly shape the head so it points slightly downward.
Short tip:
Keep your lines light and loose so they’re easy to adjust as the drawing develops.
STEP 2: Sketch the Back and Neck Lines
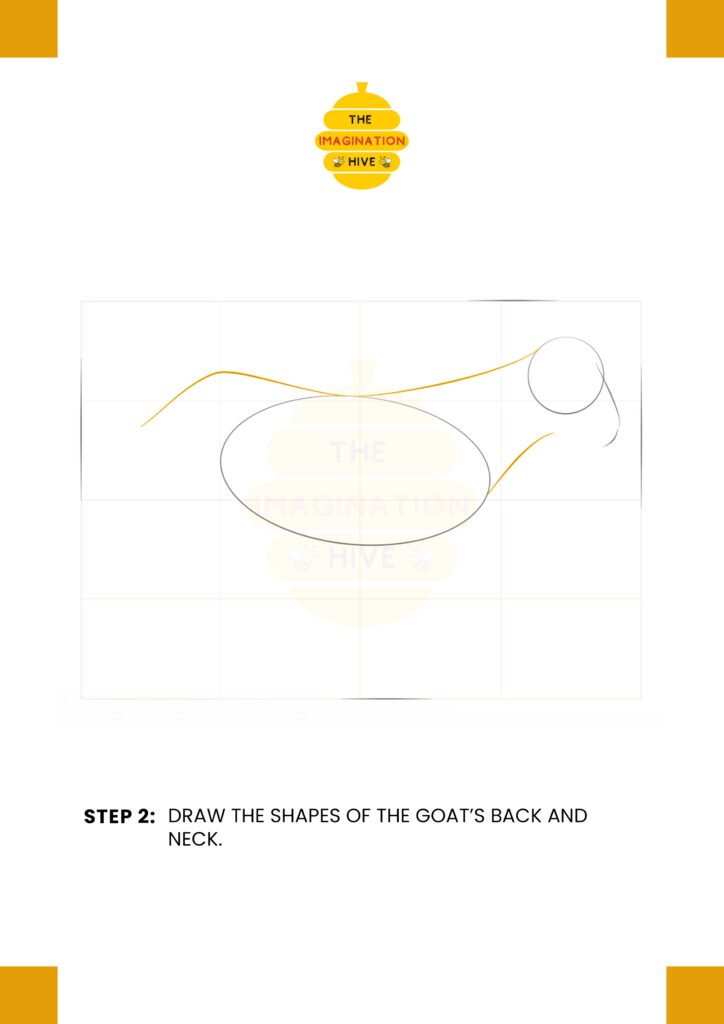
Connect the head and body by drawing smooth, flowing lines for the goat’s neck and back. Let the back curve gently to give the goat a relaxed, natural stance.
Short tip:
Use long, confident strokes instead of short sketchy lines to keep the silhouette smooth.
STEP 3: Add Leg Guides and the Snout
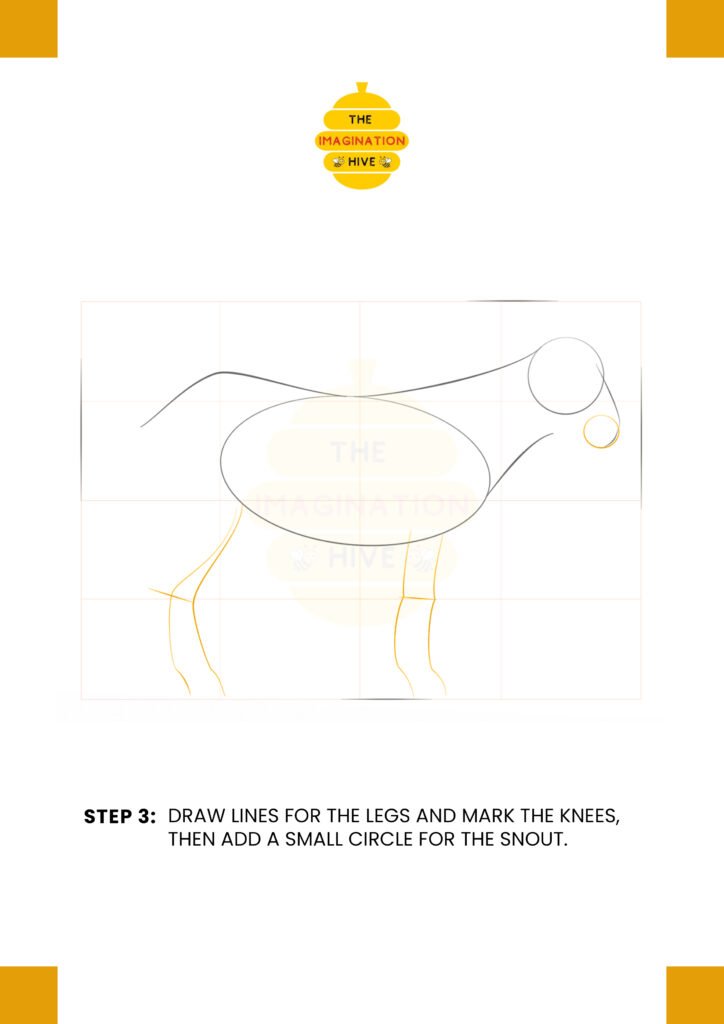
Draw simple lines for the legs, marking the knee joints with small bends, and add a small circle at the front of the head to indicate the snout. These guides help set correct proportions before adding details.
Short tip:
Make sure all four legs touch the same ground line to keep the goat balanced.
STEP 4: Shape the Legs, Jaw, and Horns
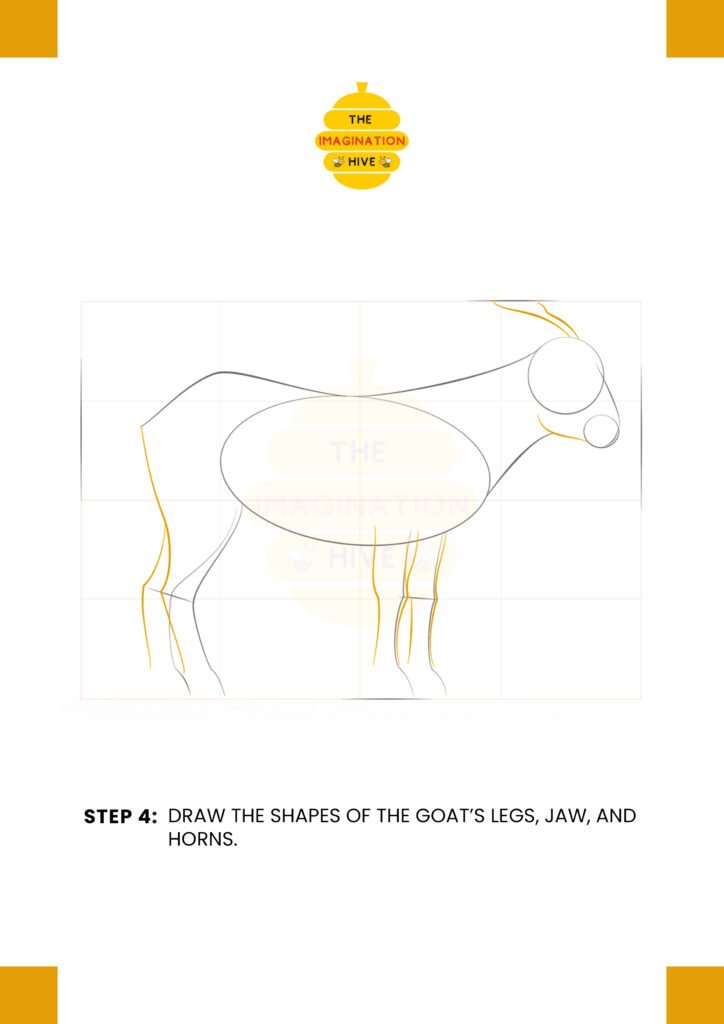
Thicken the leg guides into simple shapes, refine the jawline, and sketch the basic form of the horns curving back from the head. Keep everything simple at this stage.
Short tip:
Goat horns usually curve backward slightly—avoid making them too straight.
STEP 5: Outline the Ears, Hooves, and Tail
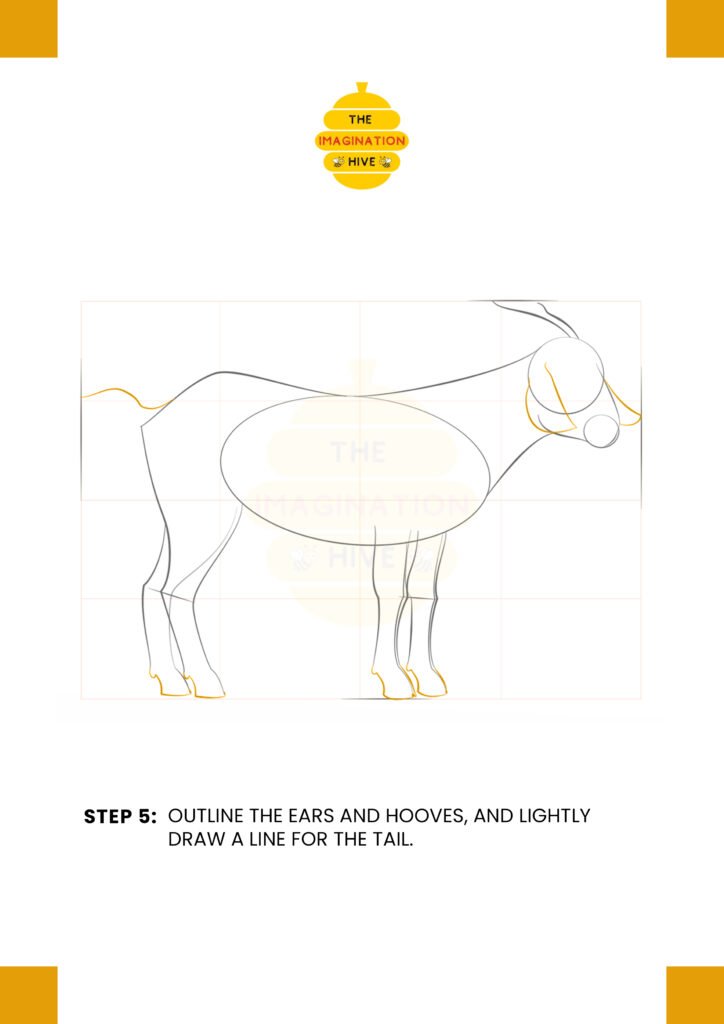
Add the ears on the sides of the head, define the hooves at the bottom of each leg, and lightly sketch a line for the tail. This step brings the goat’s structure closer to its final form.
Short tip:
Keep the hooves small and neat so the legs don’t look heavy.
STEP 6: Add Facial Features and Joint Details

Draw the eye, nose, mouth, and refine the horns and tail. Mark joints and muscle curves to give the goat more realism and depth.
Short tip:
Small details make a big difference—add them gradually and carefully.
STEP 7: Finish the Goat with Final Details
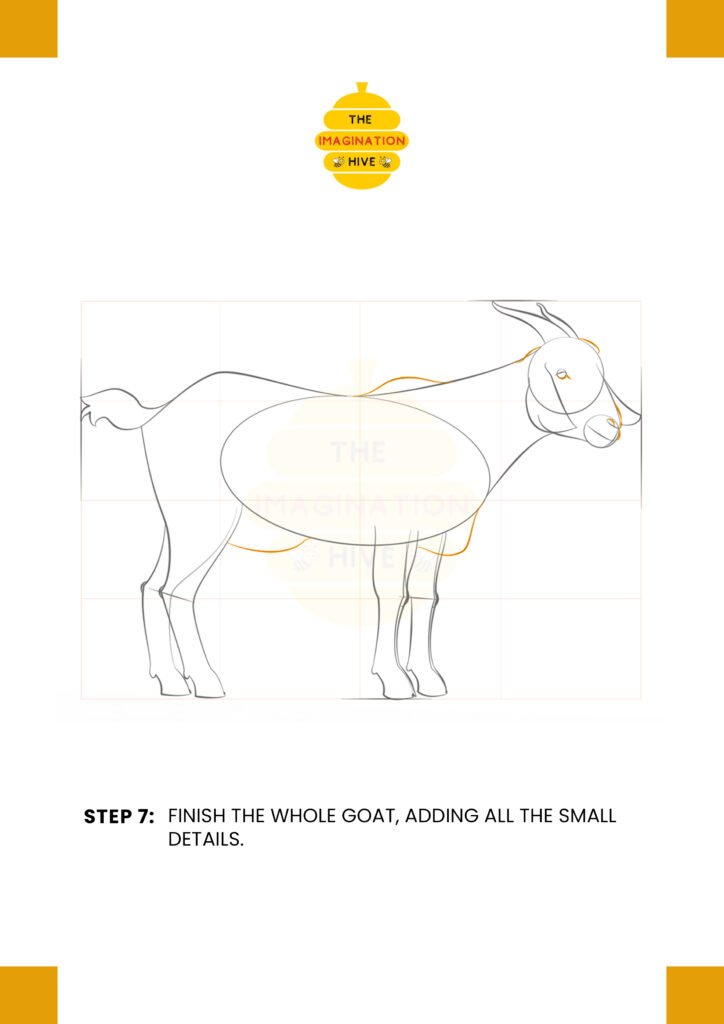
Refine the entire outline, add small fur lines along the neck and body, and smooth out any rough edges to complete the drawing.
Short tip:
Use short, light strokes to suggest fur instead of drawing every hair.
STEP 8: Final Outline and Cleanup
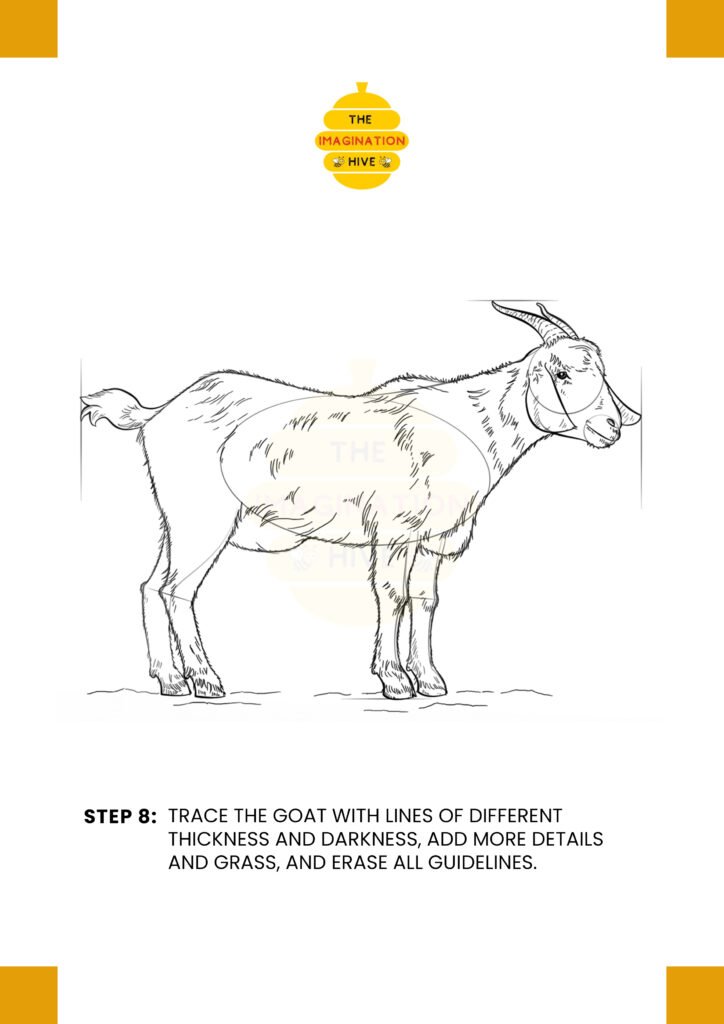
Trace over the final lines with varying thickness, erase all guidelines, and add small ground lines or grass beneath the hooves for a finished look.
Short tip:
Varying line thickness helps the goat look more natural and polished.