Step by step, you’ll learn how to draw a cheetah by starting with simple shapes and gradually adding the body, legs, facial features, and final details.
STEP 1: Measure the Picture and Draw the Main Shapes
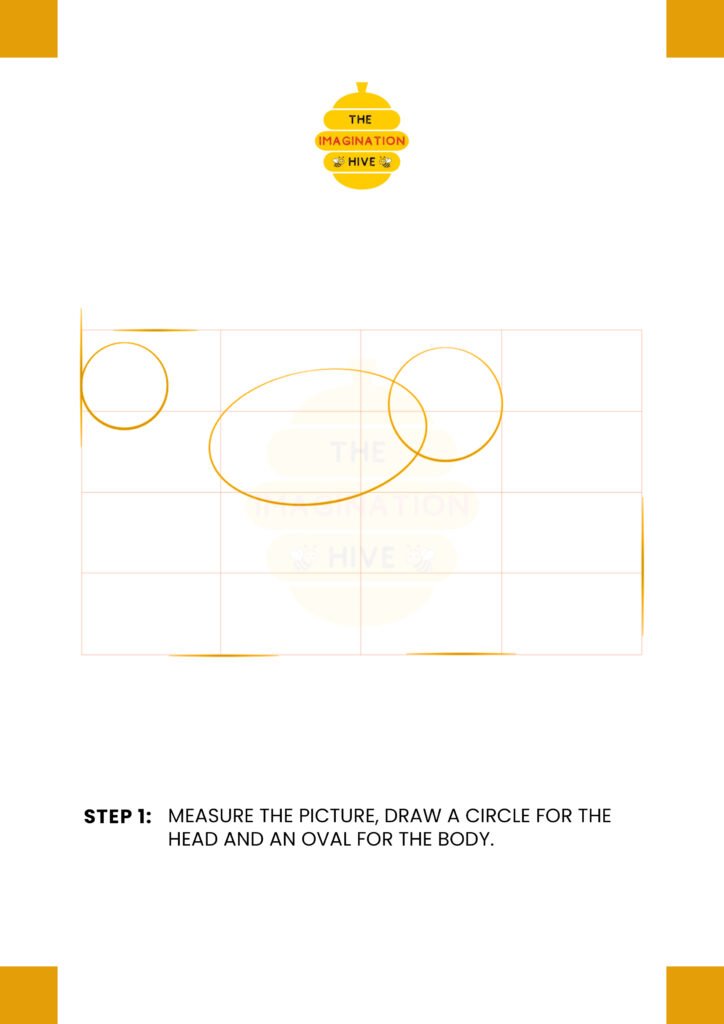
Measure the picture, draw a circle for the cheetah’s head, and an oval for the body to establish the basic proportions.
Short tip:
Keep your shapes light so you can adjust them easily.
STEP 2: Draw the Body Direction Line and Face Guide
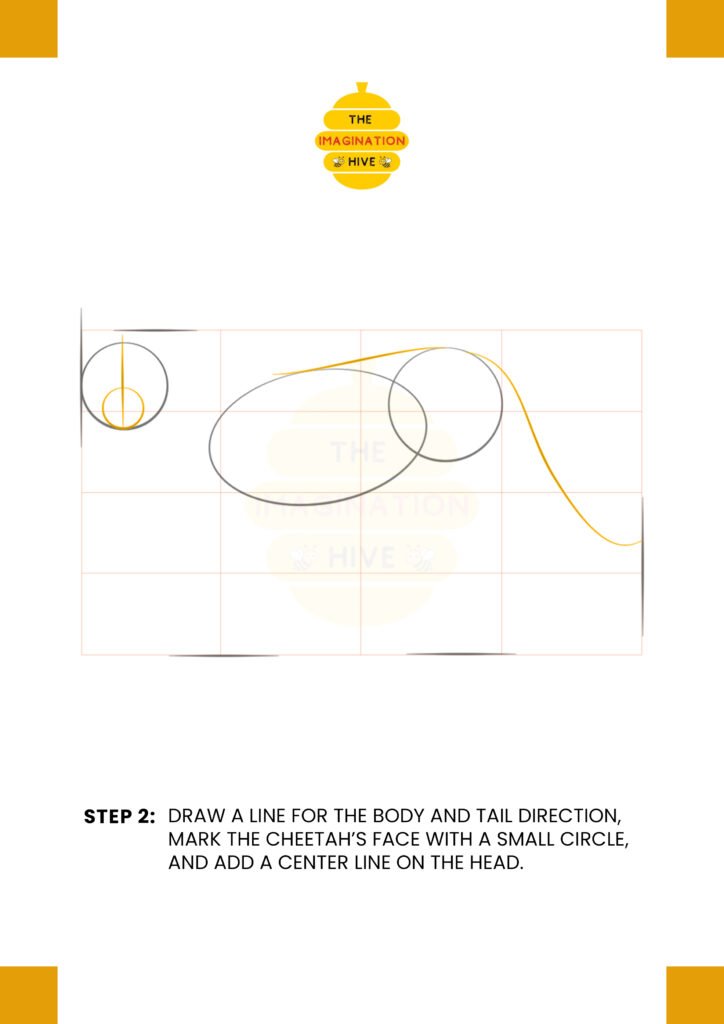
Draw a line to show the direction of the body and tail, mark the cheetah’s face with a small circle, and add a center line on the head.
Short tip:
The body line helps guide the cheetah’s posture and balance.
STEP 3: Draw the Basic Shape of the Neck
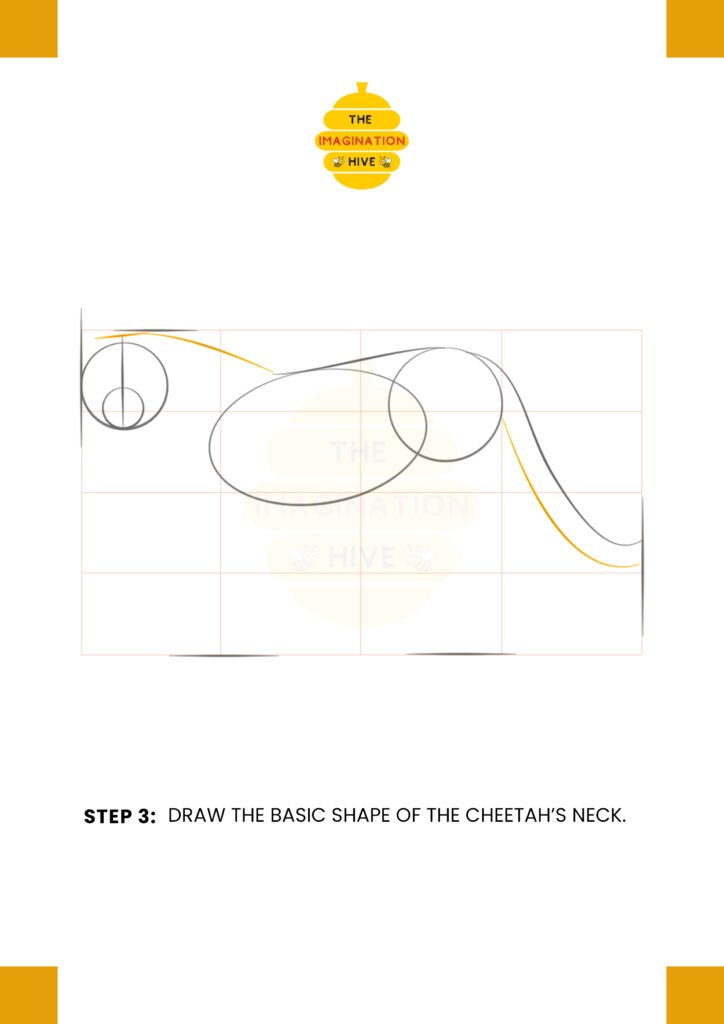
Sketch the basic shape of the cheetah’s neck, smoothly connecting the head to the body.
Short tip:
Use soft curves to keep the neck looking natural.
STEP 4: Draw the Legs
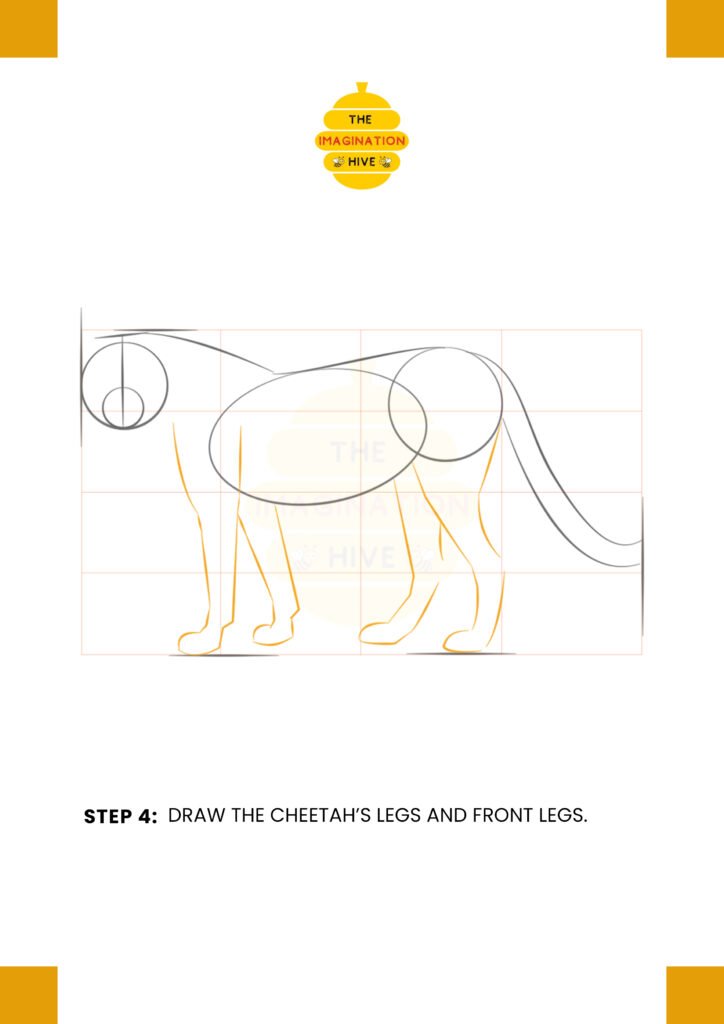
Draw the cheetah’s front and back legs, keeping them long and slightly bent to show strength and stability.
Short tip:
Slim, straight legs help capture the cheetah’s athletic build.
STEP 5: Draw the Facial Features and Ears
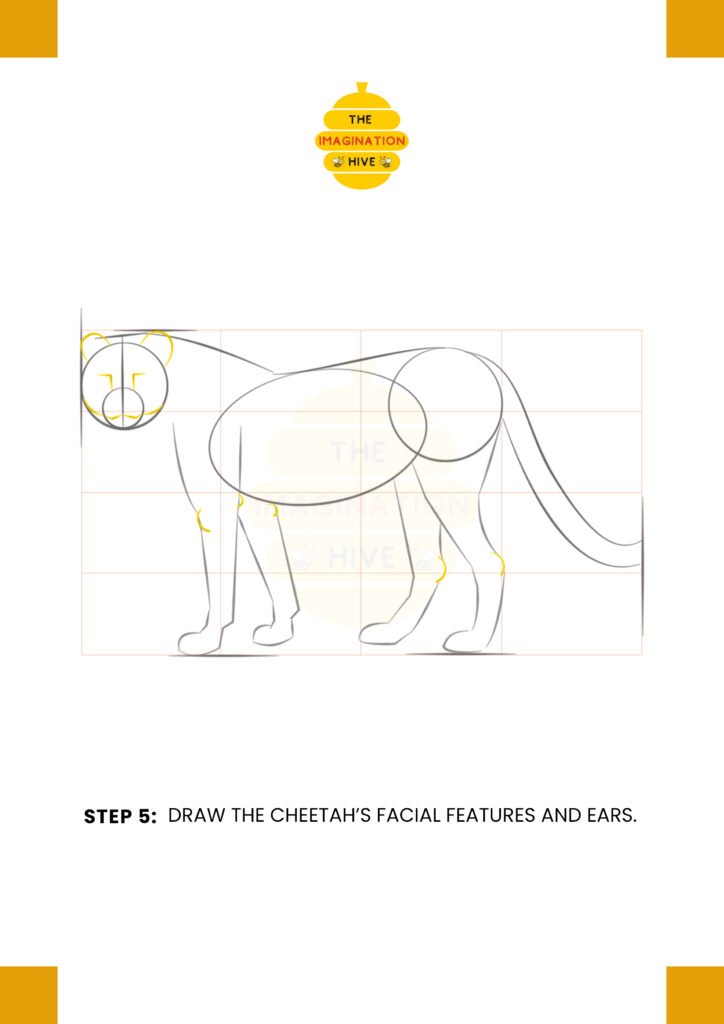
Add the cheetah’s eyes, nose, mouth, and ears to give the face character and expression.
Short tip:
Keep facial details simple at first — refinement comes later.
STEP 6: Lightly Sketch the Toes, Neck, Nose, and Eyes
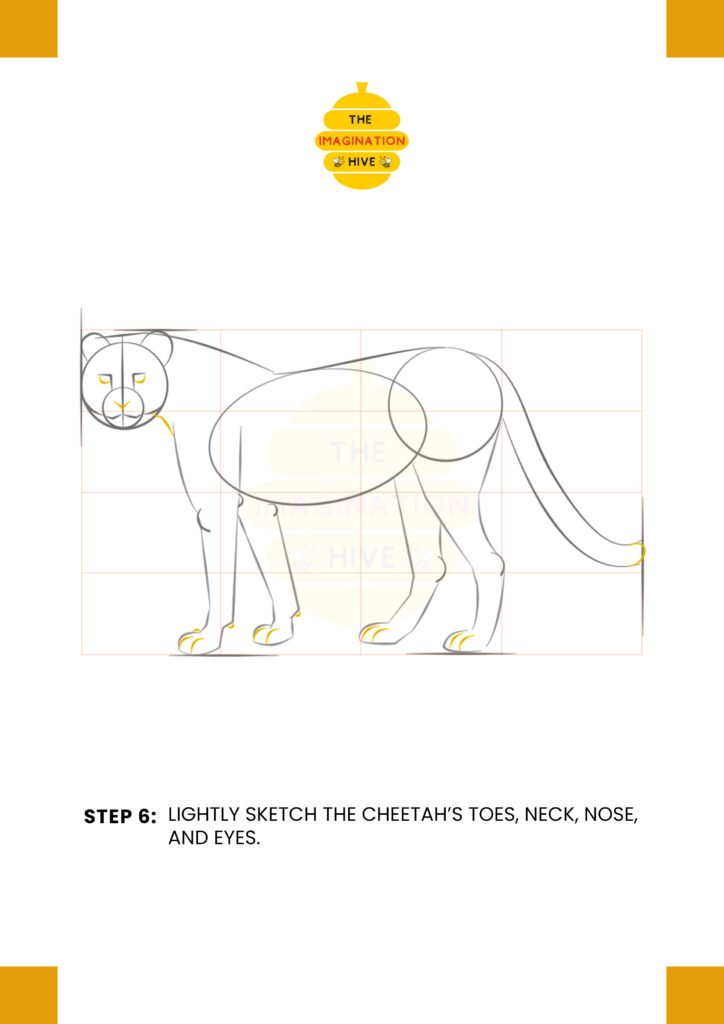
Refine the toes, neck, nose, and eyes, improving proportions and clarity.
Short tip:
Small adjustments at this stage make a big difference in realism.
STEP 7: Final Outline and Details
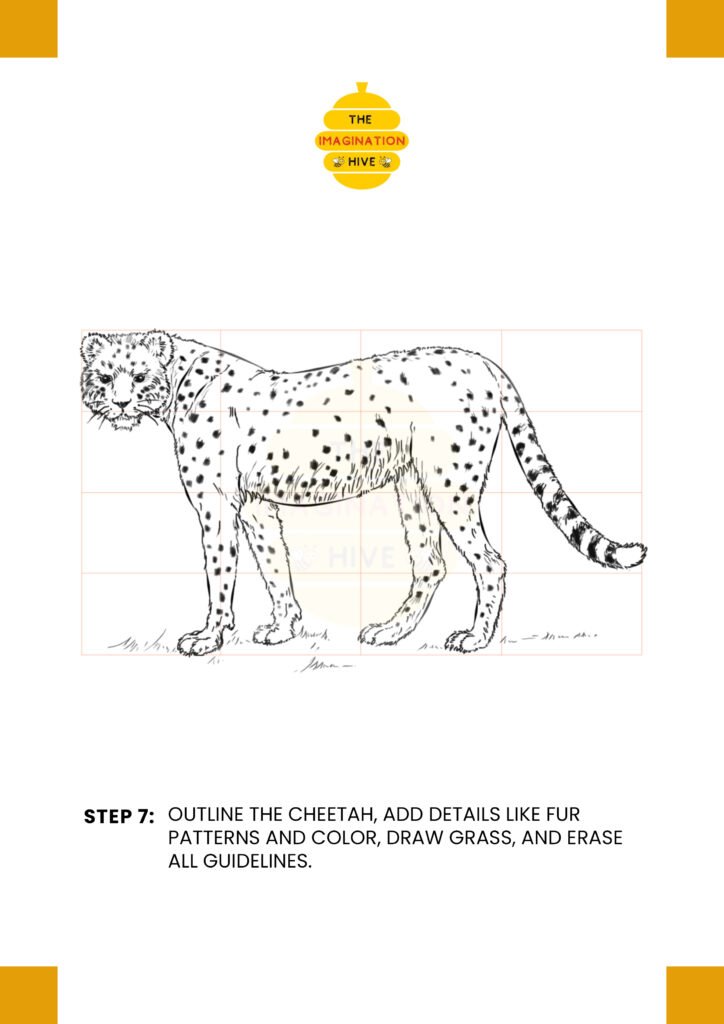
Outline the cheetah, add fur patterns and spots, draw grass beneath the feet, and erase all remaining guidelines to finish the drawing.
Short tip:
Vary line thickness to give the cheetah depth and a polished look.