Step by step, you’ll learn how to draw a bearded dragon by starting with simple shapes and gradually adding the body, legs, and detailed textures.
STEP 1: Measure the Picture and Draw the Main Shapes
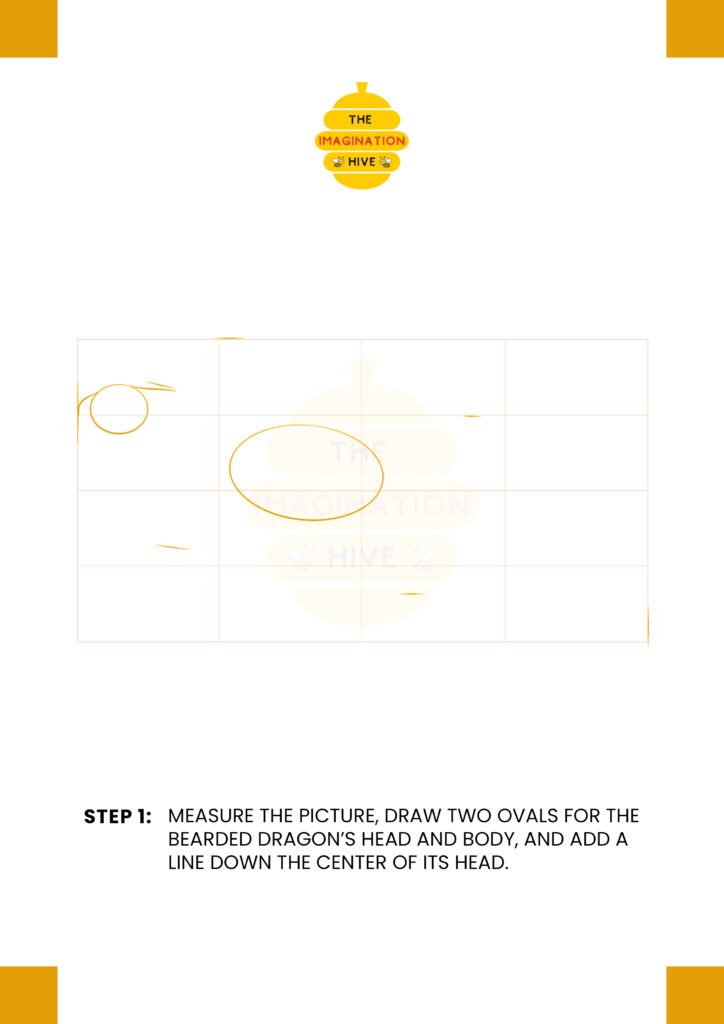
Measure the picture area, draw two ovals for the bearded dragon’s head and body, and add a line down the center of its head to guide facial placement.
Short tip:
Light shapes make it easier to adjust proportions later.
STEP 2: Draw the Head and Body Movement Line
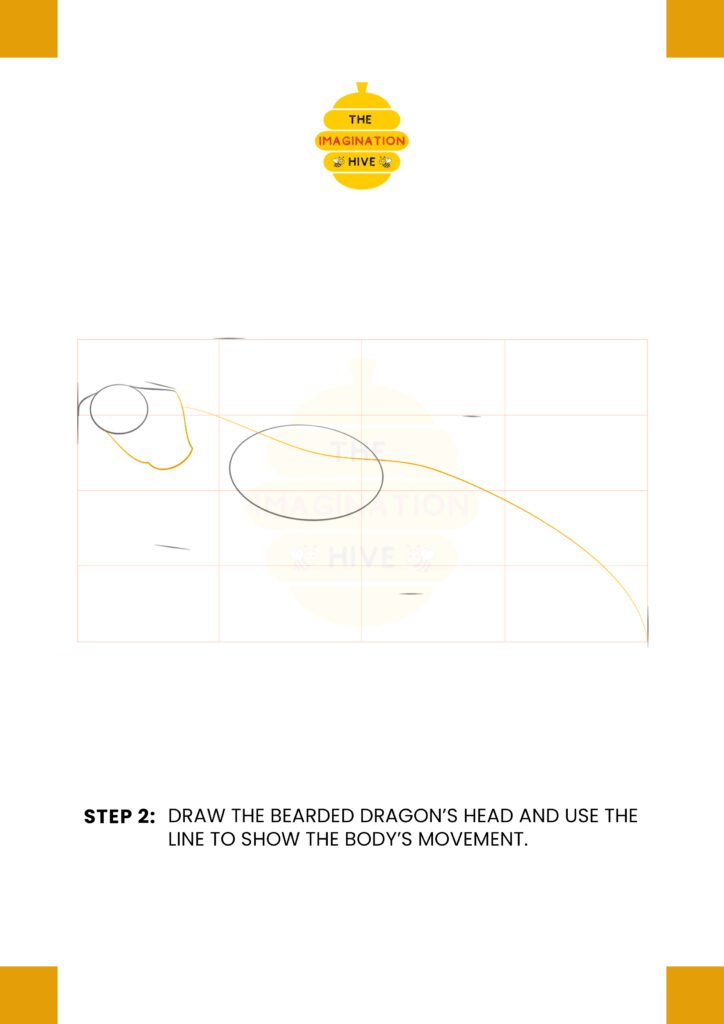
Draw the bearded dragon’s head shape and use a long, smooth line to show the direction and movement of its body and tail.
Short tip:
A flowing body line helps create a natural, relaxed pose.
STEP 3: Draw the Body, Tail, and Snout Shapes
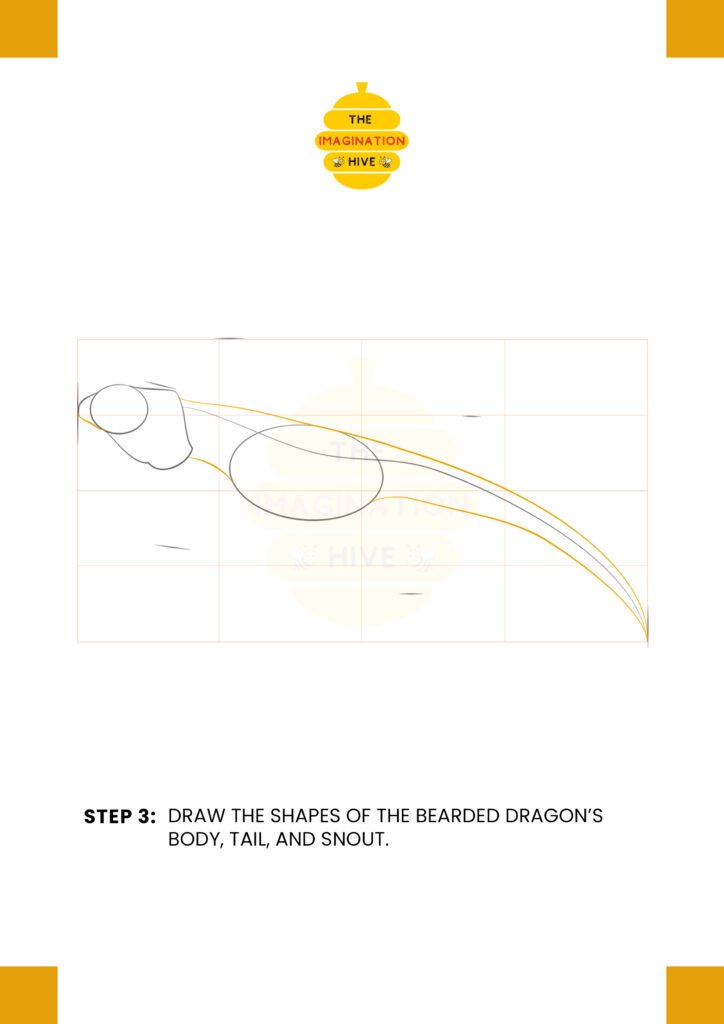
Sketch the shapes of the bearded dragon’s body, tail, and snout, connecting them smoothly using the guide lines.
Short tip:
Keep curves smooth to avoid a stiff-looking body.
STEP 4: Draw the Legs and Eye Placement Line
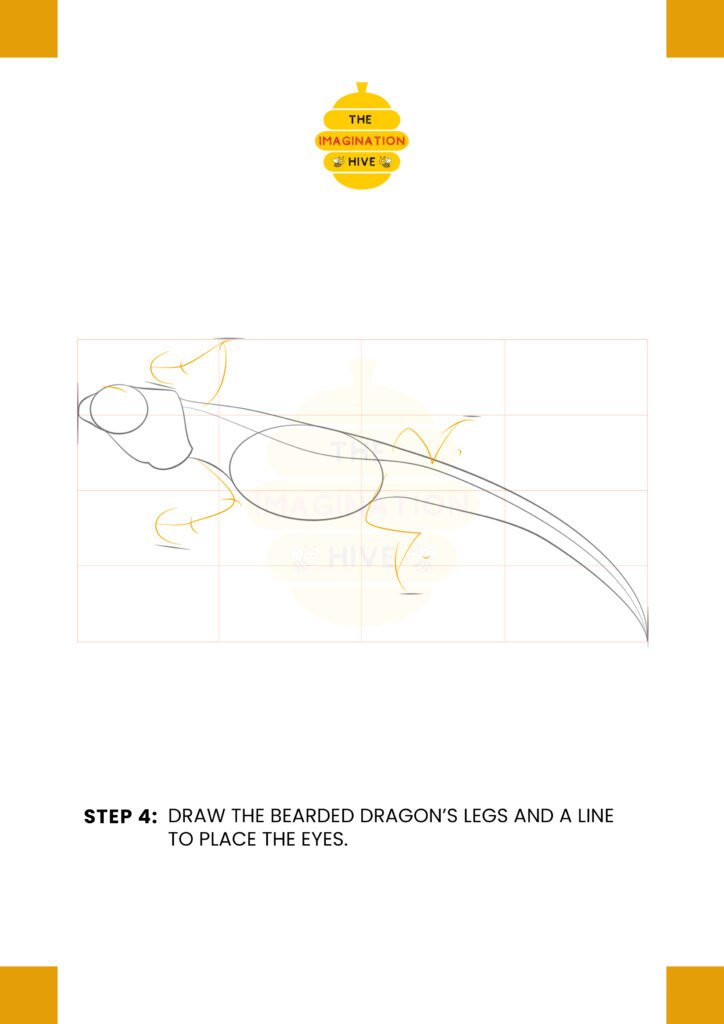
Add the bearded dragon’s legs and draw a simple line to mark where the eyes will sit on the head.
Short tip:
Angle the legs slightly to show balance and movement.
STEP 5: Draw the Legs, Eye, and Mouth
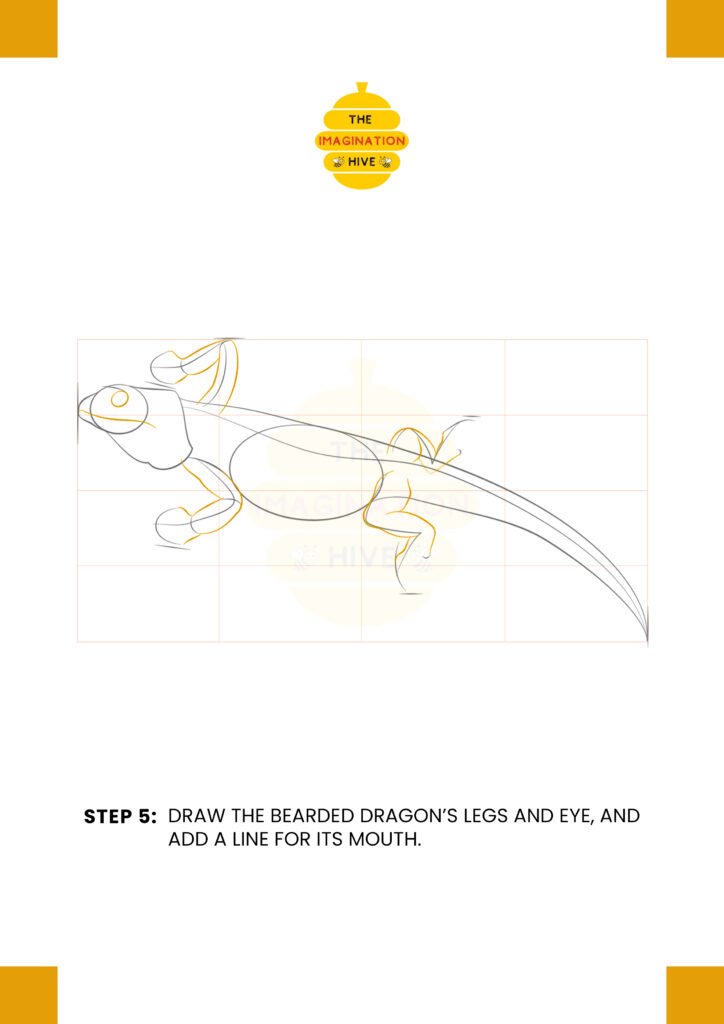
Refine the legs, draw the eye, and add a line for the mouth to give the face more expression.
Short tip:
Simple facial lines work best at this stage — details come later.
STEP 6: Shape the Head, Eye, and Toes
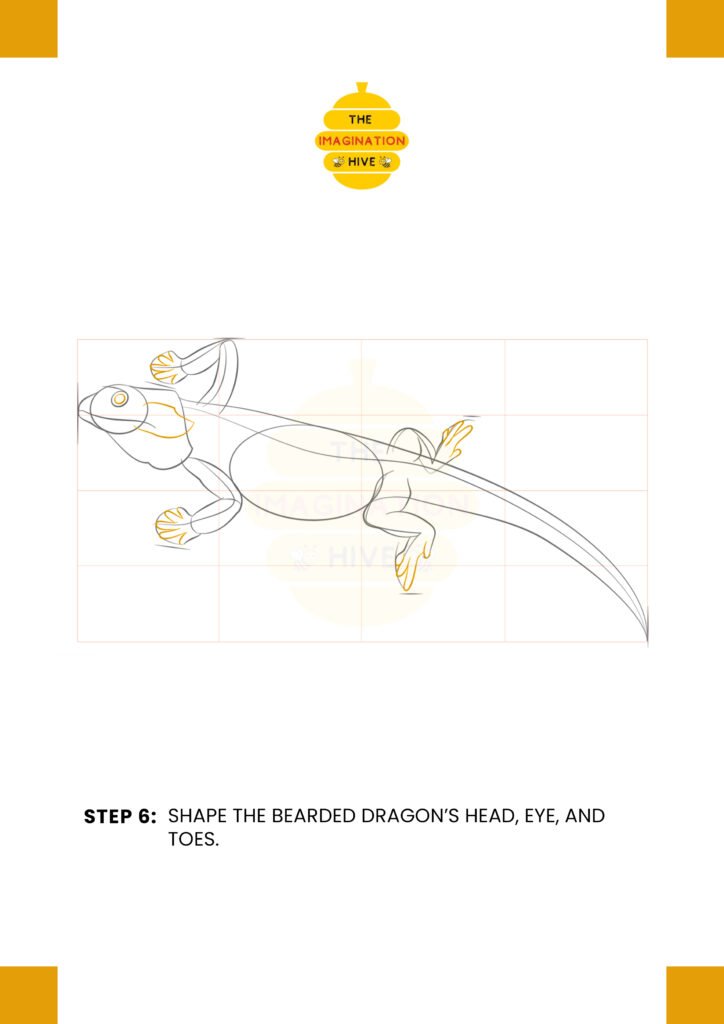
Define the head shape, refine the eye, and draw the toes on each foot to make the bearded dragon more recognizable.
Short tip:
Rounded toes with small claws look more natural than sharp angles.
STEP 7: Add Extra Details
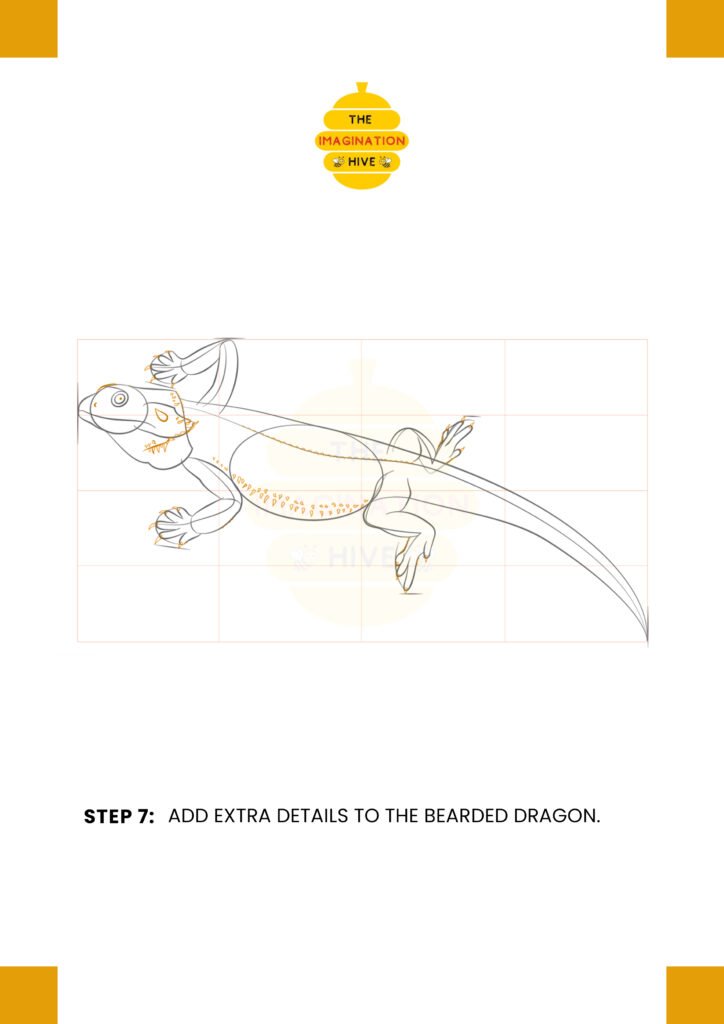
Add spikes, scales, and texture along the head, belly, and tail to bring the bearded dragon to life.
Short tip:
Use small, repeated shapes to suggest texture without overcrowding the drawing.
STEP 8: Final Outline and Cleanup
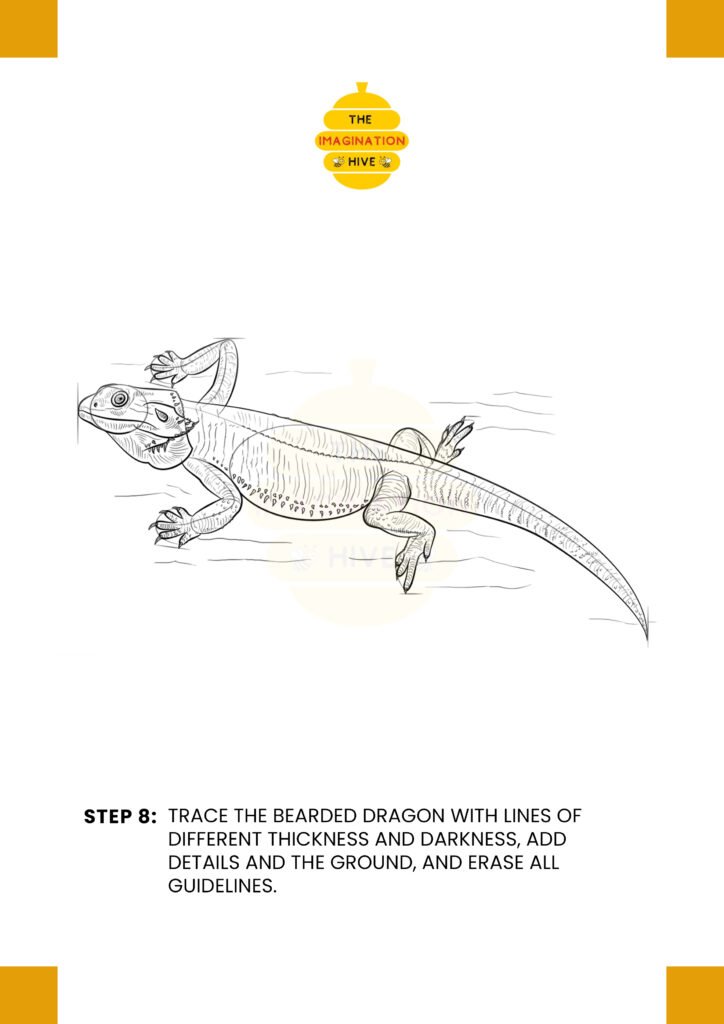
Trace the bearded dragon with lines of different thickness and darkness, add the ground, and erase all remaining guidelines to finish the drawing.
Short tip:
Thicker outer lines and lighter inner details give a clean, professional result.