October 6, 2026
Paper Plate Masks
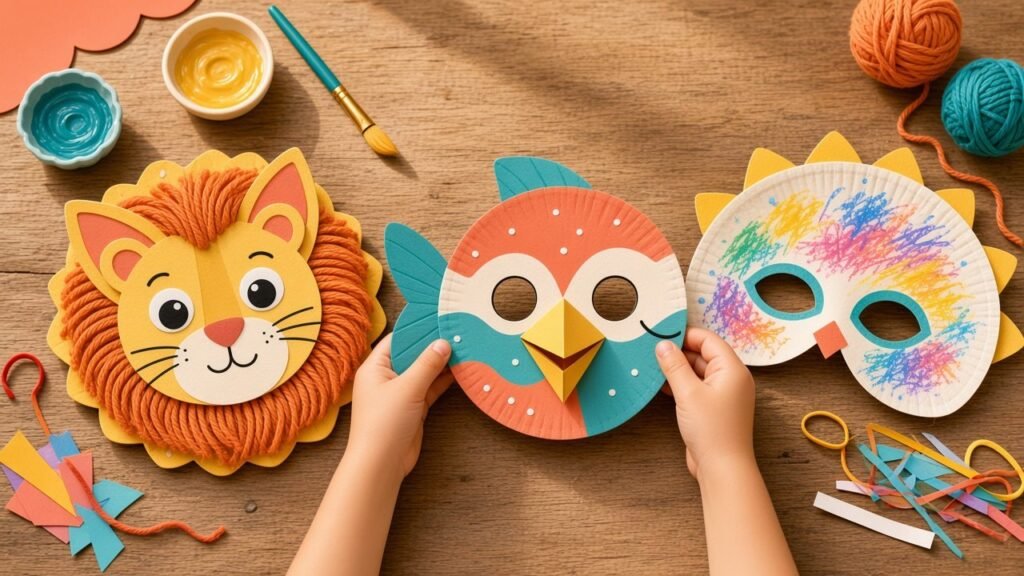
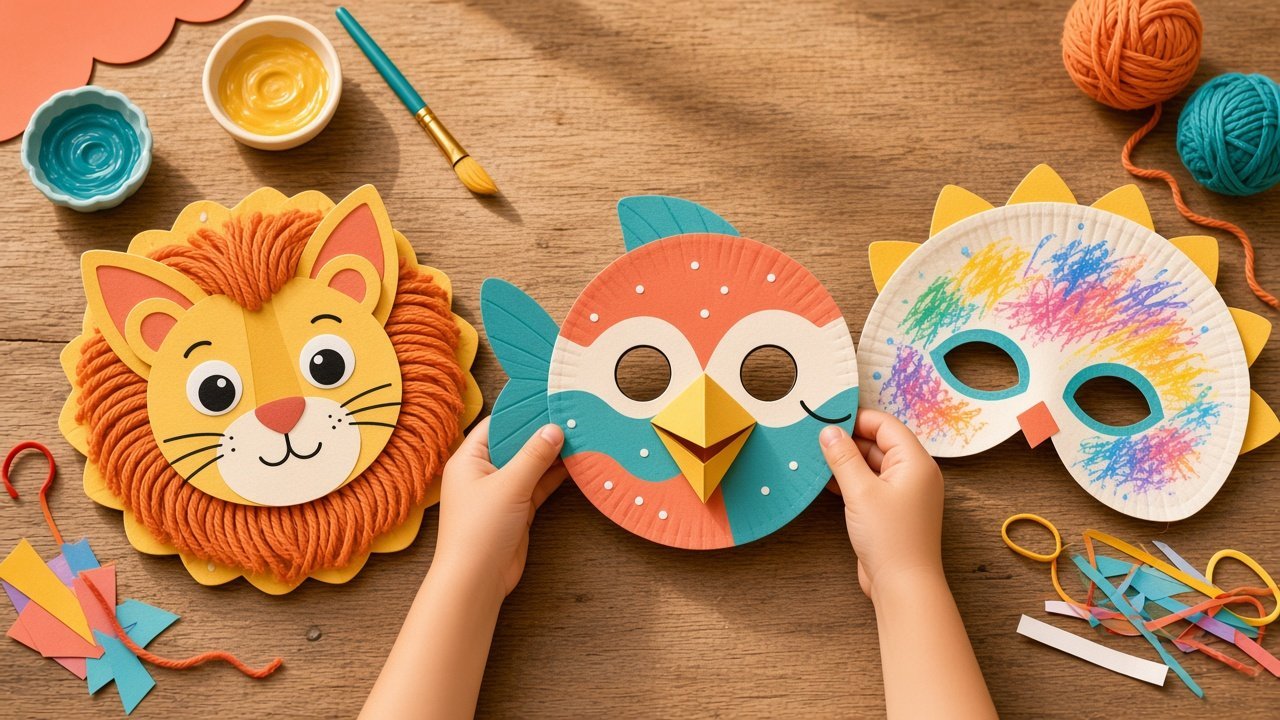
Paper plate masks are wearable, so the finish is obvious: it has to sit on a face. Eye holes are an adult job. The child chooses ears, a beak, or a pattern. The half-mask in the main plate guide is the simple start. These masks add a character.
Set up the table
Hold the plate on the child's face and mark eye spots with a pencil before any cutting. Cut the holes larger than you think, then try the mask. A paper strip stapled at each side is safer than elastic for young children, because elastic can snap.
Cat mask
Ages: 5+. Time: 25 minutes.
You need: paper plate, two triangles, crayon, paper strip.
- Mark and cut eye holes.
- Glue triangles at the top as ears.
- Draw a nose and three whiskers on each side.
- Staple the strip so it fits.
Whiskers drawn on the plate last longer than paper whiskers.
Bird mask
Ages: 5+. Time: 25 minutes.
You need: paper plate, a folded triangle beak, paper feathers, paper strip.
- Cut the eye holes.
- Glue the beak under the eyes.
- Add a few feathers at the sides.
- Fit the strip.
A beak that sticks out needs glue and a piece of tape on the back.
Crown mask
Ages: 6+. Time: 25 minutes.
You need: half a paper plate, paper points, crayon, strip.
- Use the straight side of the half plate as the bottom.
- Glue points along the curve.
- Decorate, then cut eyes if they want to see through it.
- Fit the strip.
A crown that is only a hat can skip the eye holes.
Monster mask
Ages: 6+. Time: 30 minutes.
You need: paper plate, one extra paper eye, crayon, strip.
- Cut two eye holes.
- Glue a third eye above them.
- Draw a wide mouth.
- Keep the colours to two so it still reads as a face.
Funny monsters are enough. Skip blood, scars, and sharp teeth for a group.
Night mask
Ages: 4+. Time: 15 minutes.
You need: paper plate, crayon, strip.
- Colour the plate one dark colour.
- Add dots as stars.
- An adult cuts eye holes.
- This is a mask with almost no pieces to lose.
One colour is the design. Extra stickers are optional.
Mask on a stick
Ages: 5+. Time: 20 minutes.
You need: paper plate, a craft stick or a strip of cardboard, tape.
- Decorate the plate first.
- Cut eye holes.
- Tape the stick to the back, low enough to hold.
- No strap, so nothing goes around the neck.
A stick is the better choice for a quick class or a parade across the room.
What to watch
Try the mask before you send a child off in it. Eye holes that are too small make them walk into things. Do not use string around the neck.
The Imagination Hive is a children’s art and STEM studio in Milton, Ontario. These projects use ordinary supplies so you can start at the kitchen table.