Drawing a zebra becomes simple when you break it into clear, manageable steps. Follow along from basic shapes to final details, keeping your lines light until the last step.
STEP 1: Block the Head and Body

Start by measuring the space on your page. Draw two ovals—one smaller for the head and one larger for the body—and add a light guide line on the head to help place facial features.
Short tip: Use loose, light strokes so adjustments are easy.
This foundation helps you keep the zebra’s proportions balanced from the beginning.
STEP 2: Shape the Back and Hip
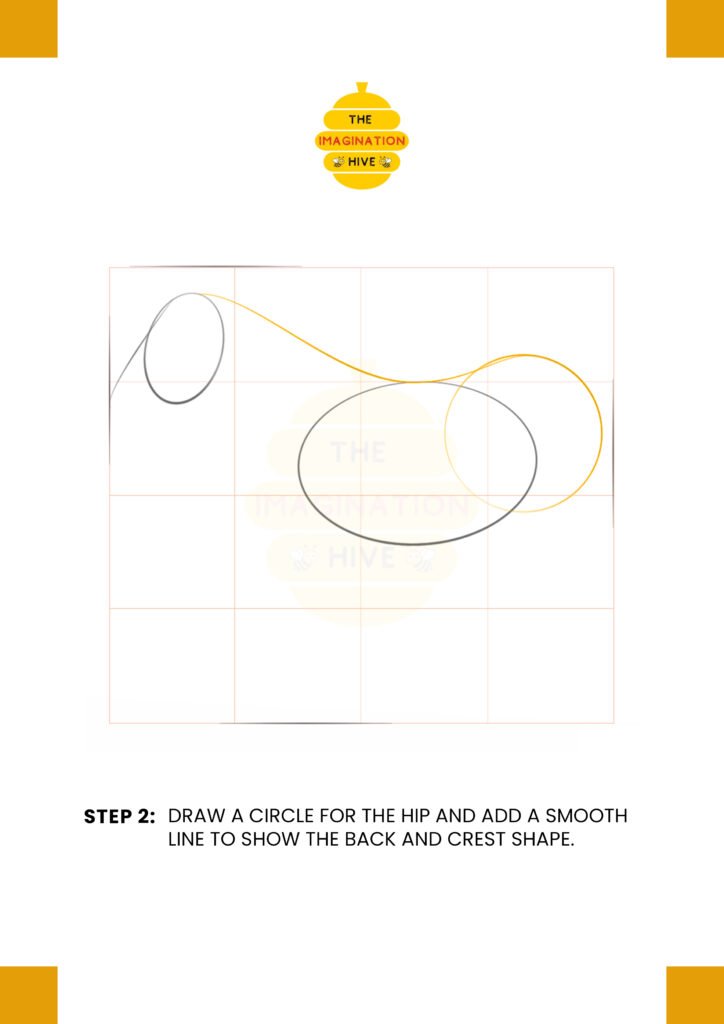
Add a circle at the back for the hip and connect it to the body with a smooth line that defines the zebra’s back and crest.
Short tip: Think of the back as a gentle curve, not a sharp angle.
A smooth back line gives the zebra its natural stance.
STEP 3: Draw the Muzzle and Neck
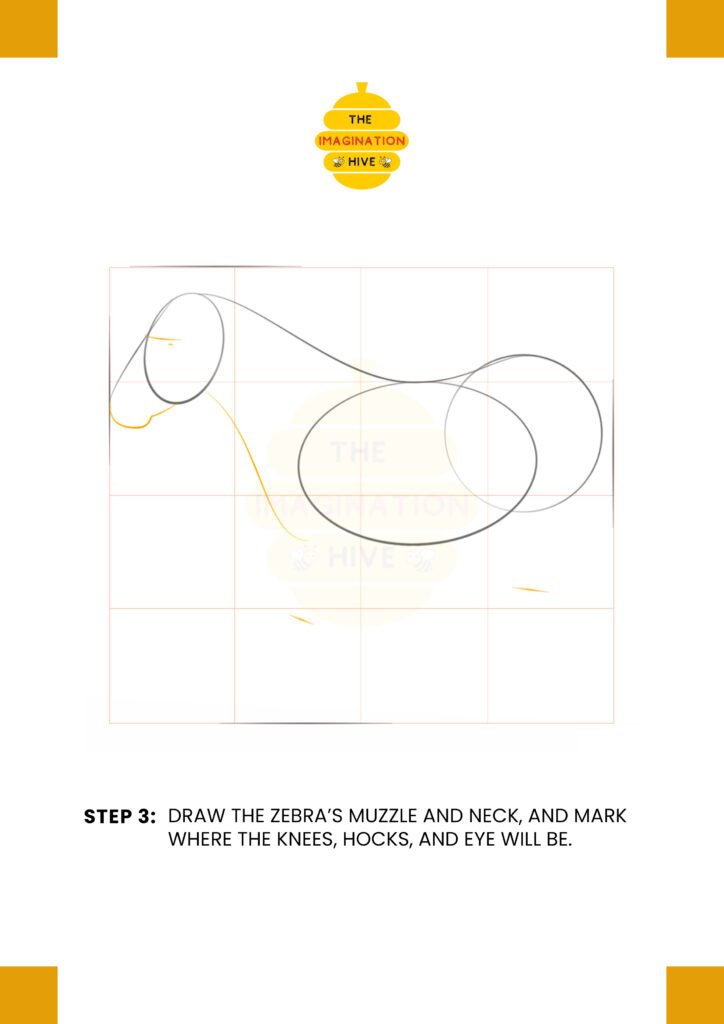
Sketch the muzzle extending from the head and connect it to the body with a flowing neck line. Lightly mark where the eye, knees, and hocks will be.
Short tip: Keep the neck long and elegant.
This step sets the overall posture and flow of the animal.
STEP 4: Add Chest, Ears, and Leg Guides
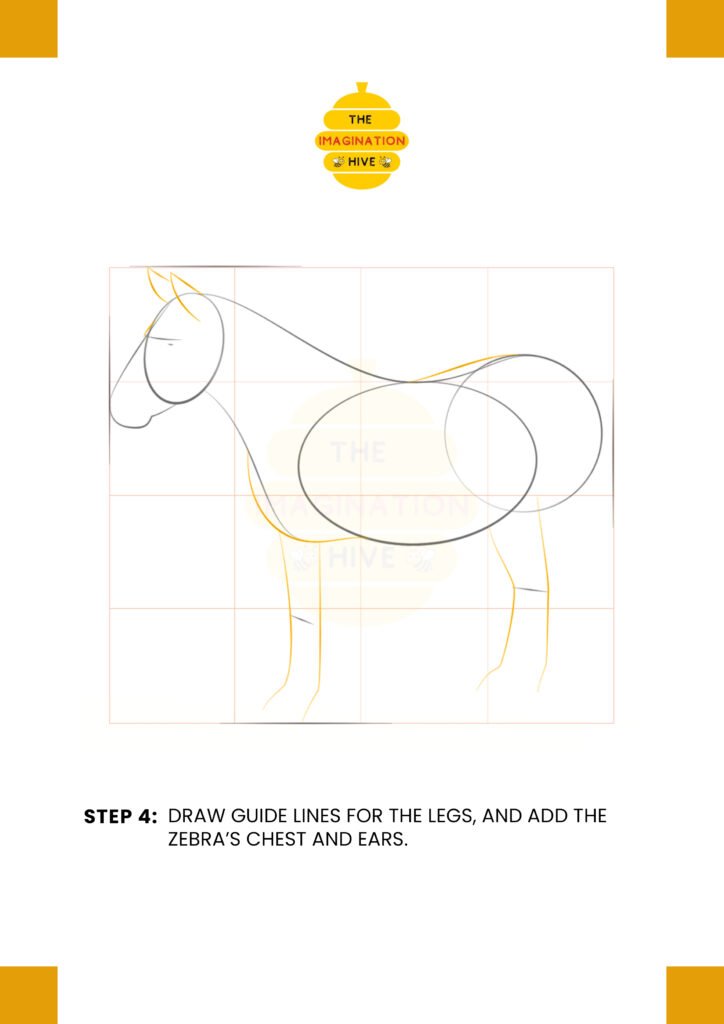
Draw guide lines for all four legs and add the chest shape. Sketch in the ears on top of the head.
Short tip: Make sure the legs align vertically for a stable pose.
Proper guides make the next steps much easier.
STEP 5: Build the Legs and Tail

Thicken the leg guides into leg shapes and add the tail at the back.
Short tip: Zebra legs are slim but strong—avoid making them too bulky.
This step gives the zebra its full standing form.
STEP 6: Define Joints and Facial Details
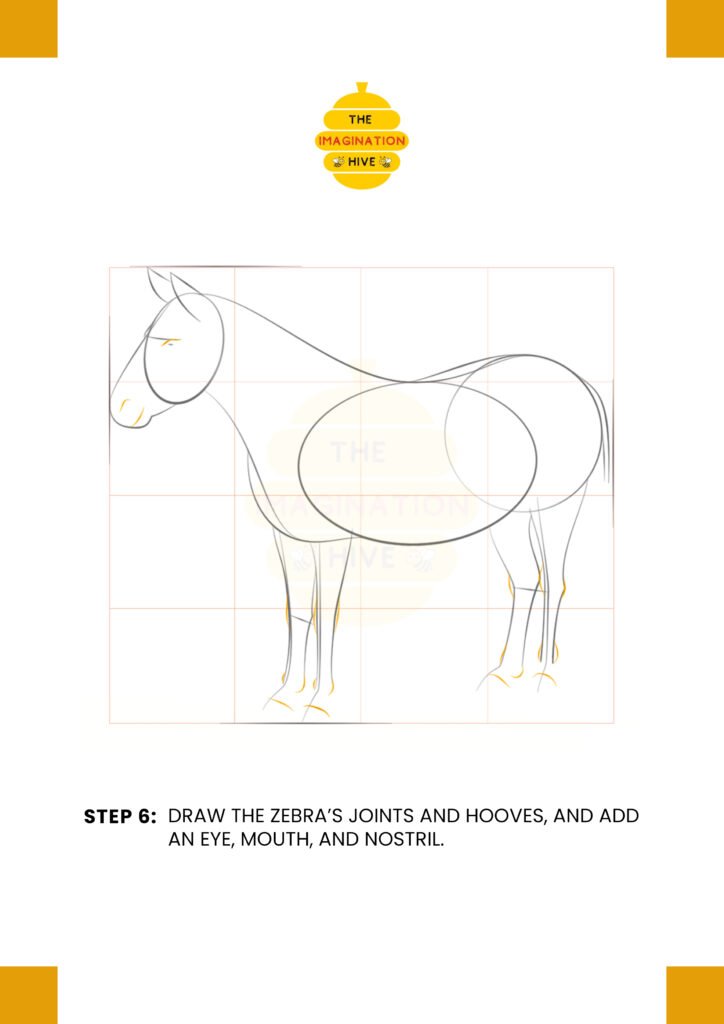
Add joints, hooves, the eye, mouth, and nostril. Refine the leg shapes where they bend.
Short tip: Small details bring life, but keep them simple.
Facial features help give your zebra personality.
STEP 7: Refine the Full Shape

Go over the entire body, smoothing lines and correcting proportions. Add subtle muscle curves where needed.
Short tip: Step back and check balance before moving on.
This refinement prepares the drawing for final outlining.
STEP 8: Outline and Add Stripes
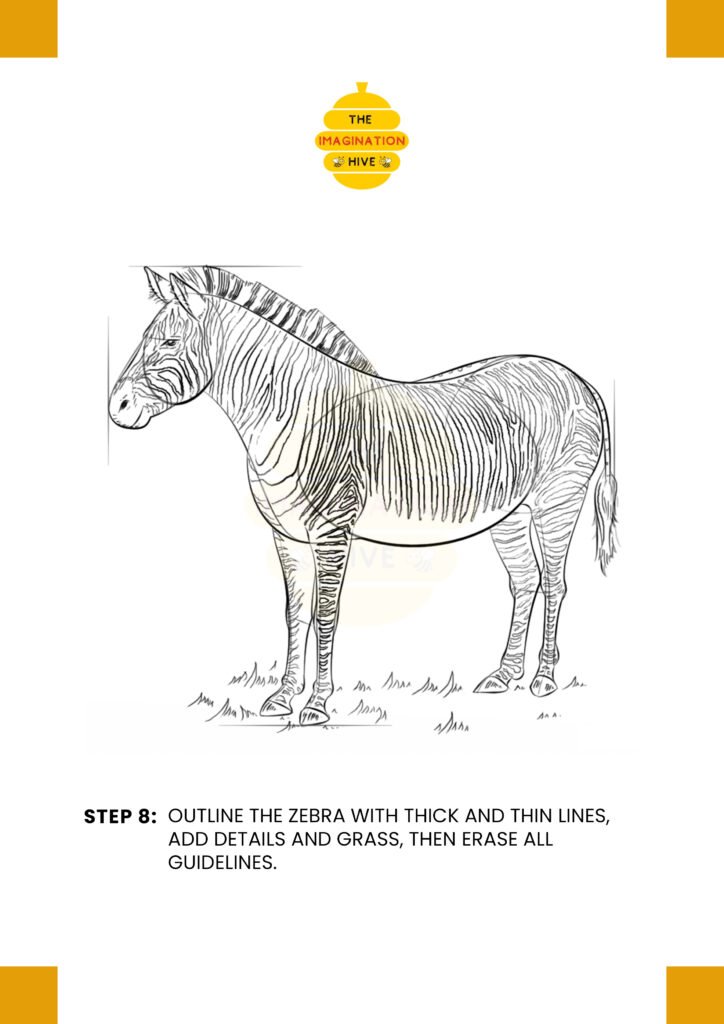
Outline the zebra with confident thick and thin lines, add stripes, ground details, and erase all guidelines.
Short tip: Let stripes follow the body’s curves.
This final step turns your sketch into a complete zebra drawing.