In this step-by-step tutorial, you’ll learn how to draw a mammoth by building the body with simple shapes first and then gradually adding legs, tusks, fur, and final details for a strong prehistoric look.
STEP 1: Mark the Picture and Basic Shapes
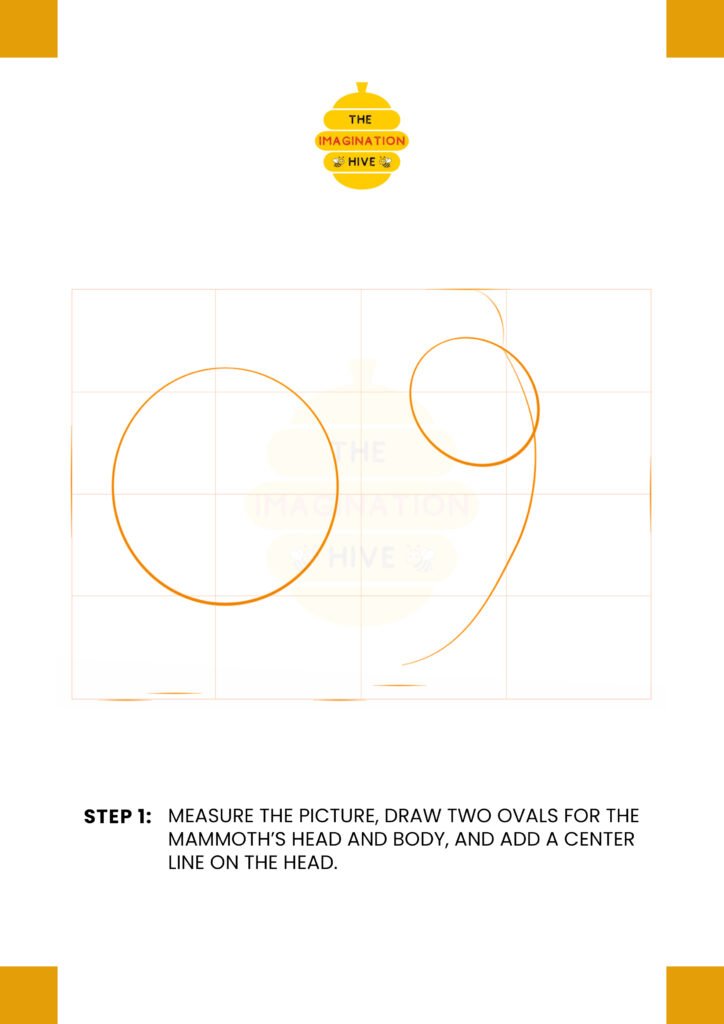
Measure the width and height of the drawing area. Draw two large ovals for the mammoth’s head and body, then add a center guideline on the head to help place facial features correctly.
Short tip:
Keep these shapes light and loose so they’re easy to adjust later.
STEP 2: Draw the Body and Neck Shape
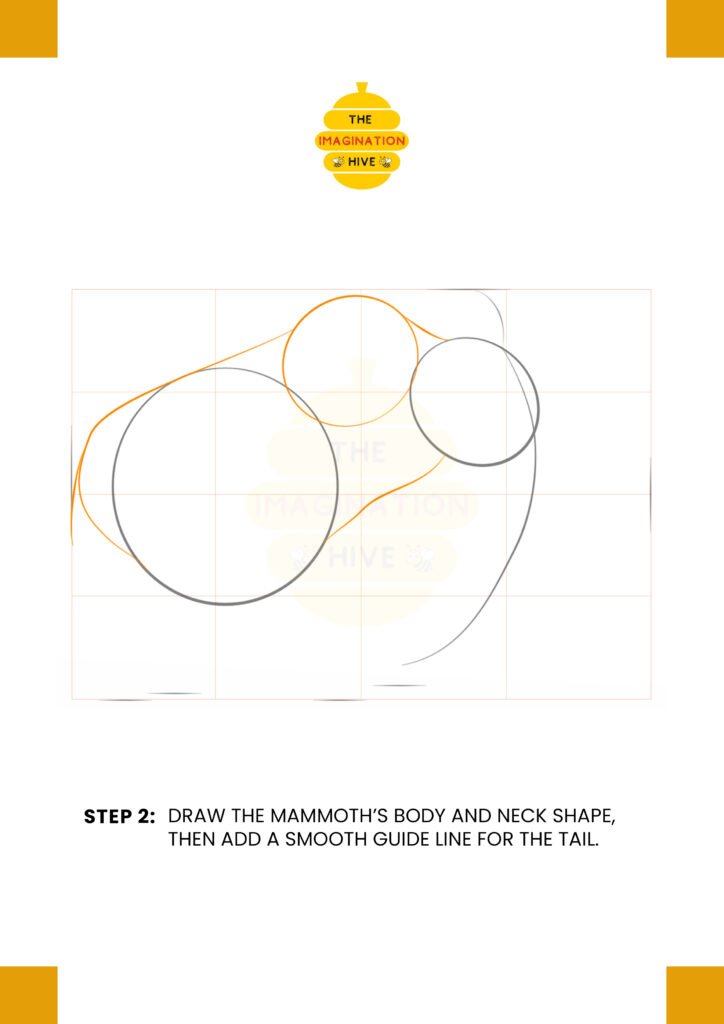
Connect the head and body ovals to form the mammoth’s neck and back. Add a smooth guideline at the rear to indicate the direction of the tail.
Short tip:
Use long curves to show the mammoth’s heavy, rounded body.
STEP 3: Add Guidelines for Legs, Feet, and Tusks
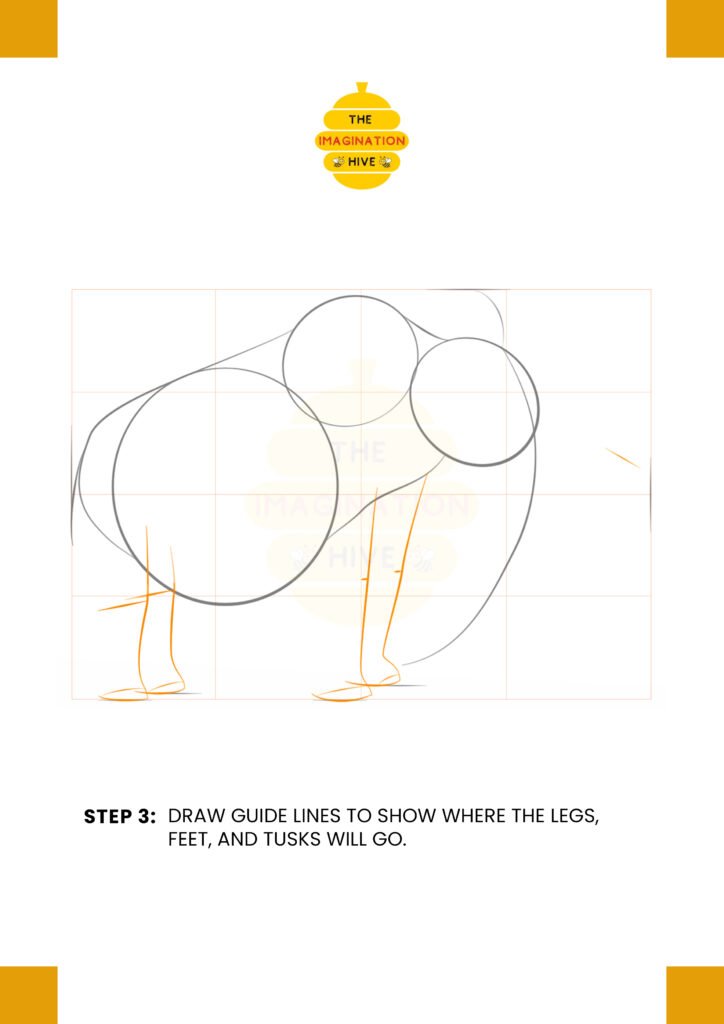
Sketch simple guide lines to show where the legs and feet will go. Add curved guide lines at the front of the head to plan the tusks.
Short tip:
Focus on placement, not details, at this stage.
STEP 4: Sketch the Legs, Feet, and Ear
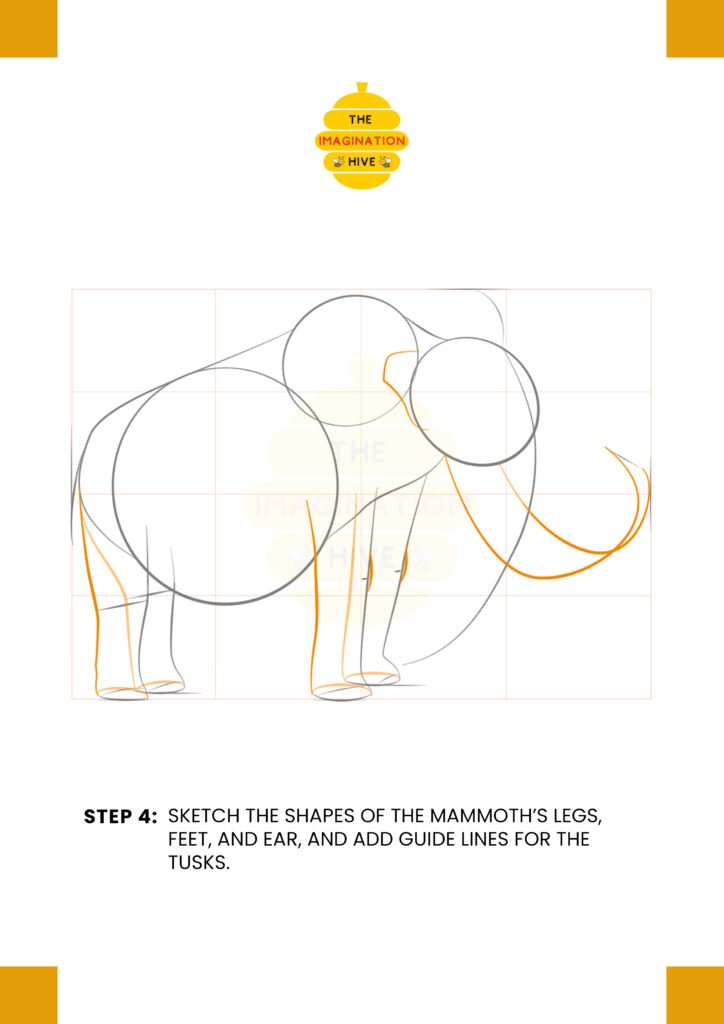
Start shaping the legs and feet using the guidelines. Draw the ear and refine the leg thickness to give the mammoth a sturdy stance.
Short tip:
Think of the legs as thick pillars to support the body.
STEP 5: Draw the Eye, Trunk, Toes, and Tail
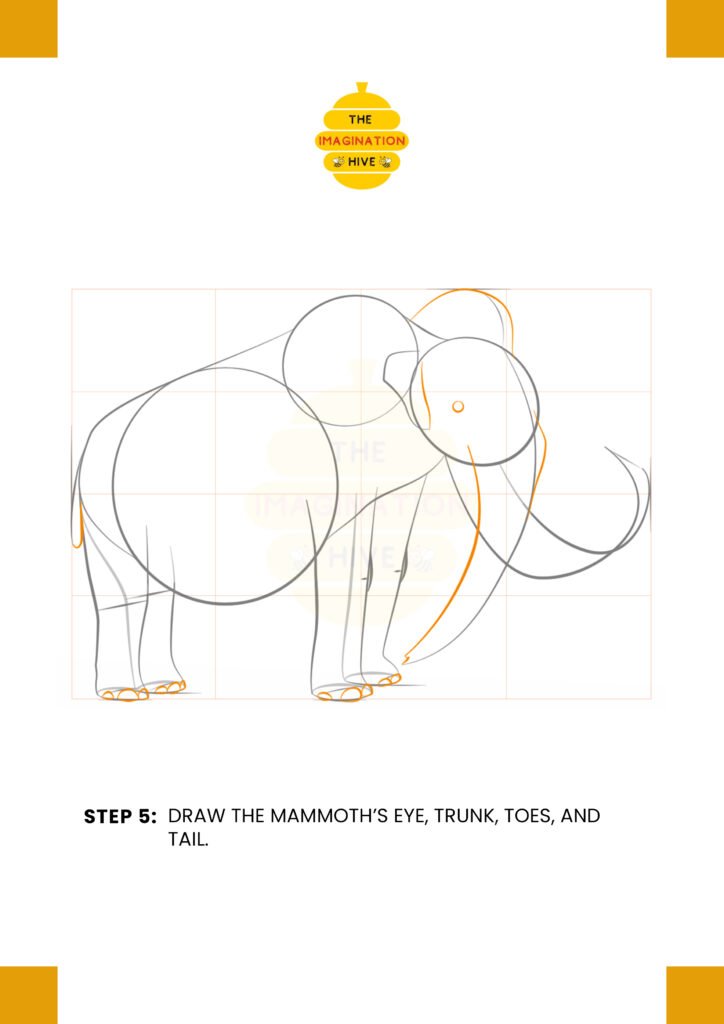
Add the eye, draw the long curved trunk, sketch the toes on each foot, and define the tail at the back.
Short tip:
Keep the trunk smooth and flowing for a natural look.
STEP 6: Refine the Mammoth and Draw the Tusks
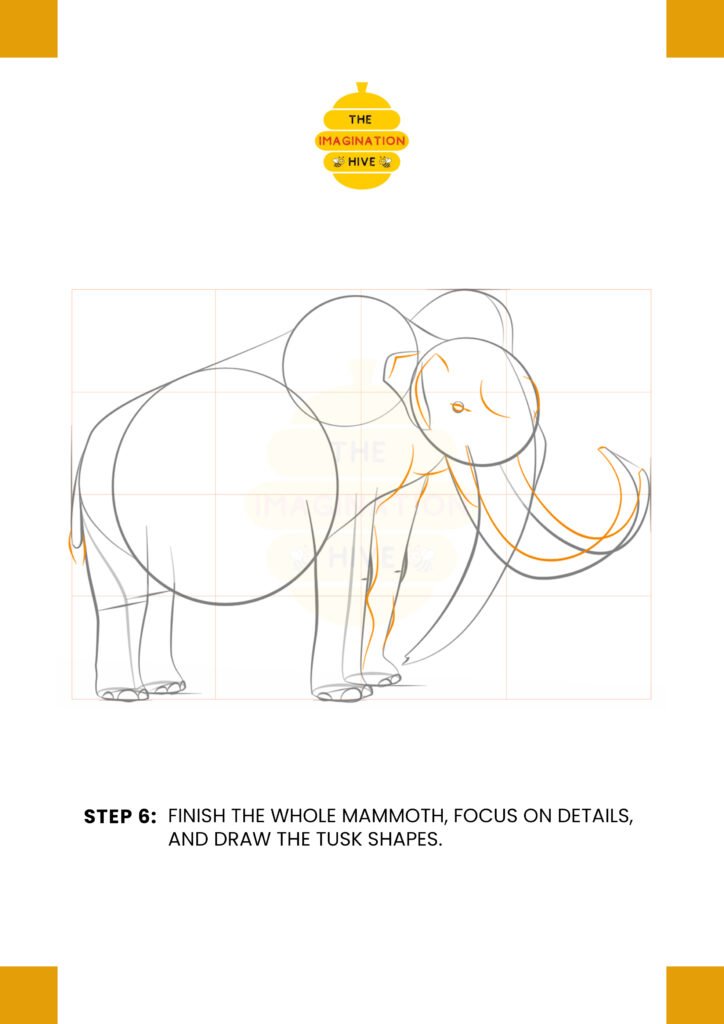
Refine the entire body by smoothing lines and adding fur texture. Draw the tusks clearly using the earlier guidelines.
Short tip:
Use short strokes to suggest thick, shaggy fur.
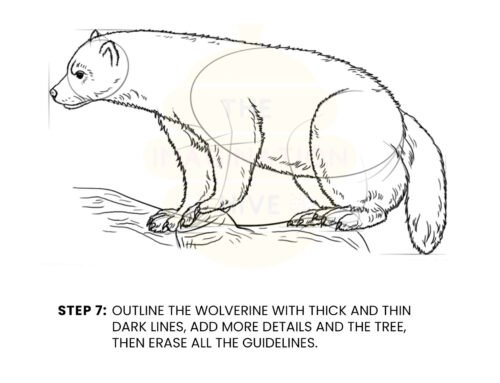
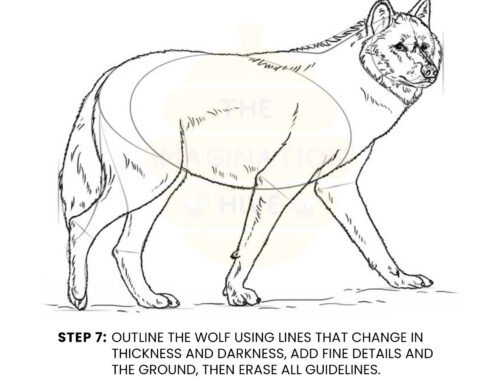
STEP 7: Final Outline and Cleanup
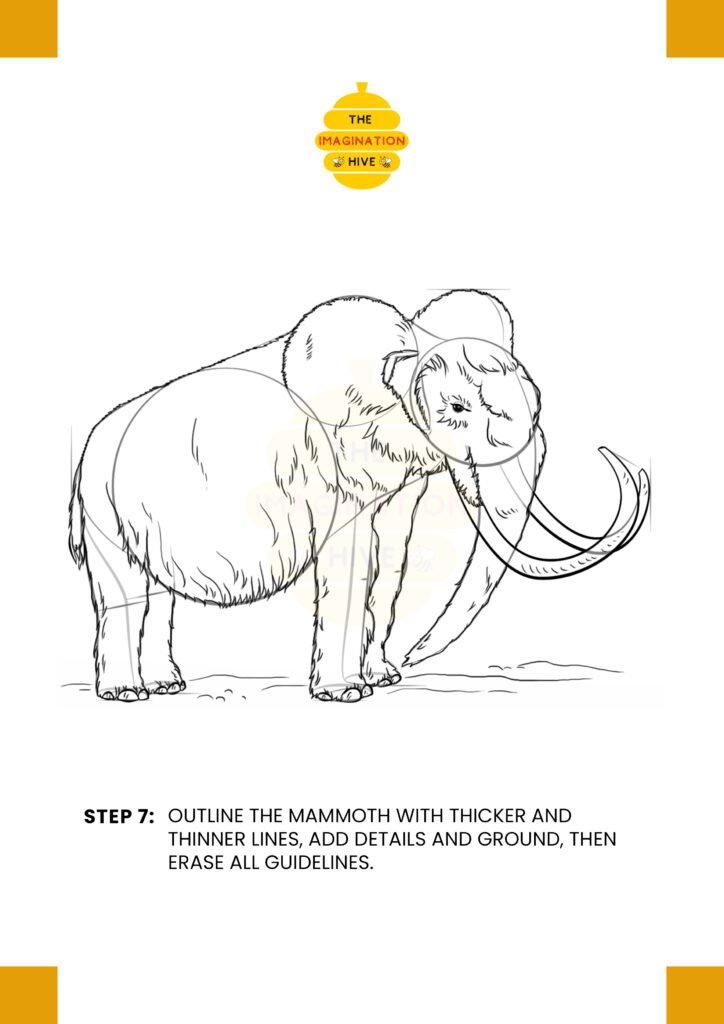
Outline the mammoth with thicker and thinner lines to add depth. Add ground details beneath the feet, then erase all remaining guidelines.
Short tip:
Vary line thickness to give the drawing a finished, professional look.
If you’re ready, share the next animal images, and I’ll continue using this exact same format.